
802.1X Authentication with Self-Generated Server Certificate
When doing 802.1X authentication, some devices (e.g., Windows 8.1 and 10) requires server authentication, which requires the server (here is the VigorAP) to present the certificate information to the client. Since firmware version 1.1.7, VigorAP supports Certificate Configuration, which can generate the required certificate itself, and use it for 802.1X authentication. This article demonstrates how to generate a certificate and set up 802.1X authentication on VigorAP.
1. Set up correct system time settings at System Maintenance >> Time and Date, because the certificate has a valid period.

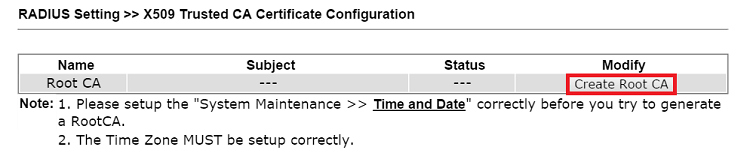
2. Create a Certificate: Go to RADIUS Setting >> X509 Trusted CA Certificate Configuration, click Create Root CA.
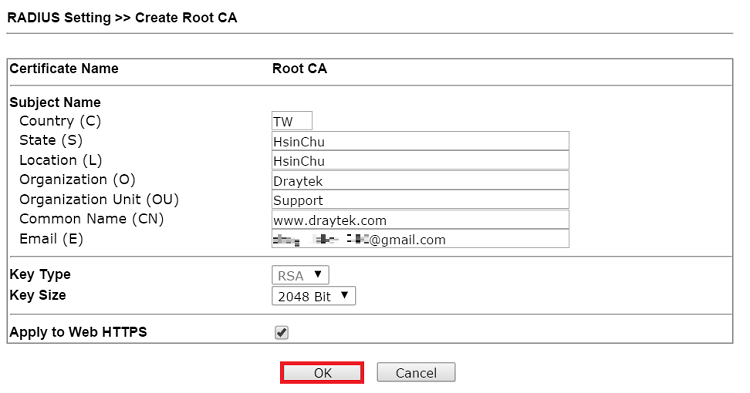
3. Fill out the information, then click OK.
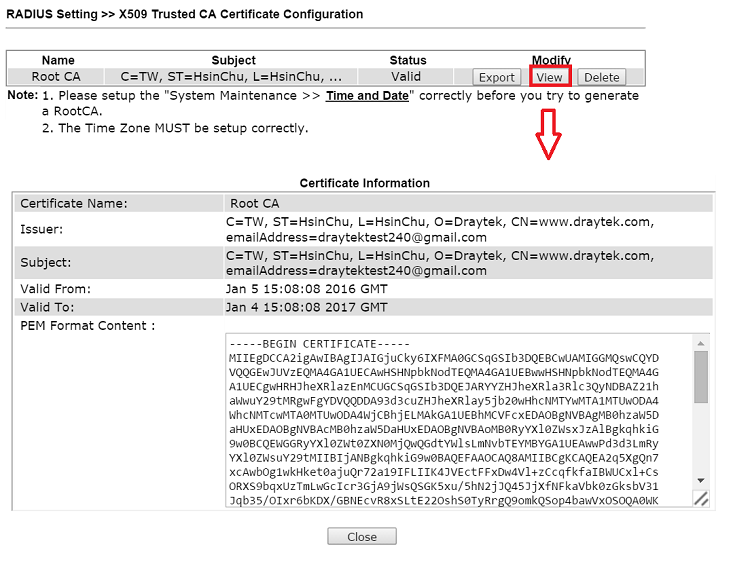
4. After the Root CA is generated, click View on the certificate to check the Root CA information.
5. Go to Wireless LAN >>Security Settings, choose “WPA2/802.1X” as wireless security mode, then click on “RADIUS Server” to enter RADIUS server information. You may also enable “Use Internal RADIUS Server” to authenticate the client by local user database.

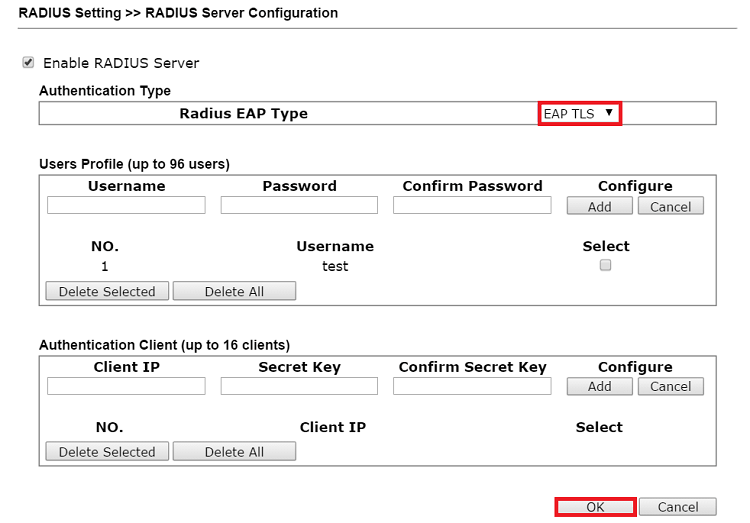
6. If you use the Internal RADIUS server, go to RADIUS Setting >> RADIUS Server Configuration. Enable RADIUS Server and use EAP-TLS for RADIUS EAP Type, then add user profiles.
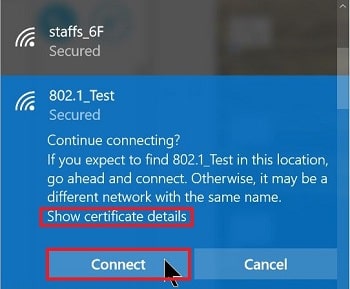
7. Now, the VigorAP is ready for connections. For Windows clients, choose the VigorAP's SSID to connect to the wireless network. When being prompted for the credentials, type the username and password which configured on VigorAP's RADIUS server settings. clients could also click “Show certificate details” to check the server certificate.
Published On:2016-02-26
ShareWas this helpful?