
LPR Printing Setup on Windows
This article shows how to set up a Windows computer as an LPR print client to connect to the LPR printer on the router's USB port.
1. Connect the printer to one of the router's USB port. Go to USB Application >> USB Device Status >> Printer to check if the router detects the printer.
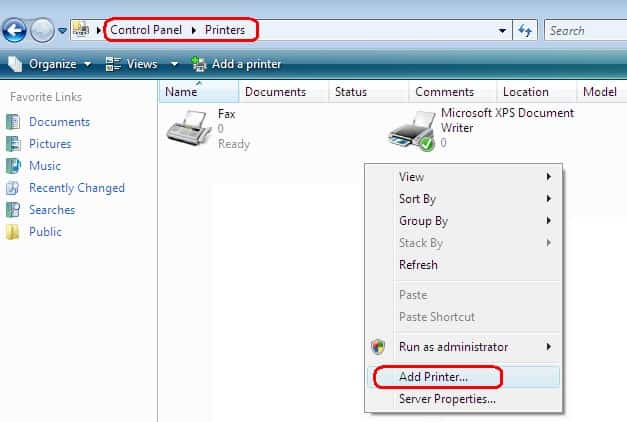
2. On the Windows computer, go to Control Panel >> Printers, click Add a Printer.
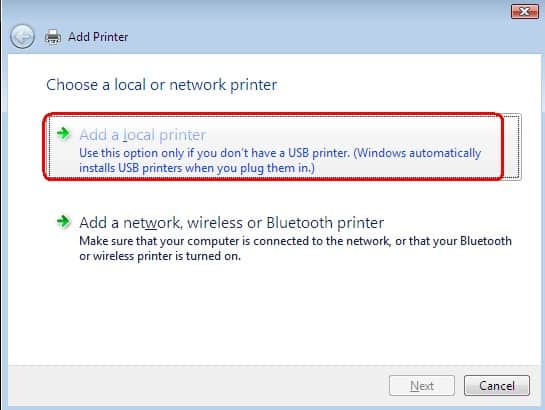
3. Click Add a local printer.
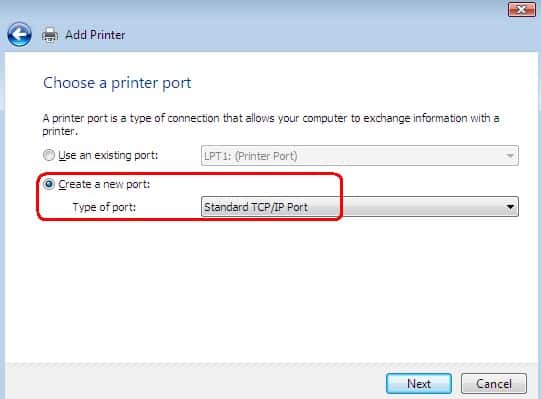
4. Select Create a new port, then select "Standard TCP/IP Port" for Type of port. And click Next.
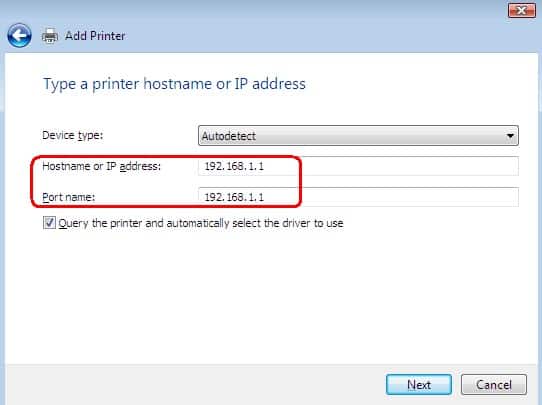
5. Input the LAN IP address of the router at Hostname or IP address, and click Next.
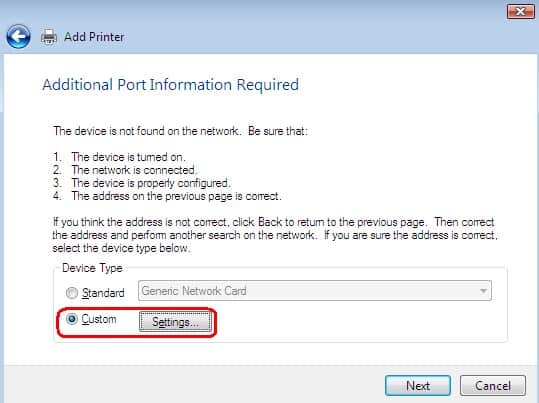
6. 5. Select "Custom" for Device Type and click Settings... button.
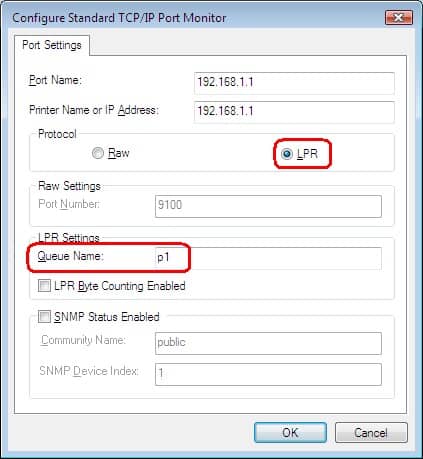
7. Select "LPR" for protocol, input p1 (lowercase p and number 1) in the Queue Name field, and click OK.
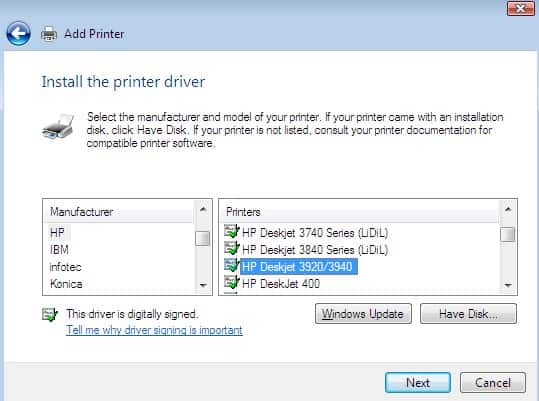
8. Install the driver for your printer.
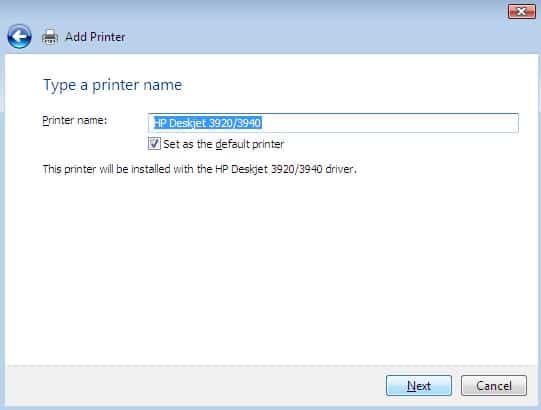
9. Type a printer name, and click Next.
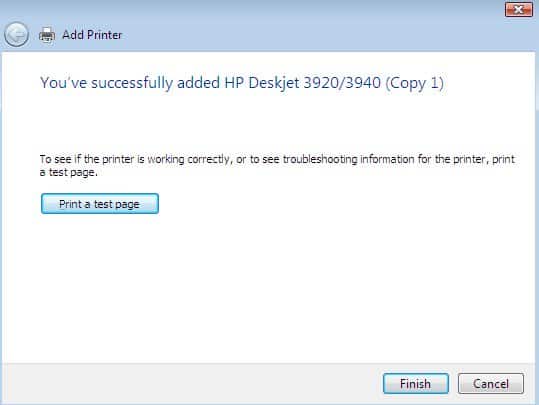
10. Then you've successfully added the printer.
11. Finally, initialize the router and printer with the following steps:
- power OFF the router,
- power Off the printer,
- power ON the printer,
- power ON the router.
Published On:2015-08-03
ShareWas this helpful?