
Allow Hotspot User to Get Login PIN code via SMS
Vigor Routers supports hotspot web portal can act as a captive portal gateway and provide internet access only to clients who pass the authentication. Receive PIN via SMS is a login method that the router will generate login PIN and send it in an SMS to the phone number that hotspot client left on the portal page. This note is going to demonstrate how to set up Vigor Router as a hotspot gateway and send the login PIN to hotspot clients via SMS.
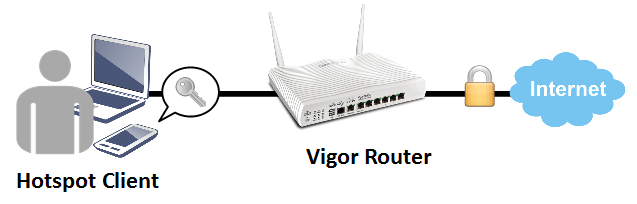
This article demonstrates how to set up the hotspot web portal function and allow the hotspot client to log in via SMS PIN.
Vigor Router Setup
1. Make sure the router is connecting to the Internet.
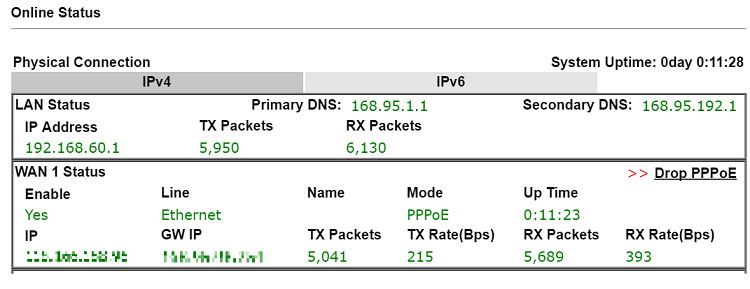
2. Create an SMS Object to send SMS messages: go to Objects Setting >> SMS Service Object, click on an available profile.
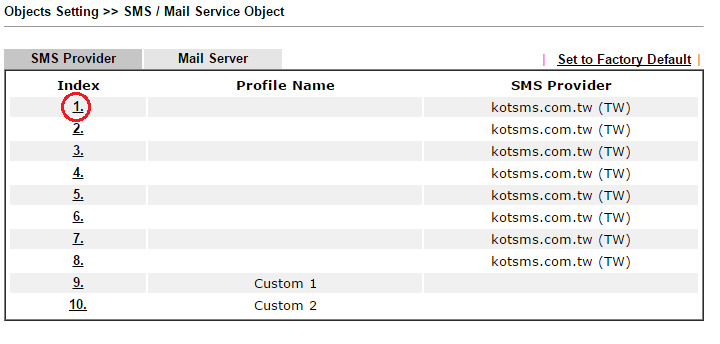
3. Enter the Service Provider details, and click OK to apply.
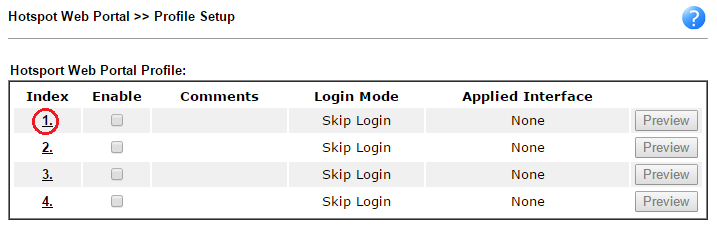
4. Go to Hotspot Web Portal >> Profile Setup, click on an available profile to edit.
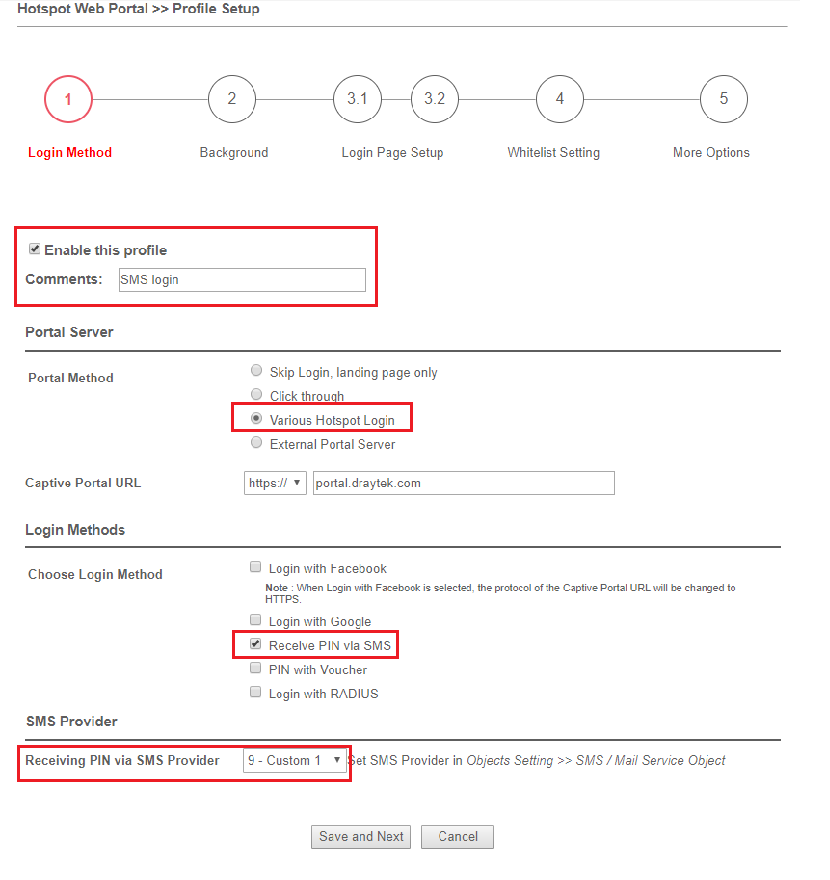
5. Edit the profile as follows:
- Check Enable the profile,
- give a comment,
- select Various Hotspot Login for Portal Method,
- check Receive PIN via SMS for Login Methods,
- Select the SMS Provider created in step 2,
- Click Save and Next.
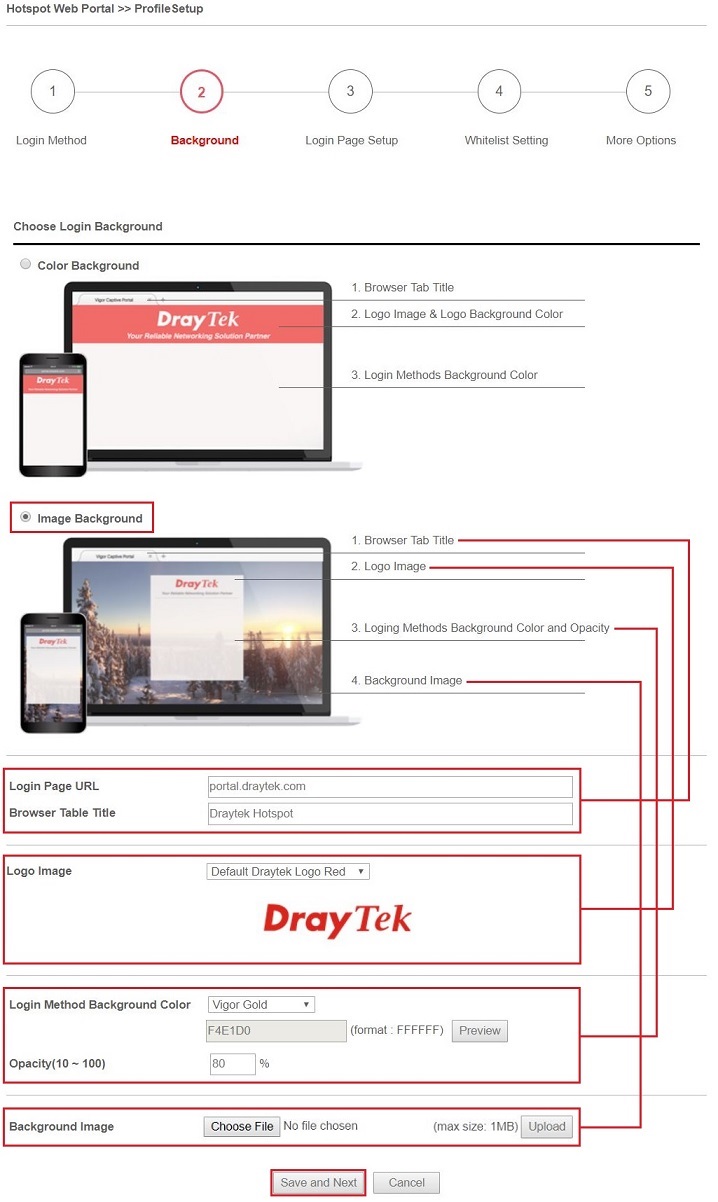
6. Choose a login page design, customize the details, and click Next.
7. Edit the message on the login page, and click Next.
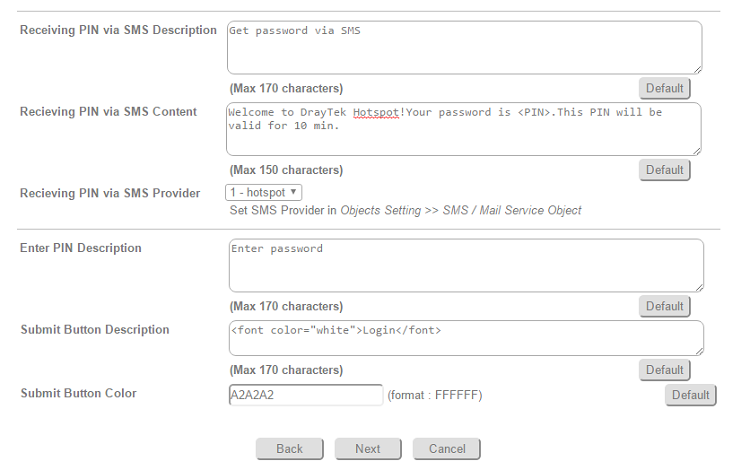
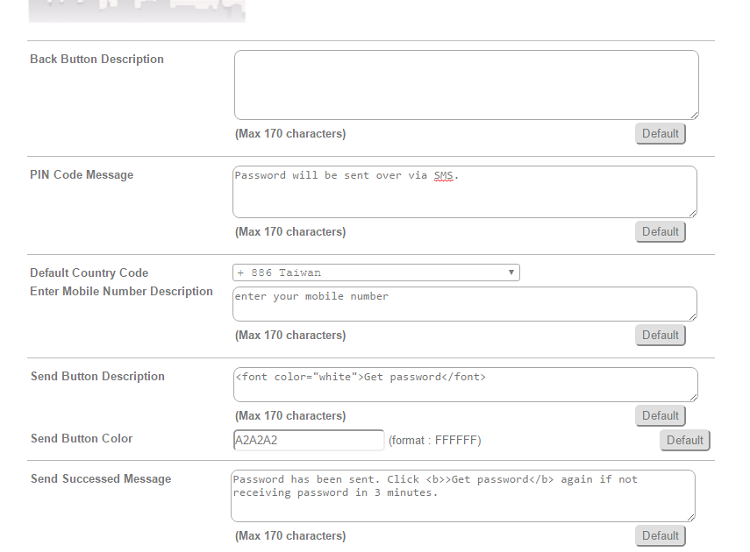
8. Edit the details for SMS settings, then click Next.
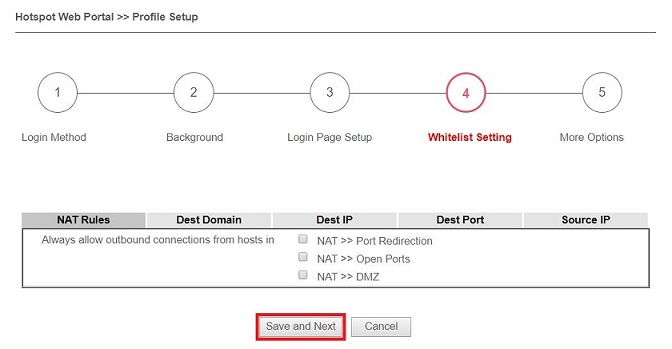
9. Edit Whitelist for some host, sites, or NAT rules to bypass the Hotspot portal. You may also choose to apply to specific LAN interface on the next page.
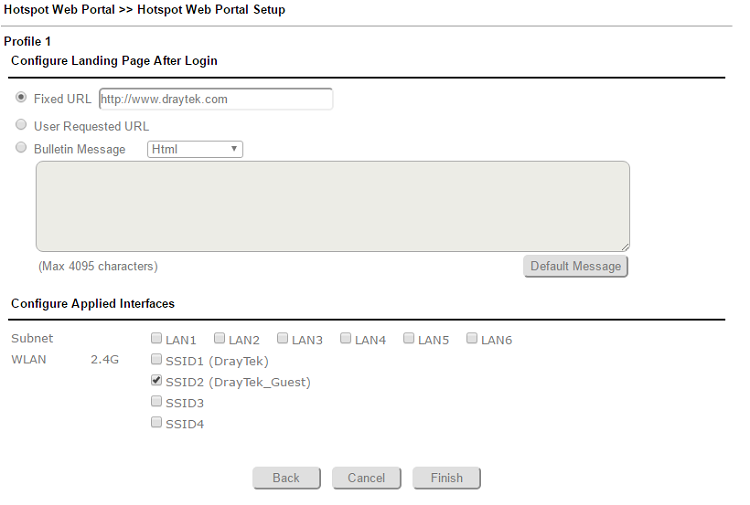
10. Edit the landing page, choose the interfaces to which the SMS login should apply, then click Finish.
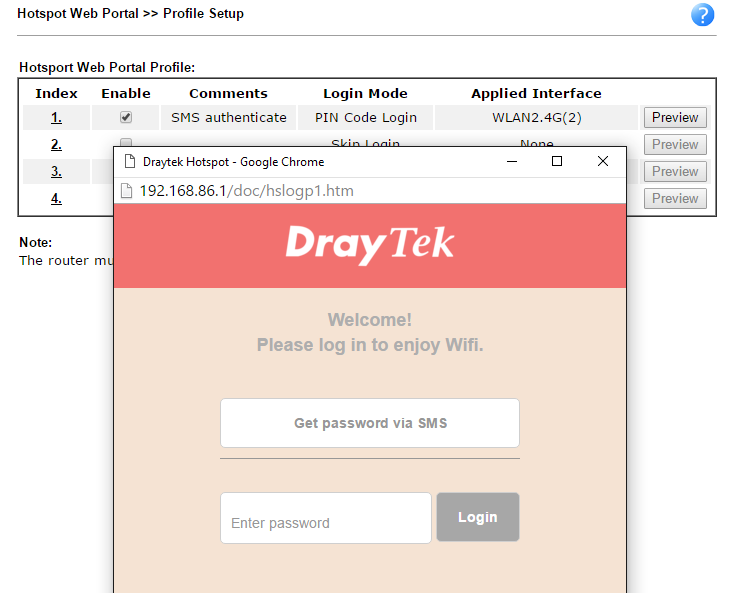
11. Now, the hotspot settings have applied to the selected interfaces. You may click Preview to check how the login page looks.
Hotspot Client Login
12. If the client connected to the selected interface of the router and try to open a webpage, the router will redirect them to hotspot login page. If they do not have a password yet, they can click on the button to get a password.

NOTE:
- If there's no certificate installed, the browser might warn that it cannot verify server identity, the clients would need to tap "continue" before they can proceed to portal.draytek.com
- The client might not be able to access "portal.draytek.com" if this domain name is resolved by a DNS server on LAN. If so, set up LAN DNS to make sure the domain name will be resolved to the router's LAN IP.
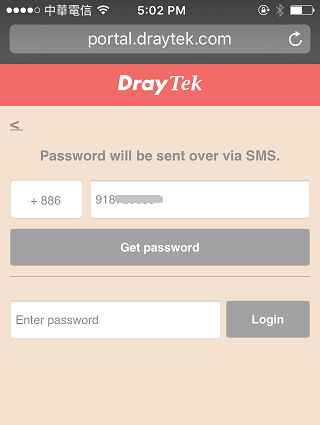
12. The client needs to enter a valid mobile phone number to receive the SMS message.
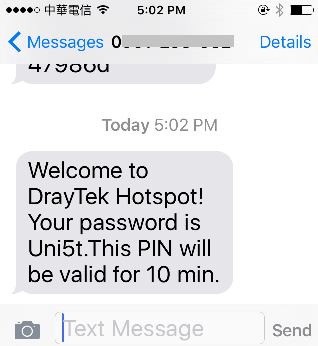
13 The number will get a message about the password.
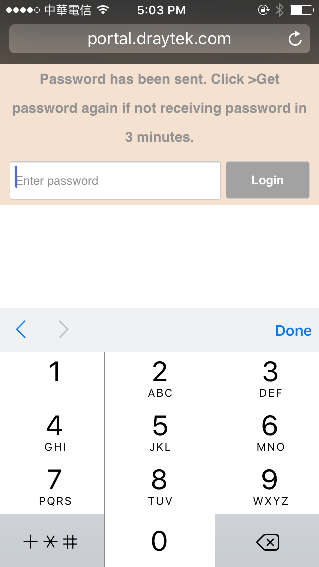
14. Enter the password on the login page, and click Login.
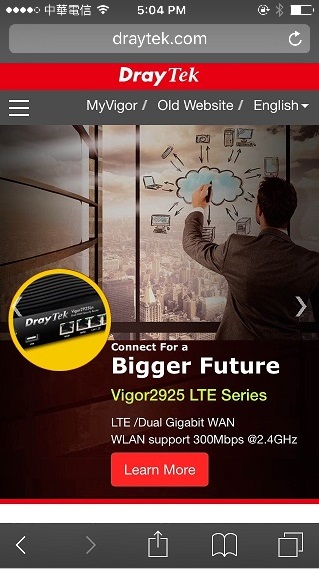
15. If the password is correct, the client will be redirected to the landing page, and after that, they will be able to surf the Internet.
Vigor Routers support hotspot web portals, enabling them to serve as captive portal gateways. This means internet access is only available to clients who successfully authenticate. One of the login methods offered is "PIN via SMS," where the router generates a one-time PIN and sends it by SMS to the phone number provided by the hotspot user on the portal page.
This guide shows how to set up a Vigor Router as a hotspot gateway and enable SMS-based PIN delivery for client authentication.
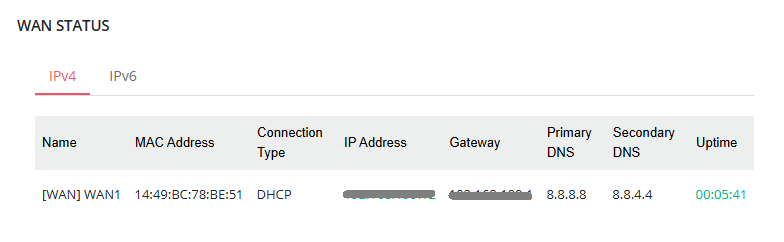
Check Internet Connection
Ensure the router is connected to the Internet.
Configure SMS Provider
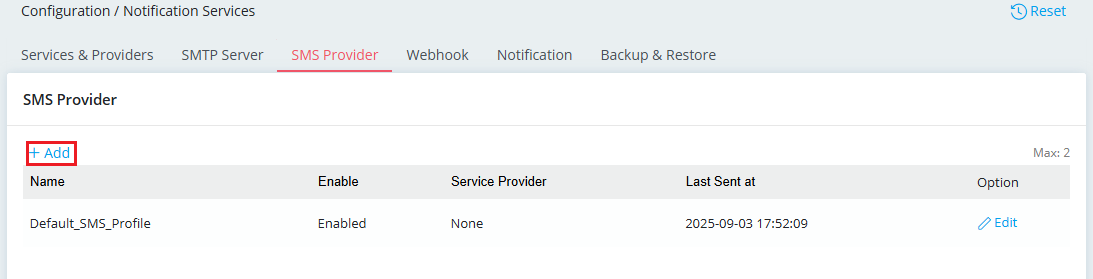
Go to the Configuration / Notification Services menu page. In the SMS Provider tab, click + Add to create an SMS profile.
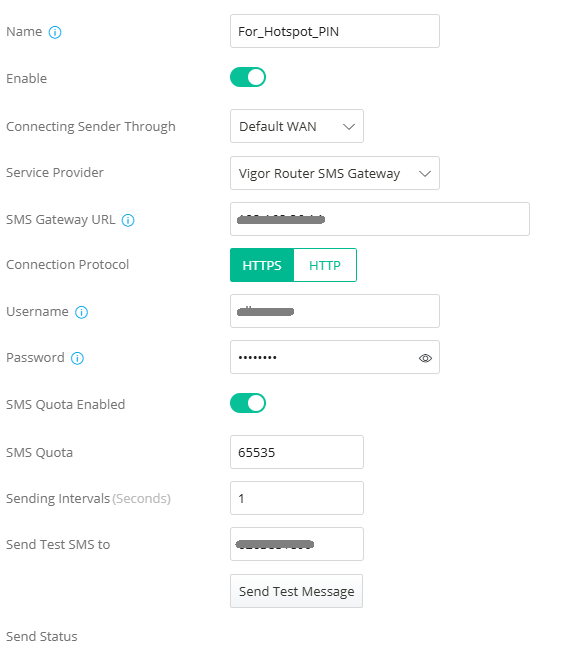
Enter SMS provider details and click Apply to save.
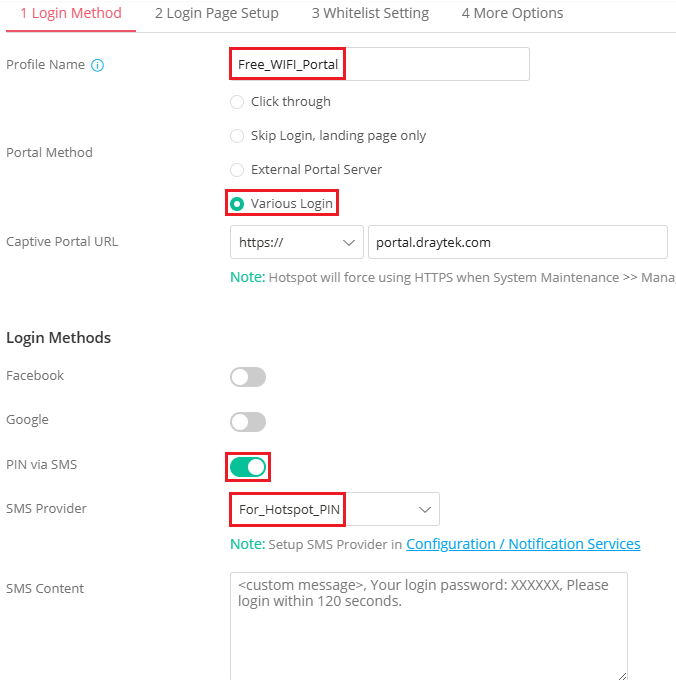
Create a Hotspot Profile
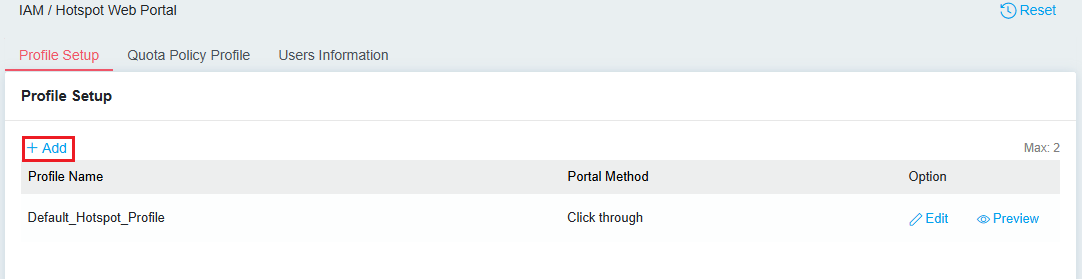
Go to IAM / Hotspot Web Portal. In the Profile Setup tab, click +Add to create a hotspot profile.
Login Method
- Enter a profile name.
- Select Various Login as the portal method.
- Enable PIN via SMS and select the SMS profile used for sending the PIN code.
- (Optional)Customize the SMS content.
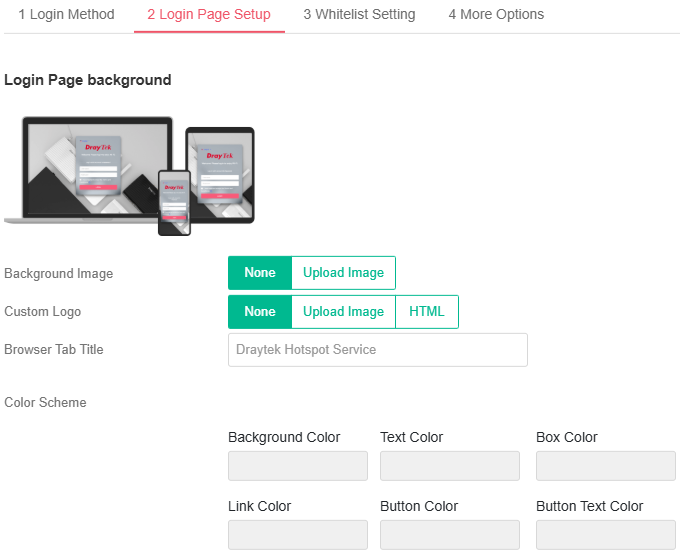
Login Page Setup(Optional)
- Customize the hotspot web portal page.
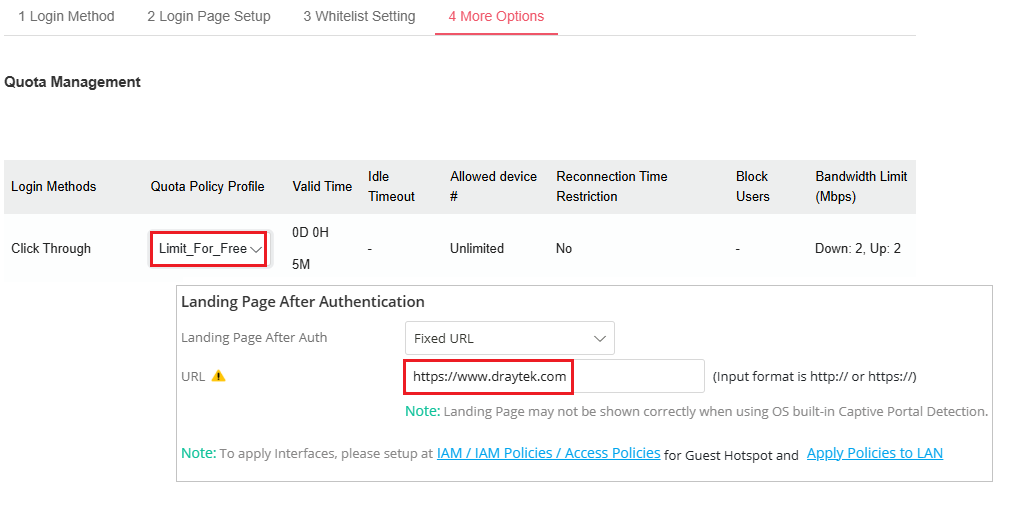
More Options
- Apply the quota policy profile in the login method we use.(Optional)
- Enter the desired website as the landing page.
Click Apply to save the settings.
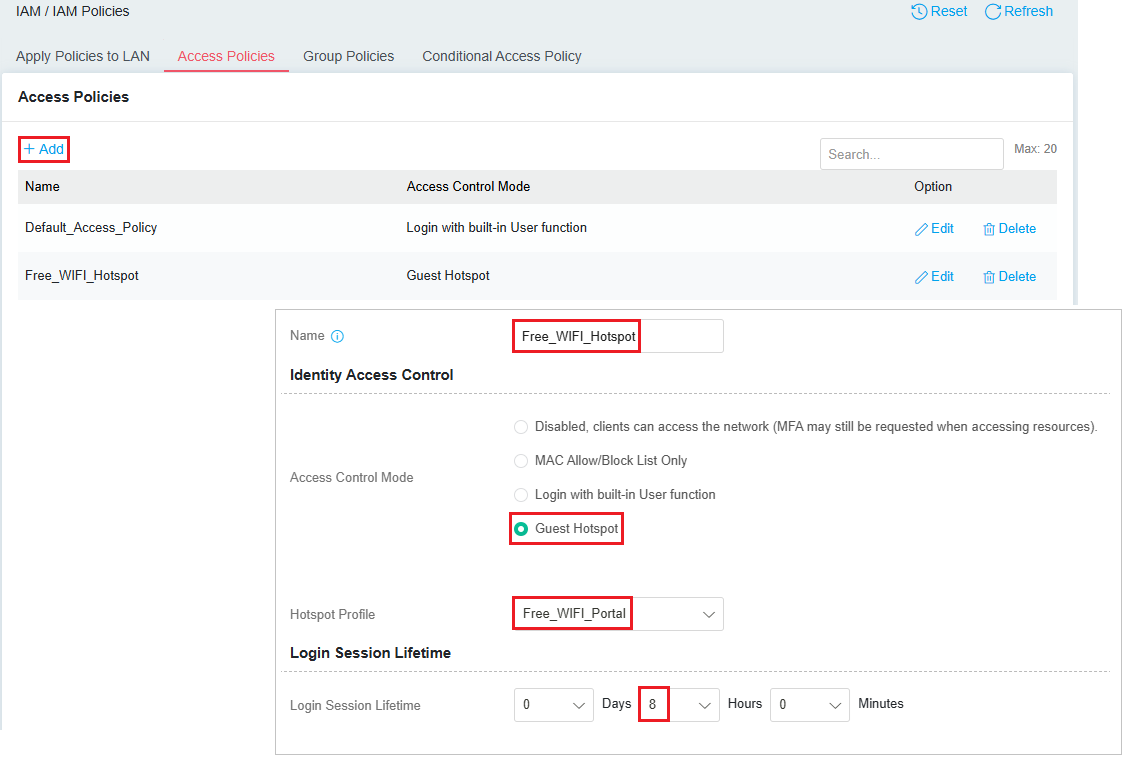
Apply the Hotspot Profile in IAM Policies
Go to IAM / IAM Policies. In the Access Policies tab, click +Add to define an access policy.
- Enter a name for this access policy.
- Select Guest Hotspot as the access control mode.
- Choose the hotspot profile created previously.
- Set the login session lifetime of each user.
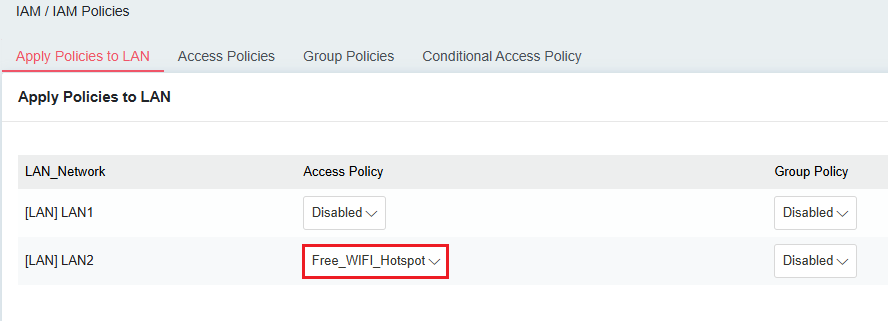
In the Apply Policies to LAN tab, apply that access policy to the interface for the hotspot login.
Verify Hotspot Client Login
Connect a device to the interface configured for the hotspot login. The router should automatically redirect the device to the hotspot login page.
Enter a phone number to receive the PIN code, and then click Send.
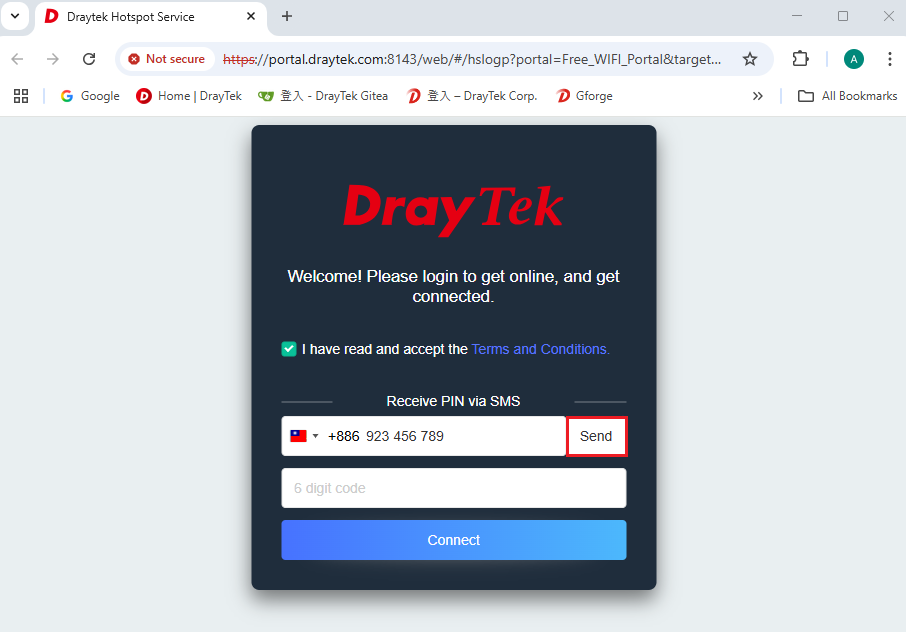
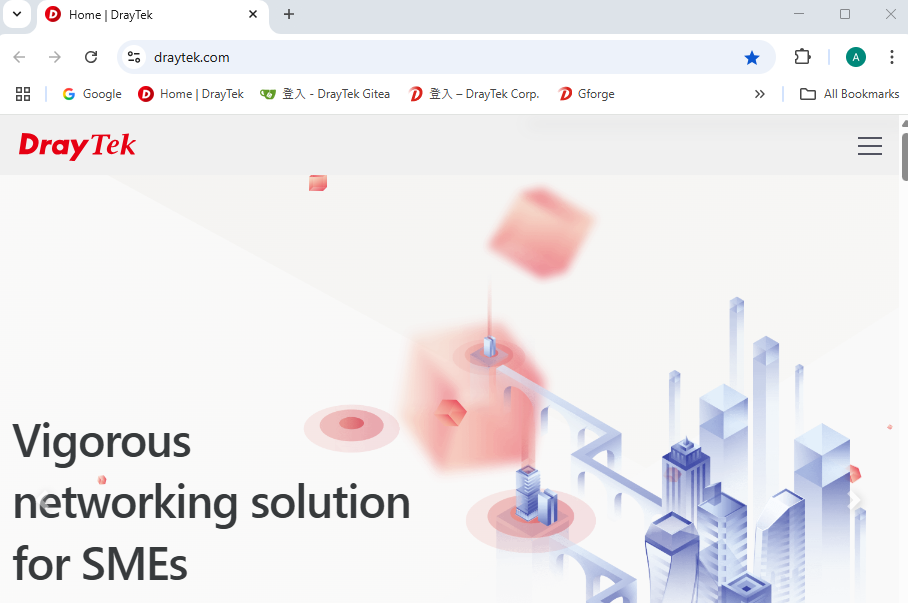
After entering the received PIN code, the device will be redirected to the landing page and granted internet access.
Published On:2017-01-24
ShareWas this helpful?