
L2TP over IPsec from Smart VPN to Vigor Router
This article explains how to configure a Vigor Router as an L2TP over IPsec VPN server and how to establish an L2TP over IPsec VPN connection from Windows using Smart VPN Client. *L2TP over IPsec VPN is supported on DrayOS 5 routers starting from firmware version 5.3.6.
Setup on Vigor Router
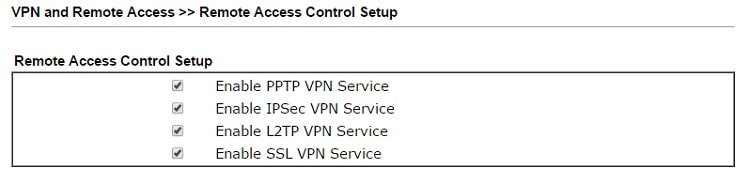
1.Go to VPN and Remote Access >> Remote Access Control Setup to make sure "Enable IPsec VPN Service" and "Enable L2TP VPN Service" are checked.
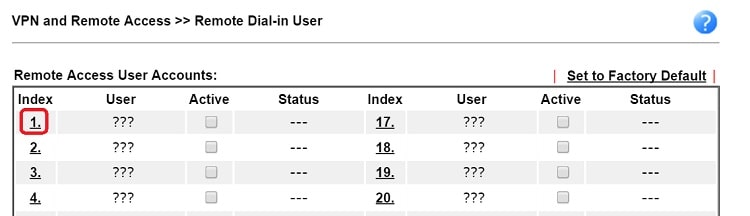
2. Create a remote dial-in user profile: Go to VPN and Remote Access >> Remote Dial-in User, click on an available index to edit the profile.
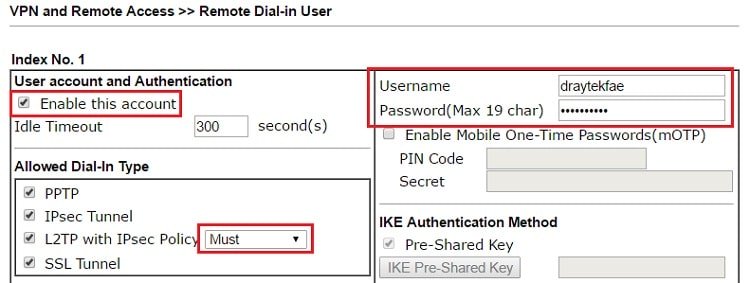
3.Edit the profile as follows:
- Check Enable this profile
- For Allowed Dial-In Type, check L2TP and set IPsec Policy to "Must"
- Give it a username and password
- Click OK to save.
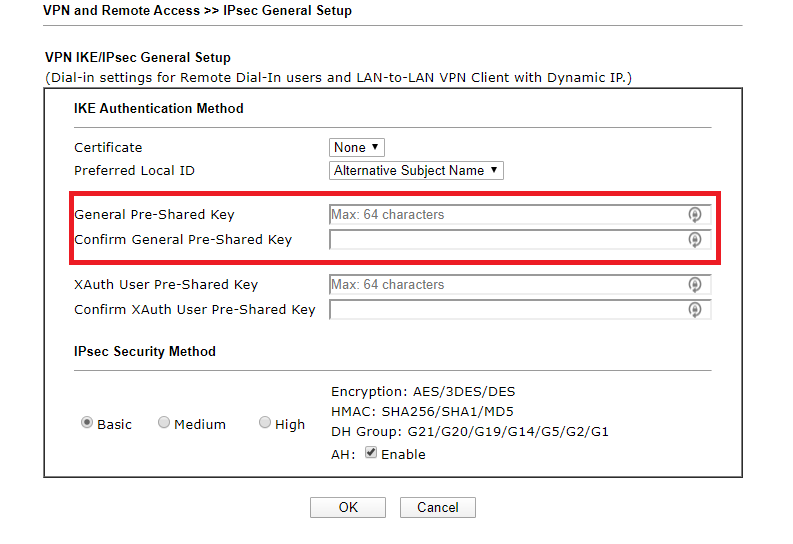
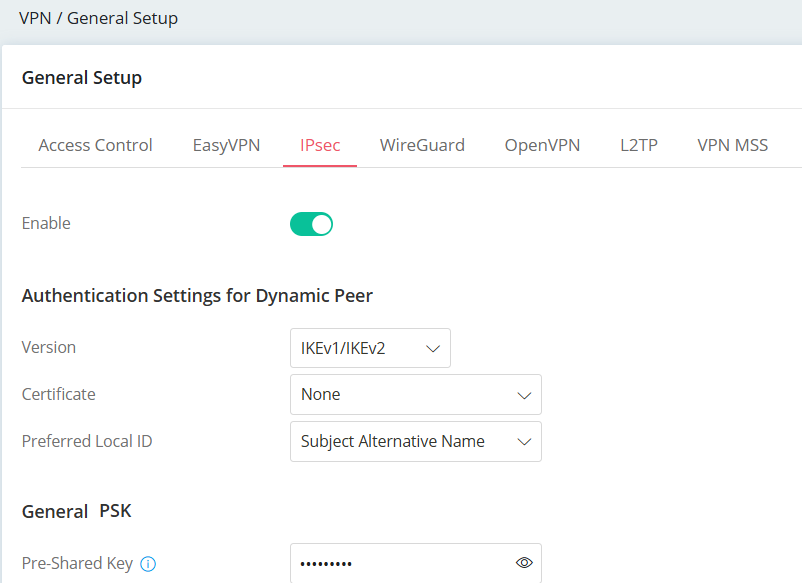
4. Go to VPN and Remote Access >> IPsec General Setup, enter a Pre-Shared key and confirm it again. Then click OK to save.
For windows 10 users, it is recommended to choose Basic as IPsec Security Method.
VPN client Setup
1. Open Smart VPN Client on the VPN client, and click settings to disable support for L2TP / L2TP over IPSec.
(Download the latest version here)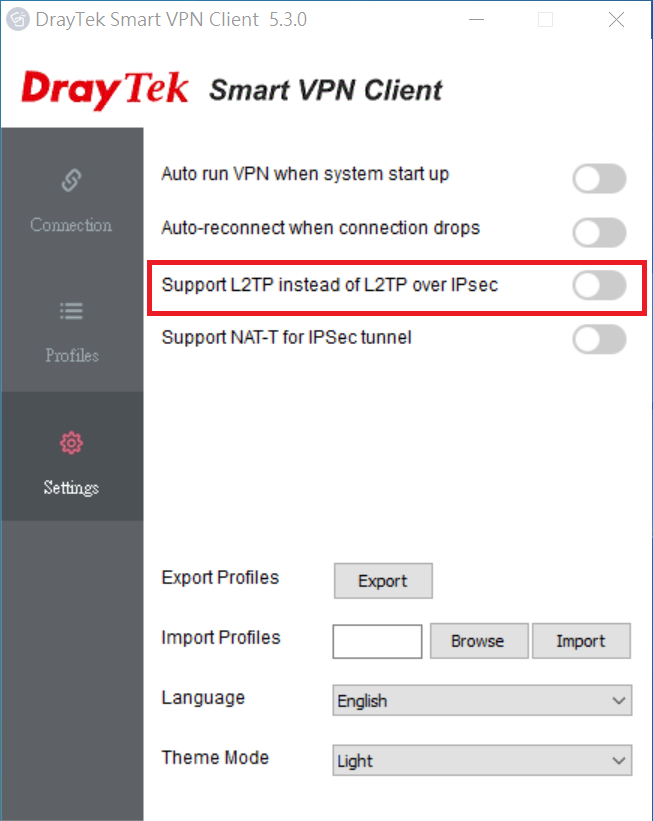
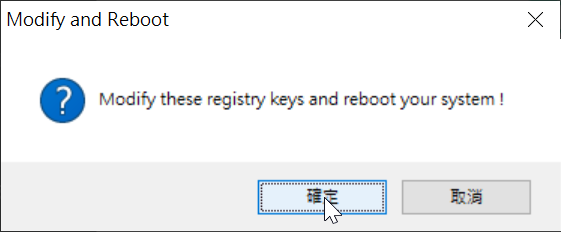
2. Click Profiles, a warning will pop up at this time, please click OK to restart.
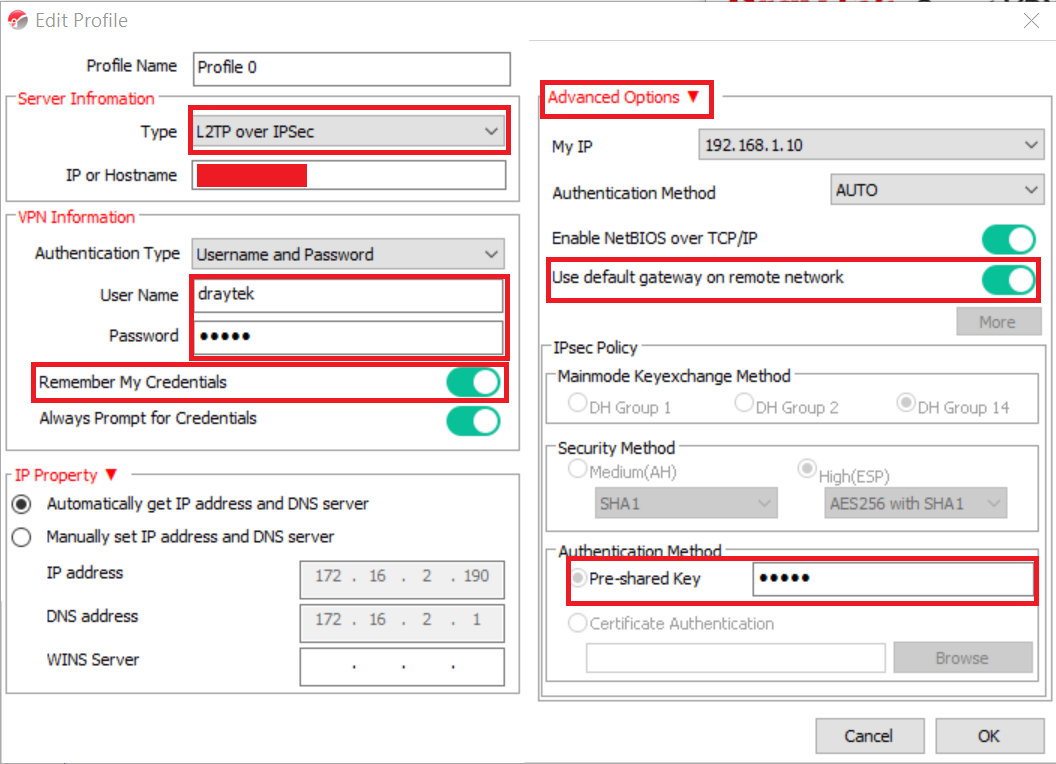
3. Click Profiles> Add, select L2TP over IPSec as the server type, fill in the IP address of the WAN end of the Vigor router with the IP address, fill in the VPN username and password, and remember my login information is Enable, click on the advanced option to fill in the IPSec pre-shared key.
※ If you need to switch the Internet traffic to the remote Vigor router, please click on the advanced option to enable the default gateway on remote network.
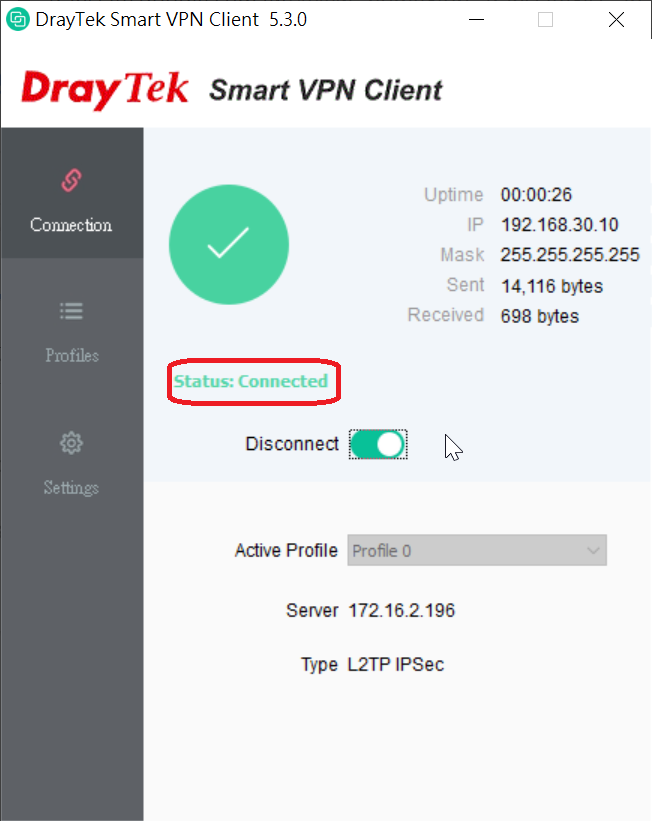
4. Switch to [connection] and click. If the operating system pops up a firewall warning, click OK to continue.

5. After the connection is successful, the Smart VPN window will shrink to the taskbar in the lower right corner of the operating system. Click the small icon in the red box twice, you can see that the Smart VPN status shows that it is connected.
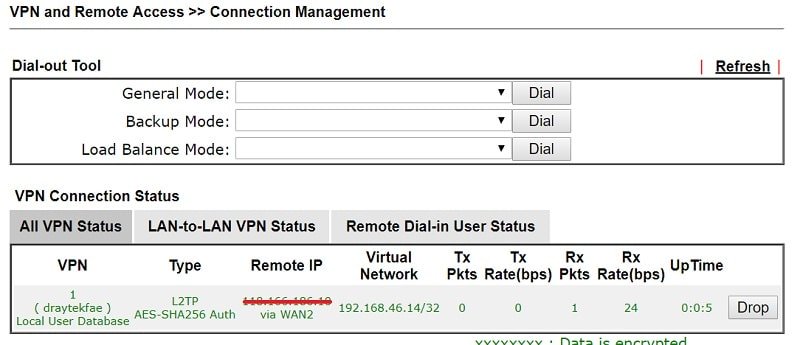
Now, the router is ready for remote dial-in clients. Network Administrator may check the online users from VPN and Remote Access >> Connection Management page.
Vigor Router Setup
1. Make sure the router is connected to the Internet and has a public WAN IP address so that VPN clients on the Internet can reach it.
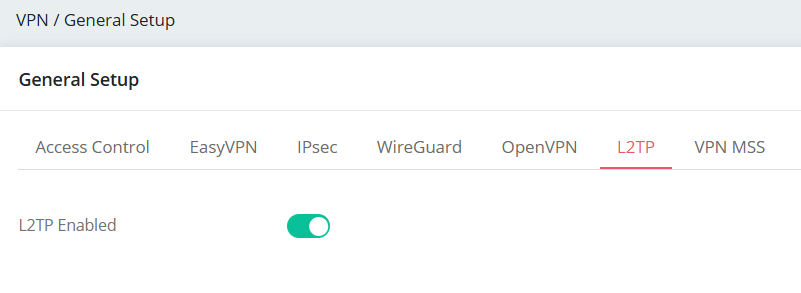
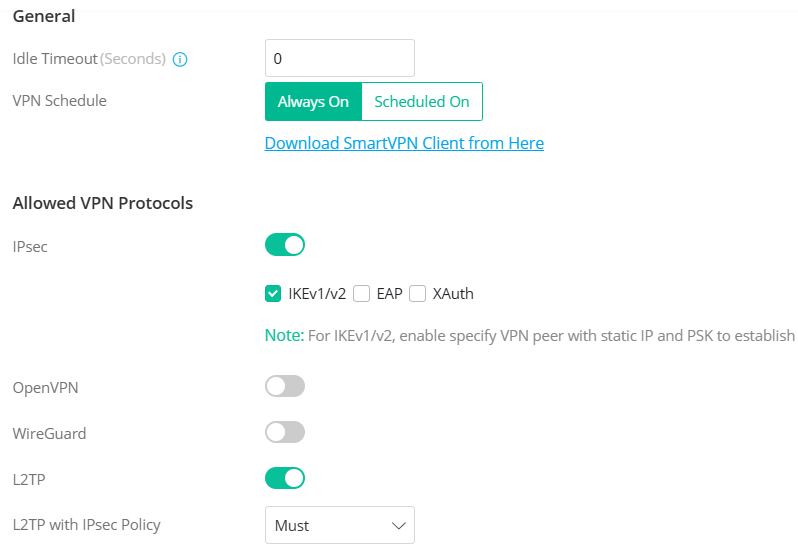
2. Activate the IPsec and L2TP VPN service.
Go to VPN > General Setup,
3. Create a Teleworker VPN User Profile.
Go to VPN > Teleworker VPN, click Add. Enter the Username, toggle Teleworker VPN and enter Password.
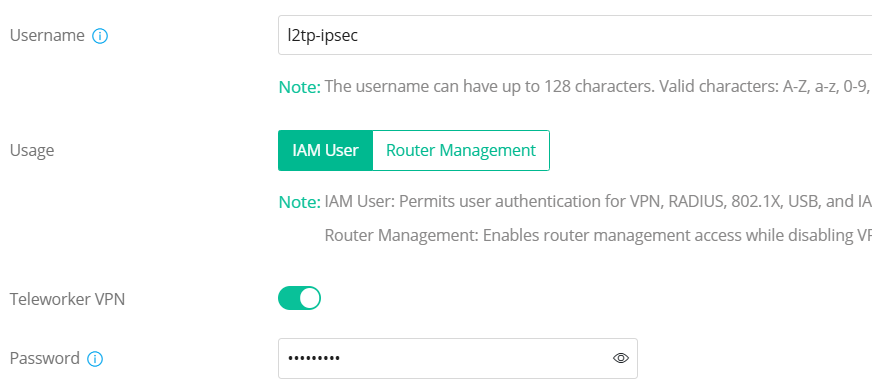
In General Tab,
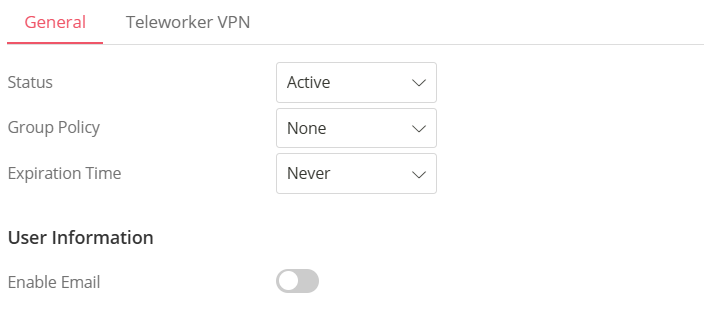
In the Teleworker VPN tab,

VPN Client Setup
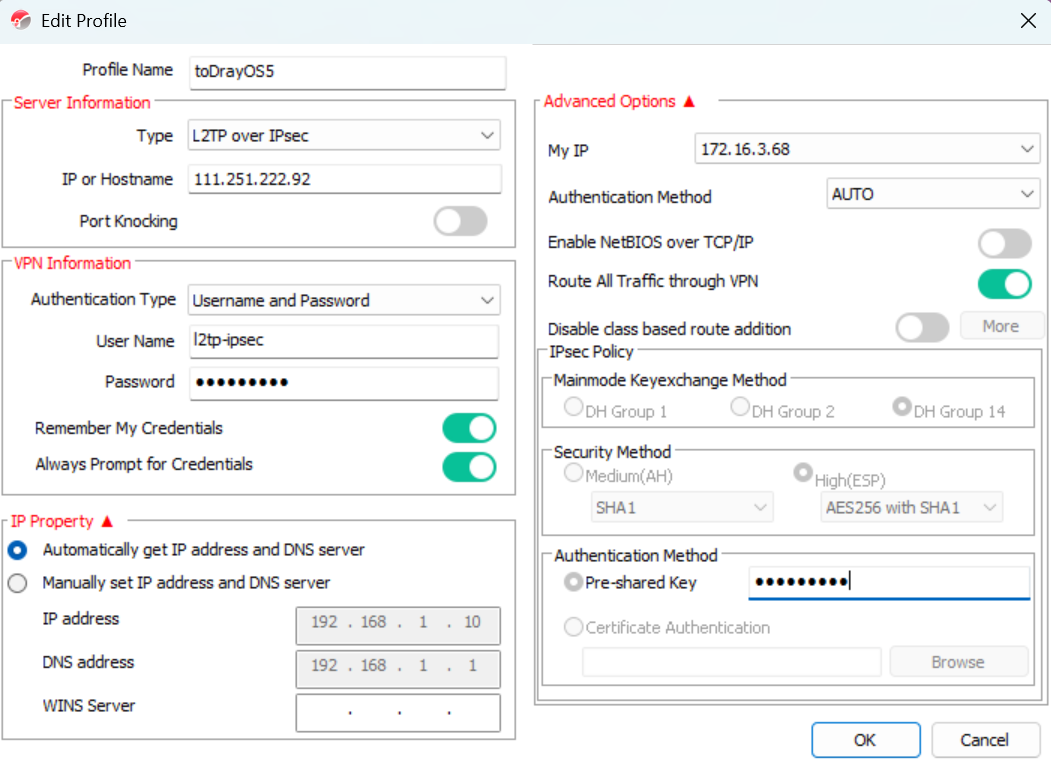
1.Open Smart VPN Client. Add a VPN Profile under Profiles> Add, and edit the settings:
Note: If you need to switch the Internet traffic to the remote Vigor router, please enable Route All Traffic through VPN option.
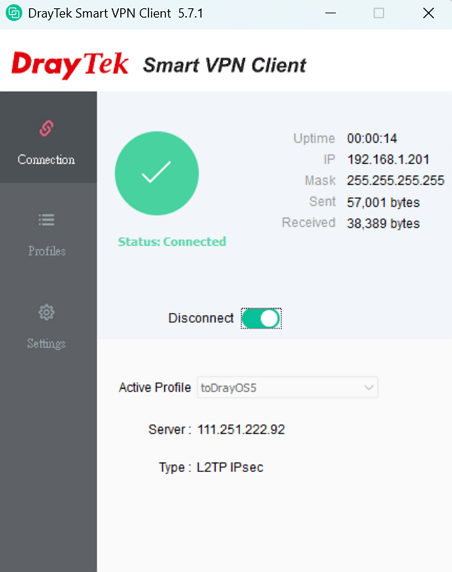
2. Switch to Connection and click Connect.
After the connection is successful, the Smart VPN window will shrink to the taskbar in the lower right corner of the operating system. Click the small icon twice, you can see that the Smart VPN status shows that it is connected.
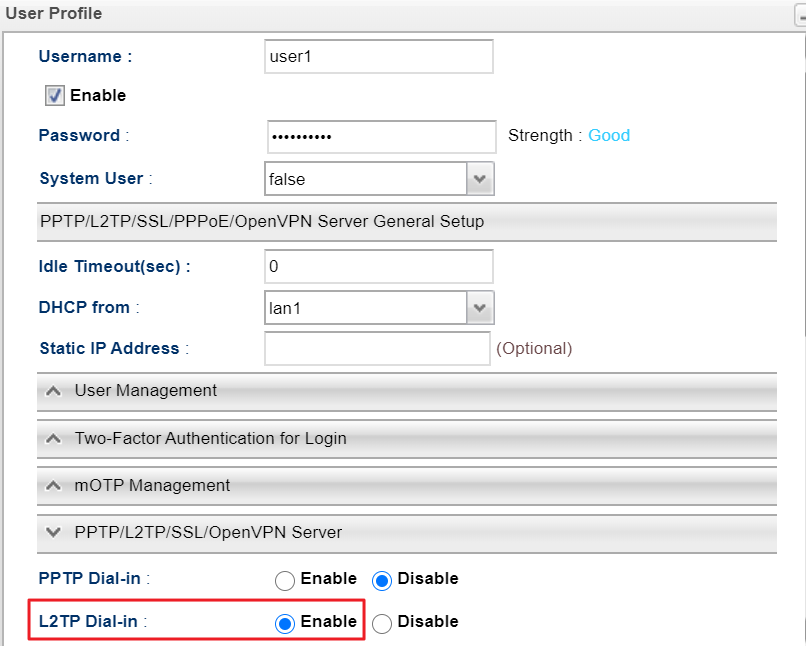
1. Navigate to User Management >> User Profile, click Add to add a new profile, and configure as followings:
- Check Enable
- Type Username and Password
- Select "Enable" for L2TP Dial-In
- Then click Apply to save the User profile.
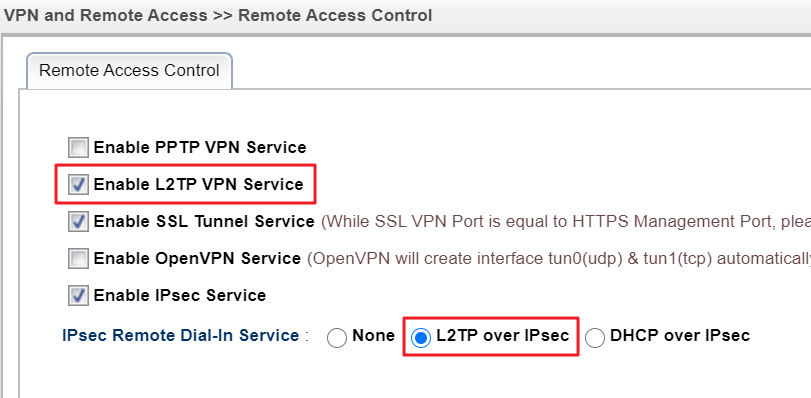
2. Go to VPN >>Remote Access Control and select L2TP over IPsec as IPsec Remote Dial-In Service
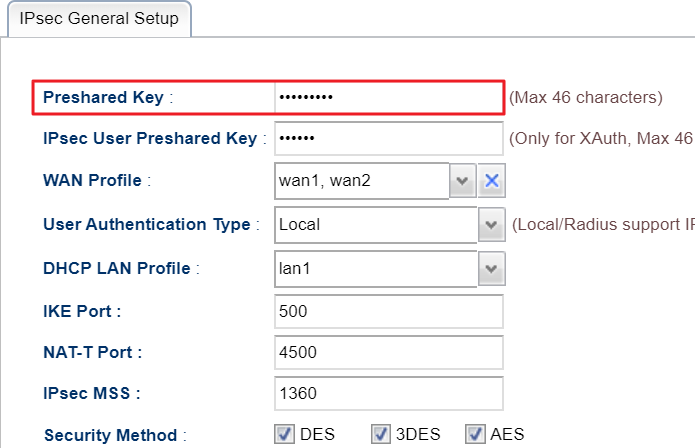
3. Go to VPN >> IPsec General Setup and enter Preshared Key.
Published On:2026-02-24
ShareWas this helpful?