
IKEv2 VPN with EAP Authentication from iOS to Vigor Router using Let's Encrypt
This article demonstrates how to set up Vigor Router an IKEv2 VPN server by using the Let’s Encrypt certificate, and how to establish a connection from iOS.
DrayOS supports generating Let’s Encrypt certificate function since firmware version 3.9.0. As we know, the certificate signed up by Let's Encrypt is a valid certificate so using Let’s Encrypt certificate on Vigor Router can simplify the VPN configuration for different VPN clients, especially while using IKEv2 VPN with EAP authentication VPN. This article demonstrates how to set up Vigor Router as an IKEv2 VPN server by using the Let’s Encrypt certificate, and how to establish a connection from iOS.
Set Up Vigor Router
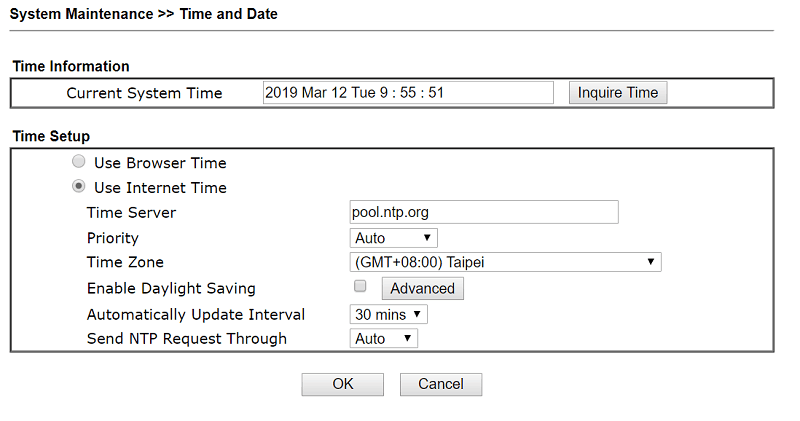
1. Select the correct Time Zone and ensure the router system time is correct.
2. Activate the DrayDDNS service on your Vigor Router by referring to the article here.
3. Apply the Let's Encrypt certificate for your DrayDDNS domain name by referring to the article here.
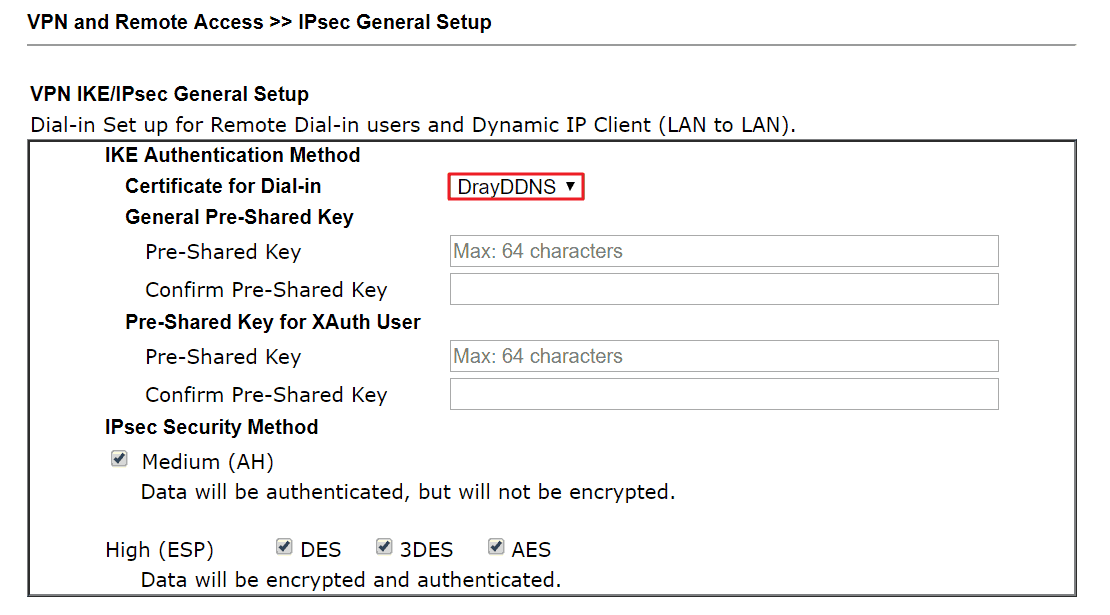
4. Go to VPN and Remote Access >> IPsec General Setup page, select DrayDDNS – the Domain which used for applying Let's Encrypt certificate as Certificate for Dial-in.
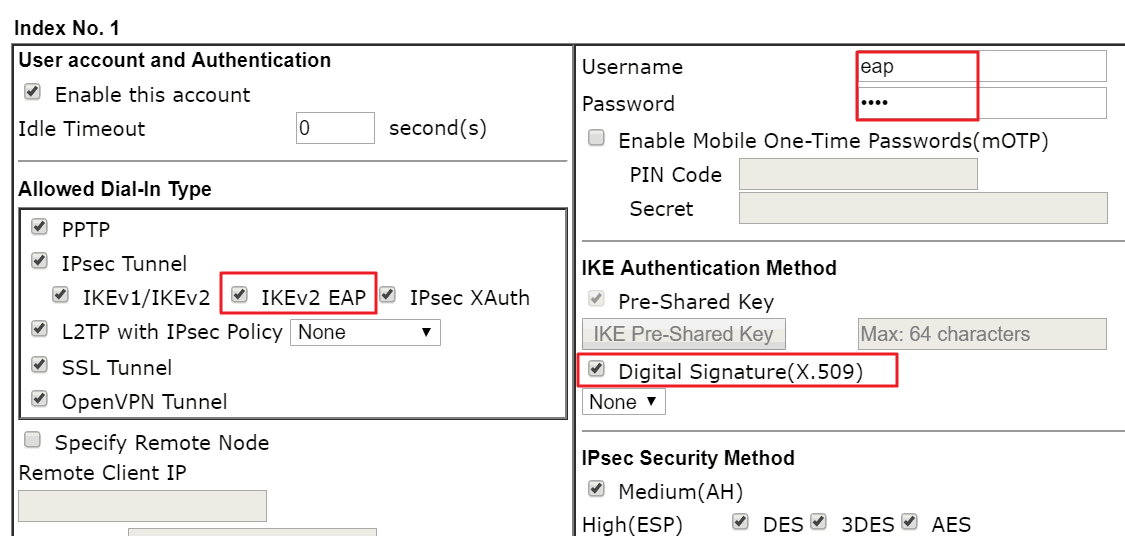
5. Go to VPN and Remote Access >> Remote Dial-in User page, click an available index. Edit the profile as follows:
- Enable the account and enable IKEv2 EAP.
- Give Username and Password,
- Select Digital Signature(X.509).
- then click OK.
Connecting from iOS
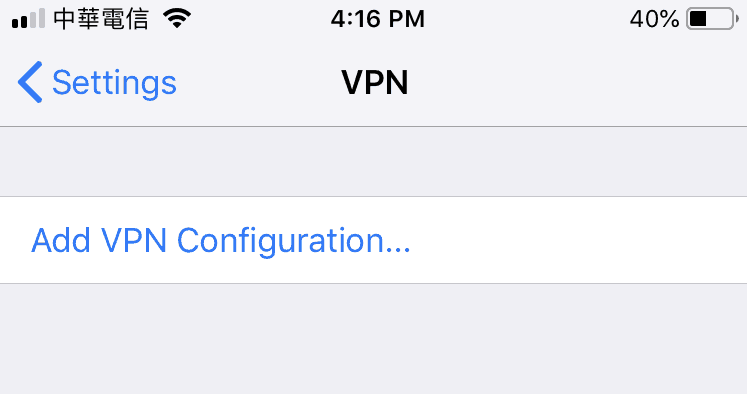
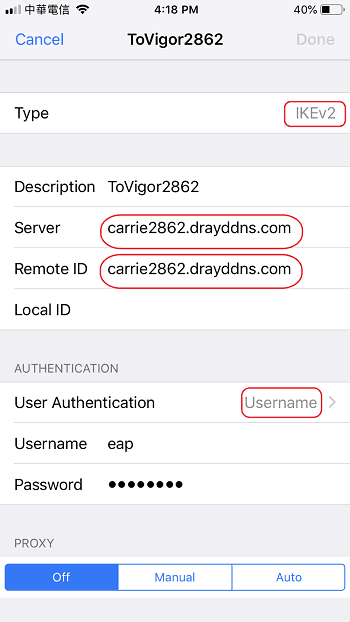
1. Go to General >> VPN page, and tab Add VPN Configuration.
2. Configure the VPN as follows:
- Select IKEv2 as Type.
- Enter the domain of the router as Server and Remote ID.
- Enter Username and Password.
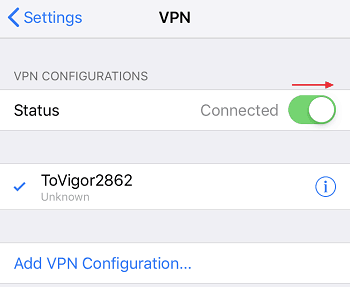
3. Switch on the VPN. Then we can check the VPN status after connection established successfully.
Vigor Router Setup
1. Apply for a Let’s Encrypt Certificate.
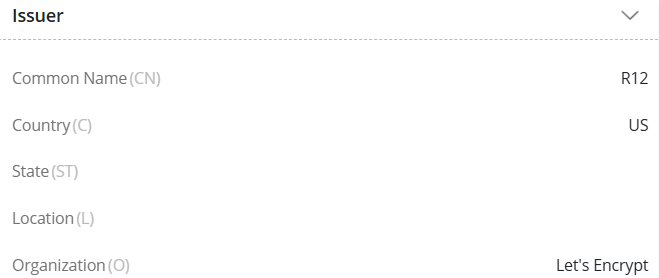
IKEv2 EAP VPN uses the VPN server’s certificate for authentication. Registering a Let's Encrypt certificate for the VPN server’s domain helps streamline the VPN setup. For detailed steps, please refer to Apply for a Let's Encrypt certificate for your DDNS domain
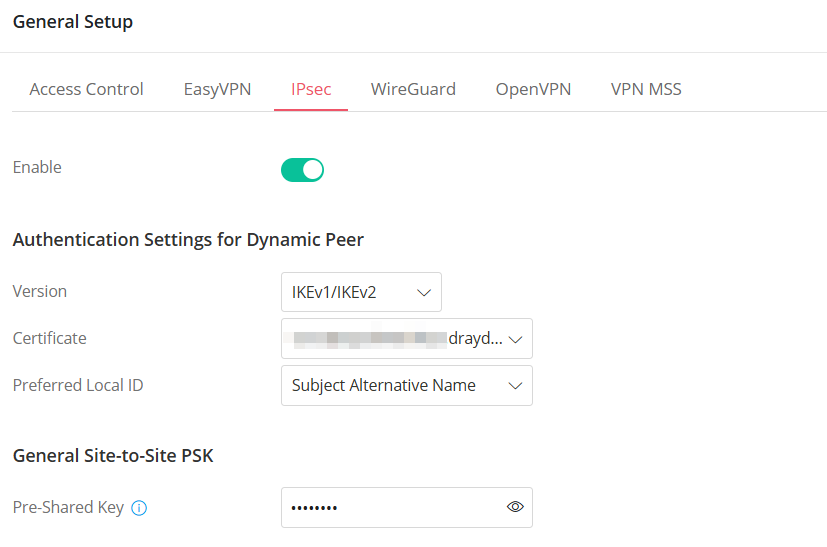
2. Activate the IPsec VPN service.
Go to VPN > General Setup,
3. Create a Teleworker VPN User Profile.
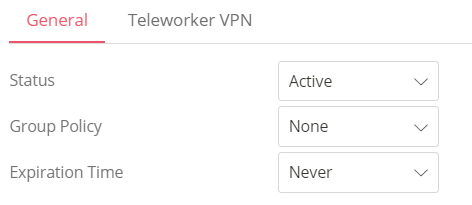
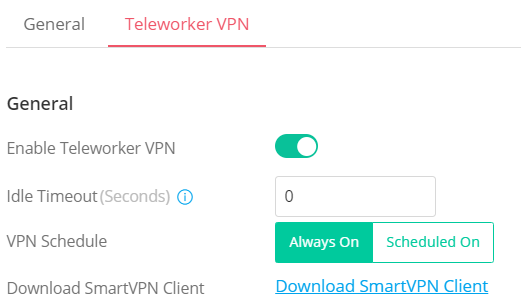
Go to VPN > Teleworker VPN, click Add, and enter the Username, toggle Teleworker VPN and enter Password.
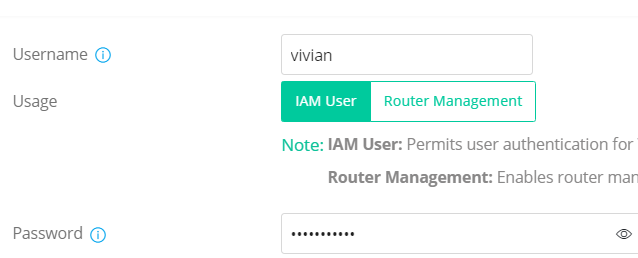
In General Tab,
In the Teleworker VPN tab,
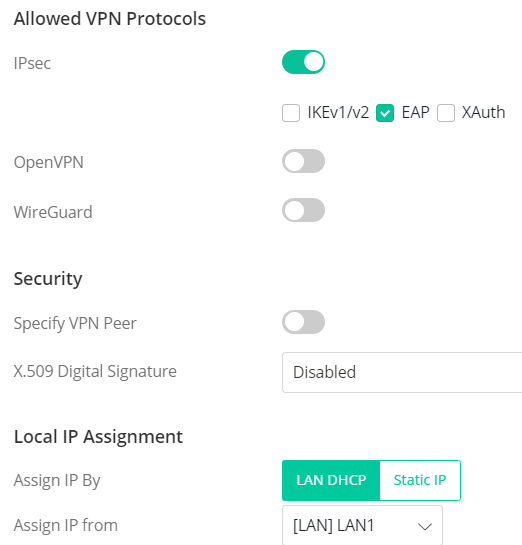
iOS Smart VPN App Setup
1. Run SmartVPN app and add a profile as follows:
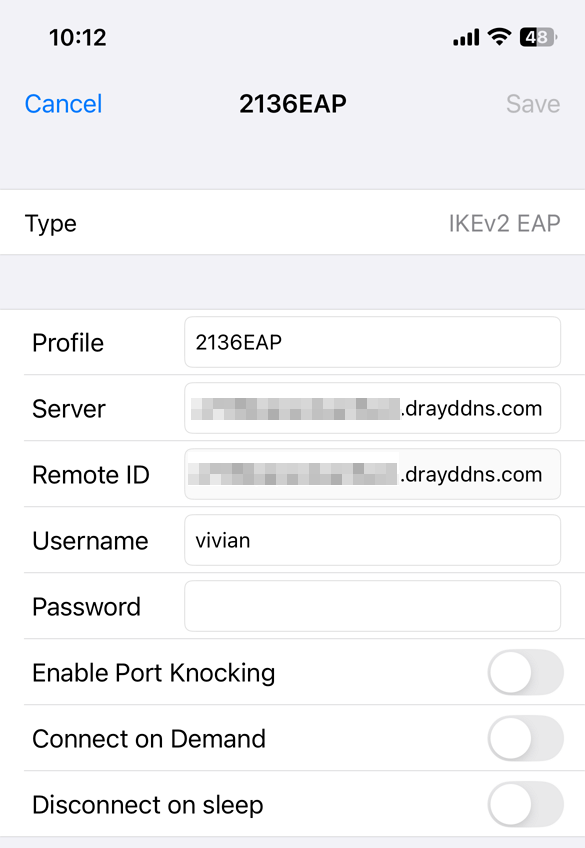
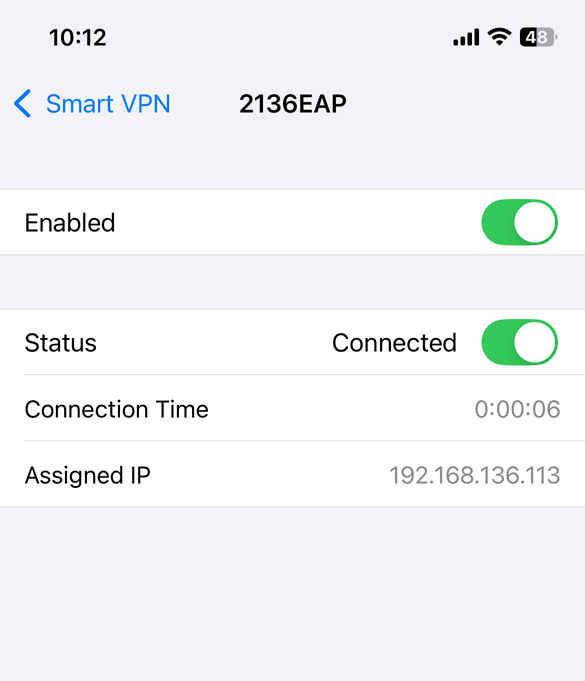
2. Toggle Enabled, then switch the Status icon to start the VPN connection. The IKEv2 EAP connection will connect successfully.
Published On:2019-03-26
ShareWas this helpful?