
Authenticate Hotspot User with External RADIUS Server
This document demonstrates how to use a hotspot portal with an external Radius server to allow users to log in with user profiles on the external authentication server.
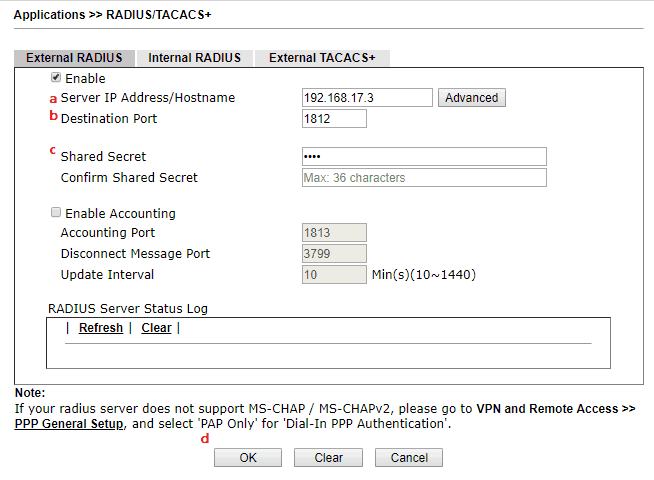
1. Go to Applications >> RADIUS/TACACS+ to set up the server.
- Check Enable at the External RADIUS tab
- Input the Server IP address
- Specify the service port if needed
- Input on the shared secret
- Click OK to save the configuration
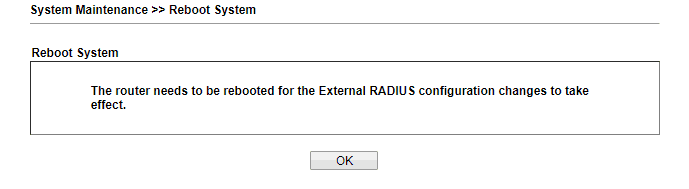
2. The Router will need a reboot to apply the changes.
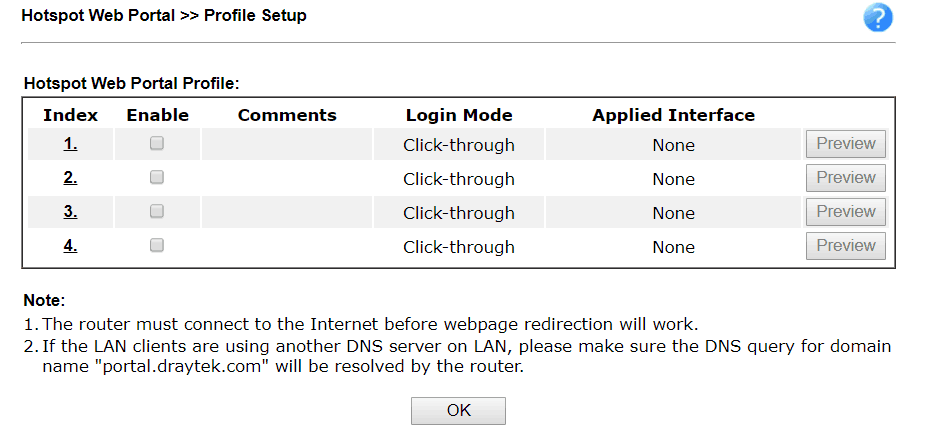
3. Go to Hotspot Web Portal >> Profile Setup, click an available index to edit the profile.
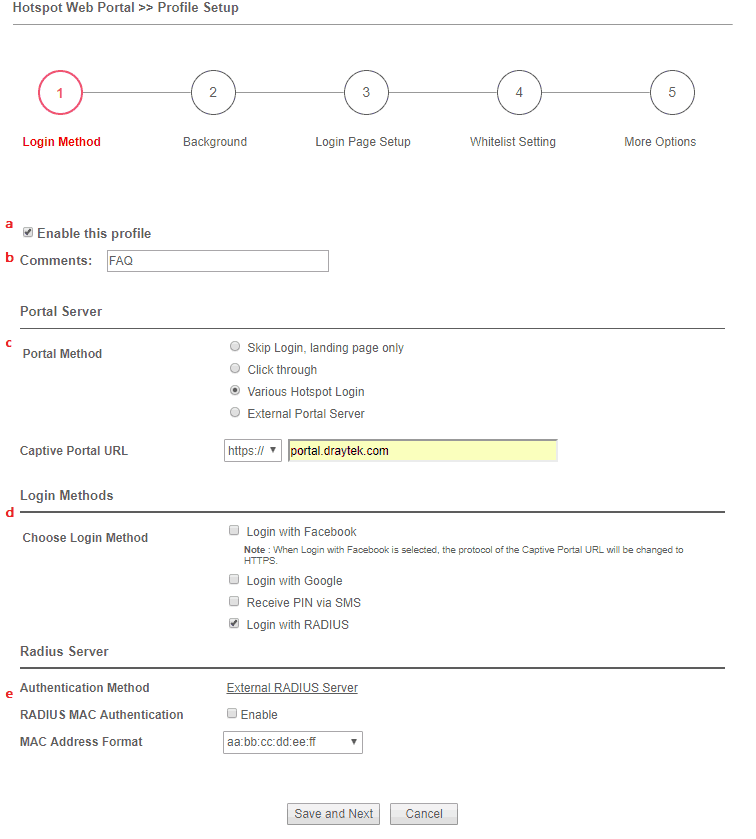
4. Set up the profile as follows:
- Check Enable this profile
- Enter comment
- Choose Various Hotspot Login for Portal method
- Choose Login with RADIUS at Login Methods
- Configure the Radius details if needed.
5. Click Save and Next. Follow the steps to customize the login portal page, set up whitelist, and land pages. Then click Finish.
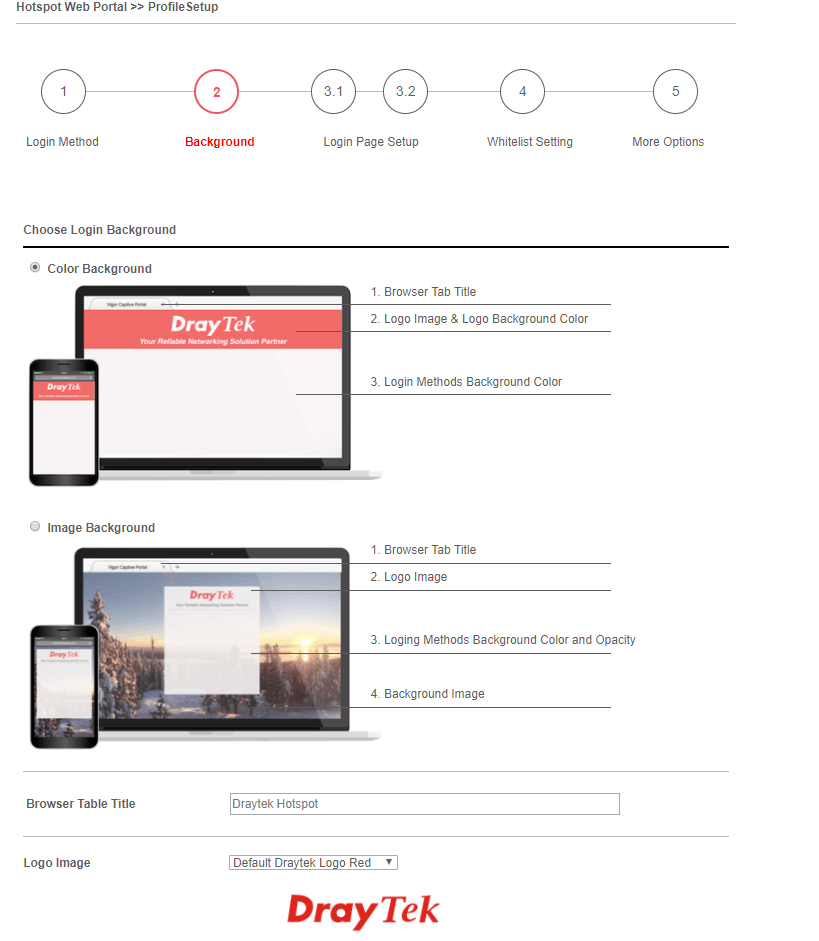
Vigor Routers support hotspot web portals, allowing them to act as captive portal gateways. This means internet access is only granted to clients who authenticate successfully. The login method "RADIUS" enables hotspot users to log in using the user profile preconfigured on an external RADIUS server.
This guide shows how to set up a Vigor Router as a hotspot gateway and activate RADIUS for client authentication.
Add an External RAIDUS Profile
Go to the Configuration / RADIUS/ TACACS+ menu page. In the External Radius tab, click +add to add an external RADIUS profile for the hotspot authentication.
- Enter a profile a name.
- Enable RADIUS Authentication.
- Click +Add and enter the server details.
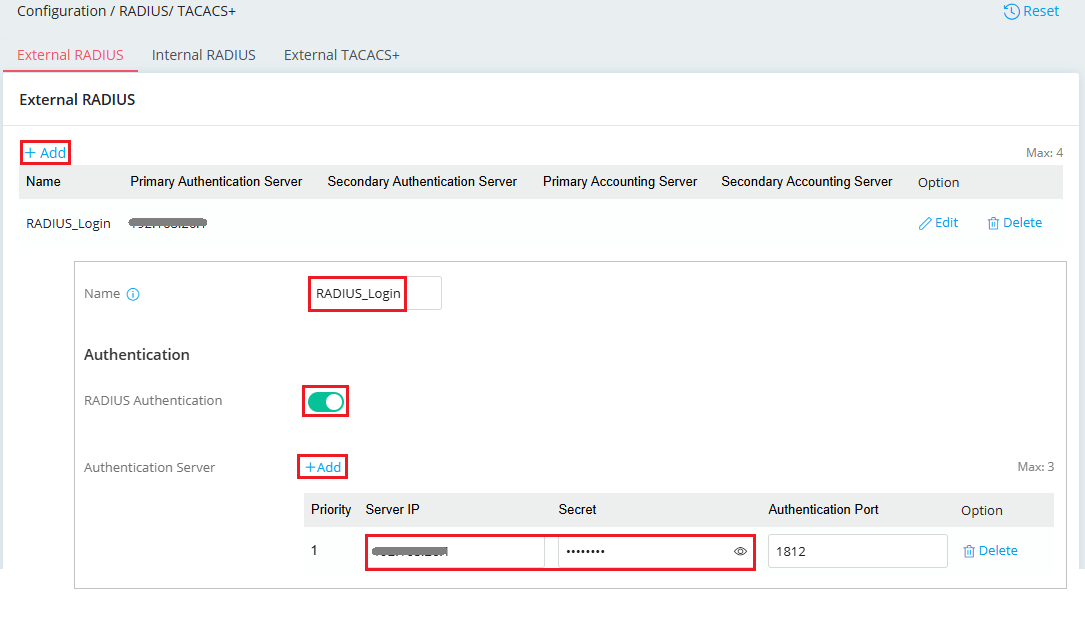
Click Apply to save the profile.
Create a Hotspot Profile
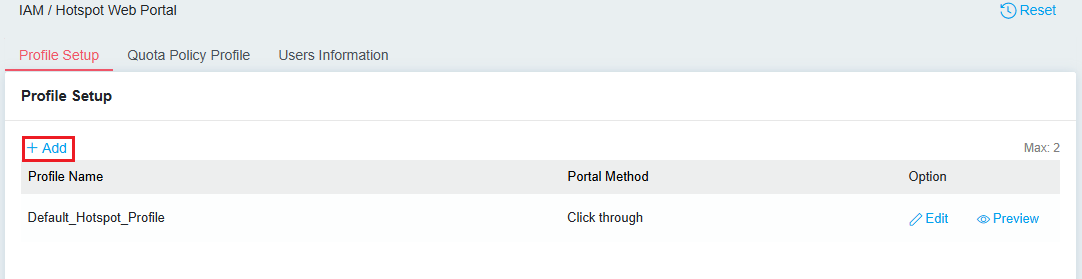
Go to IAM / Hotspot Web Portal menu page. In the Profile Setup tab, click +Add to create a hotspot profile and enter the required settings for each section.
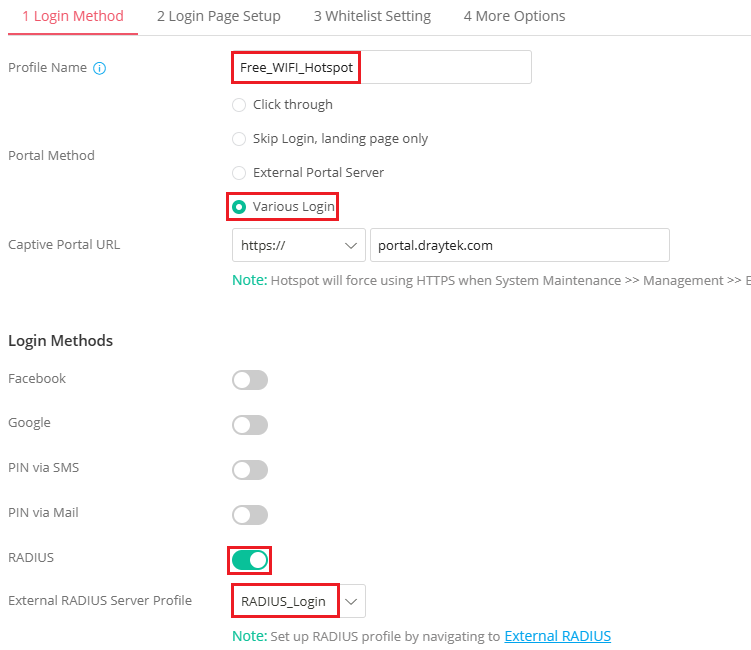
Login Method
- Enter a profile name.
- Select Various Login as the portal method.
- Enable RADIUS and select the RADIUS profile used for the hotspot authentication.
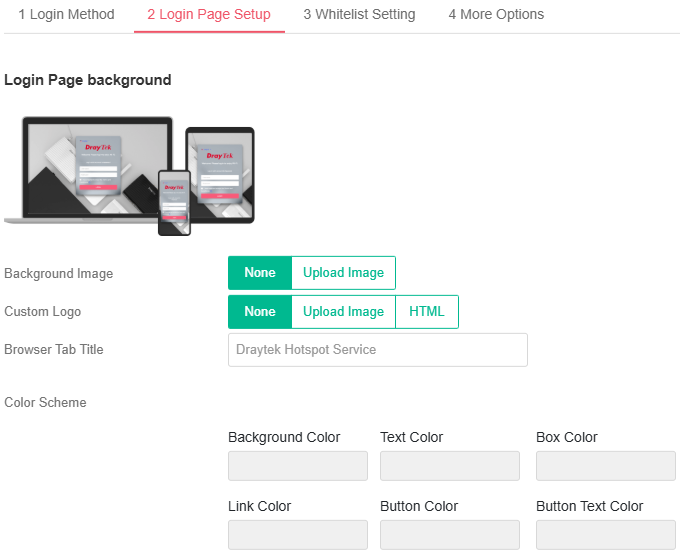
Login Page Setup (Optional)
- Customize the hotspot web portal page.
More Options (Optional)
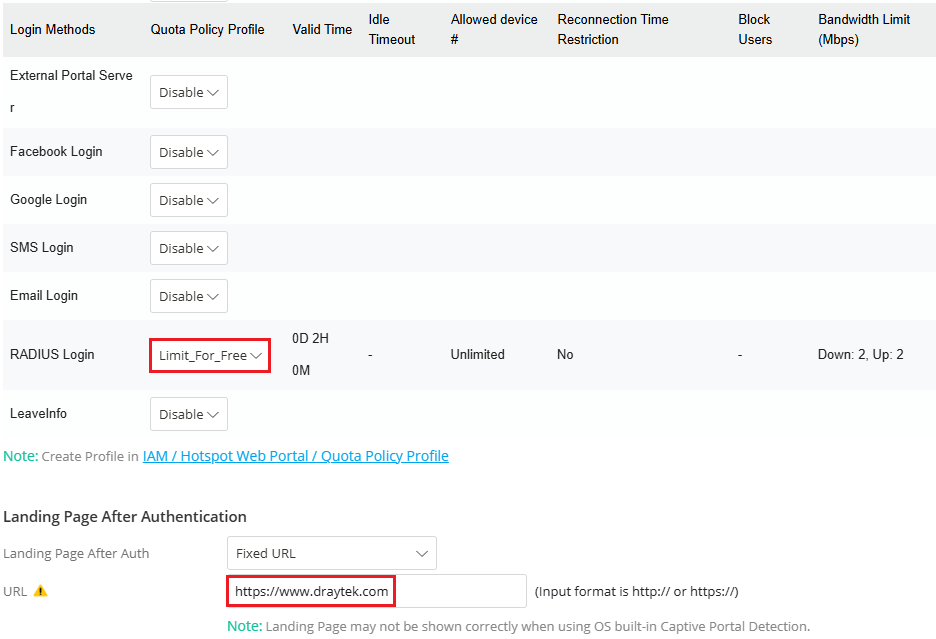
- Apply the quota policy profile in the login method we use.
- Enter the desired website as the landing page.
Click Apply to save the settings.
Apply the Hotspot Profile in IAM Policies
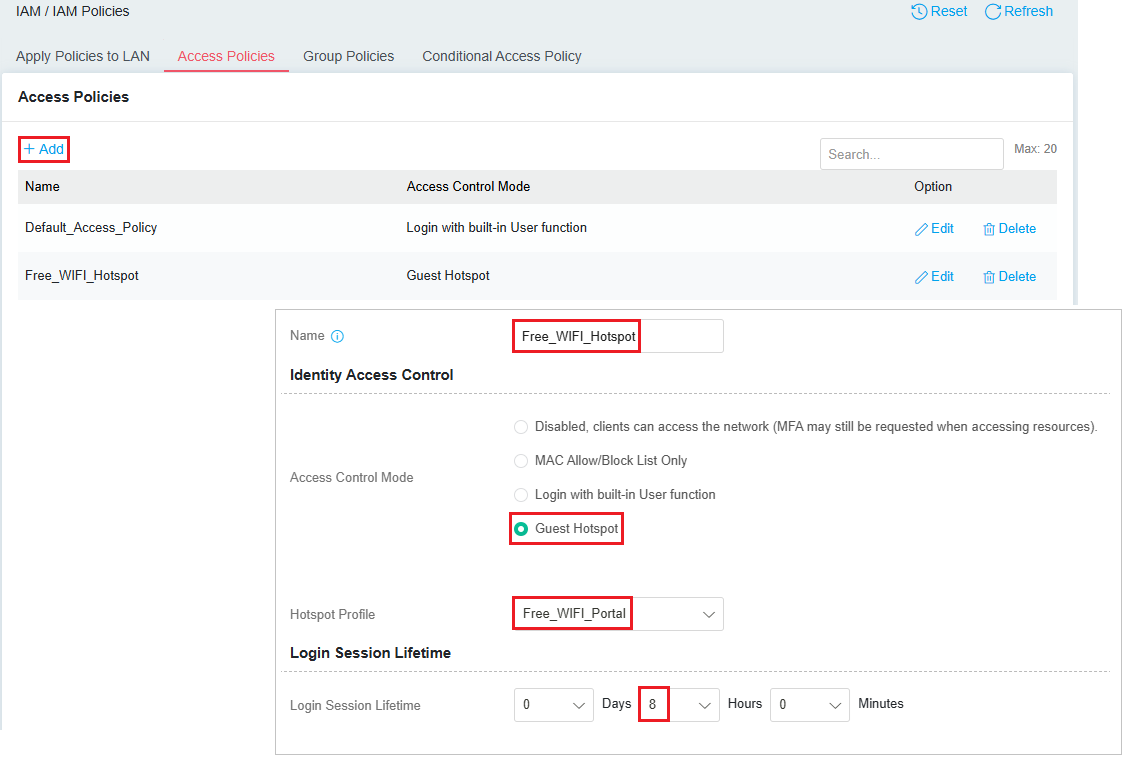
Go to IAM / IAM Policies menu page. In the Access Policies tab, click +Add to define an access policy.
- Enter a name for this access policy.
- Select Guest Hotspot as the access control mode.
- Choose the hotspot profile created previously.
- Set the login session lifetime of each user.
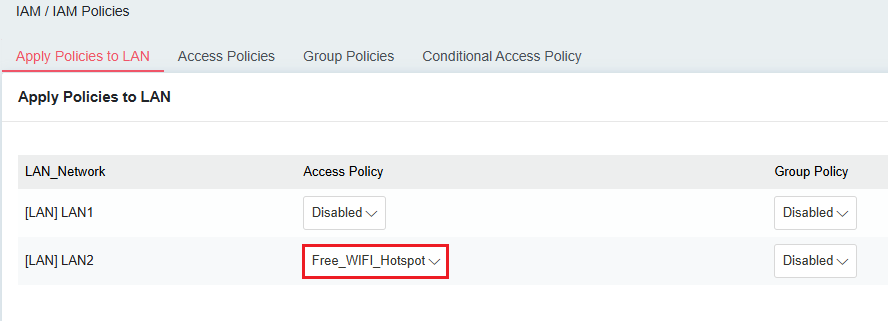
In the Apply Policies to LAN tab, apply that access policy to the interface for the hotspot login.
Verify Hotspot Client Login
Connect a device to the interface configured for the hotspot login. The router should automatically redirect the device to the hotspot login page.
Enter the username and password, then click Login.
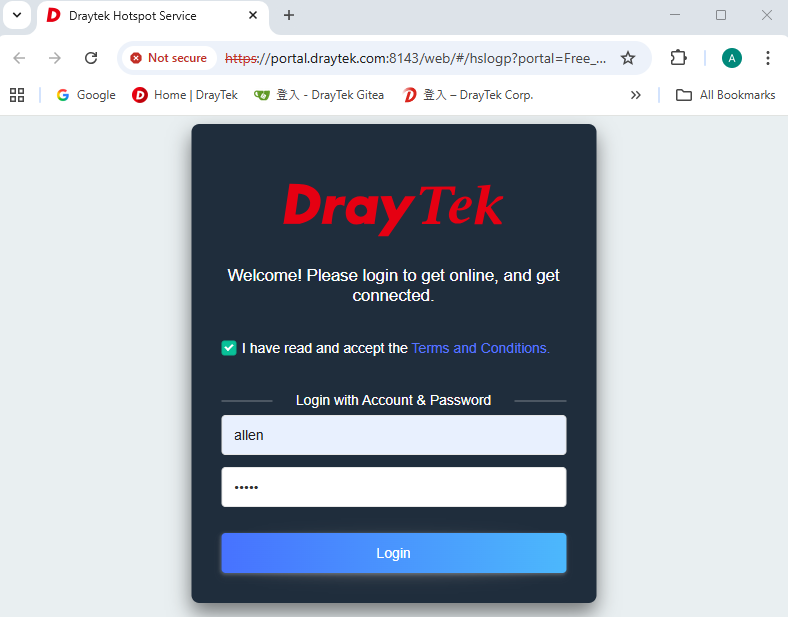
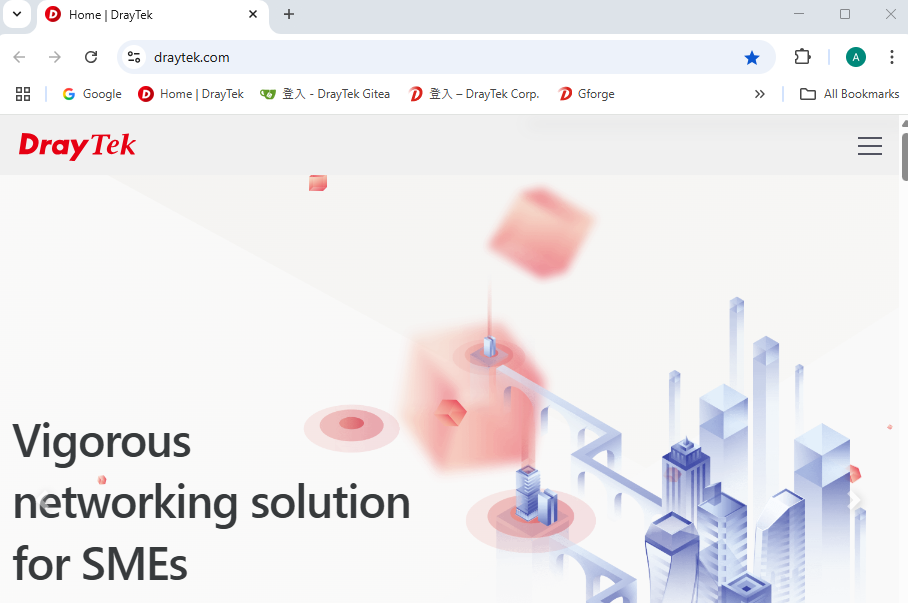
If the login is successful, the device will be redirected to the landing page and granted internet access.
Published On:2018-12-11
ShareWas this helpful?