
VigorAP Automatic Provisioning with Vigor Router
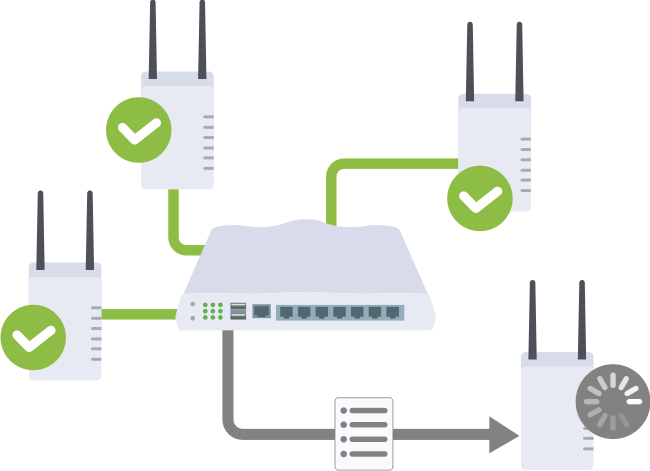
This article introduces how to set up Vigor Router to perform auto-provisioning for VigorAP. So that when a new VigorAP joins the router's LAN network, it can download the WLAN settings from the router automatically. It will reduce the need for the on-site technician when you need to add a new access point to the existing network.
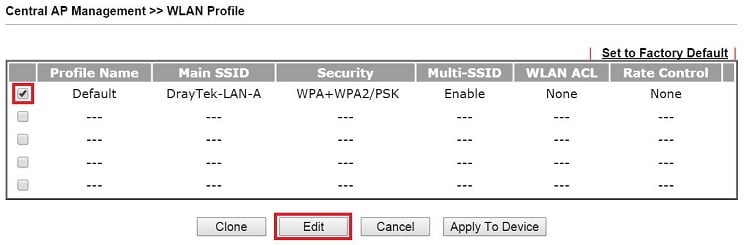
1. Edit the Default WLAN Profile: Go to Central Management >> AP >> WLAN Profile, select Default Profile and click Edit.
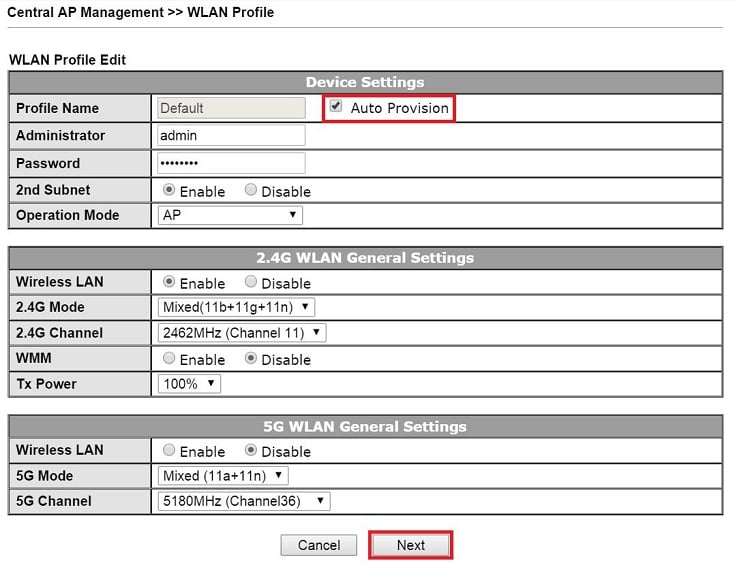
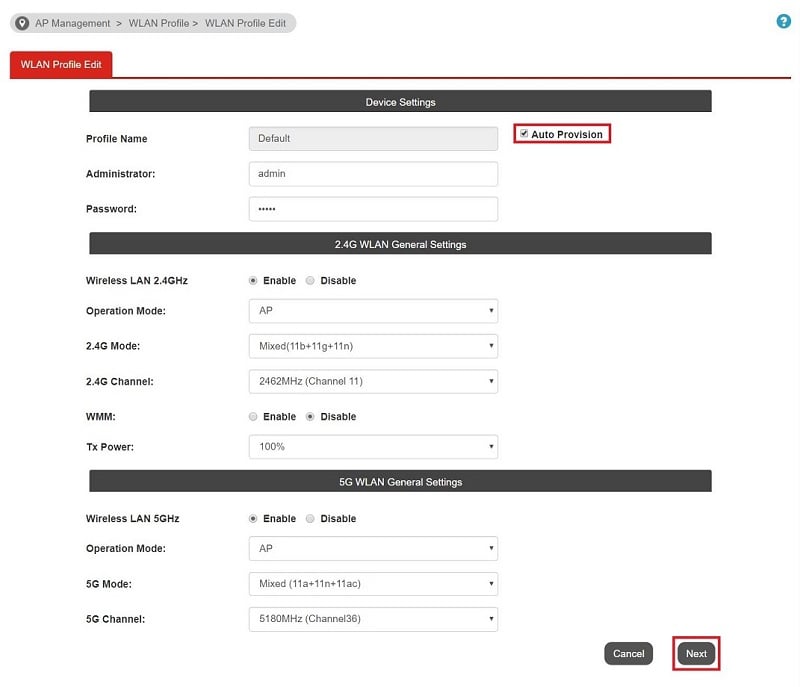
2. Customize the basic settings for the access point. Make sure Auto Provision is checked. Click Next to move on to SSID settings.
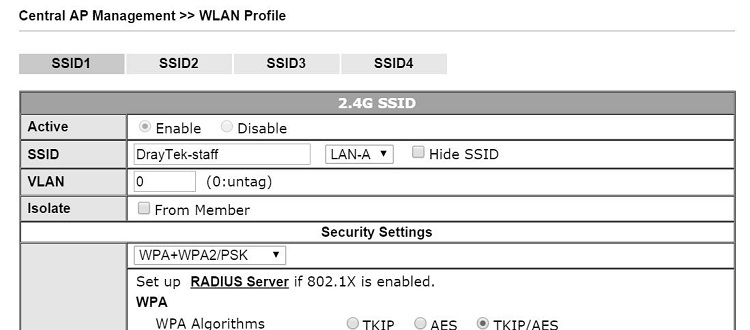
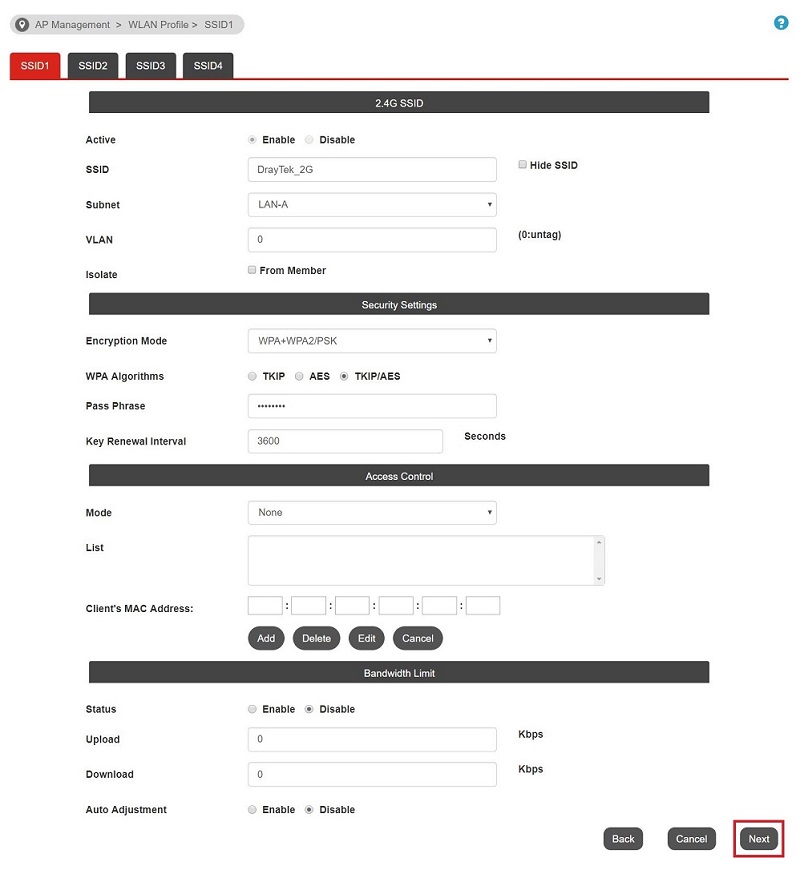
3. Configure SSID and security for each SSID on the 2.4GHz band, and click Next.
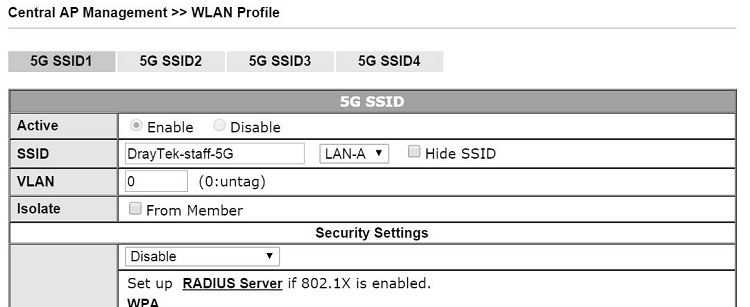
4. Similarly, enter settings for each SSID on the 5GHz band, and click Finish.
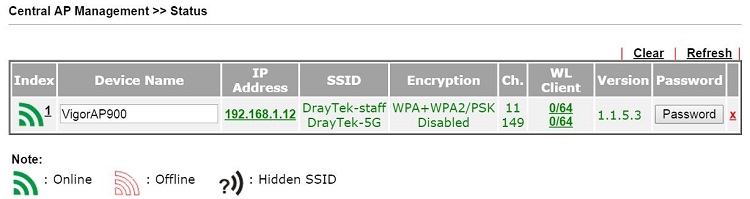
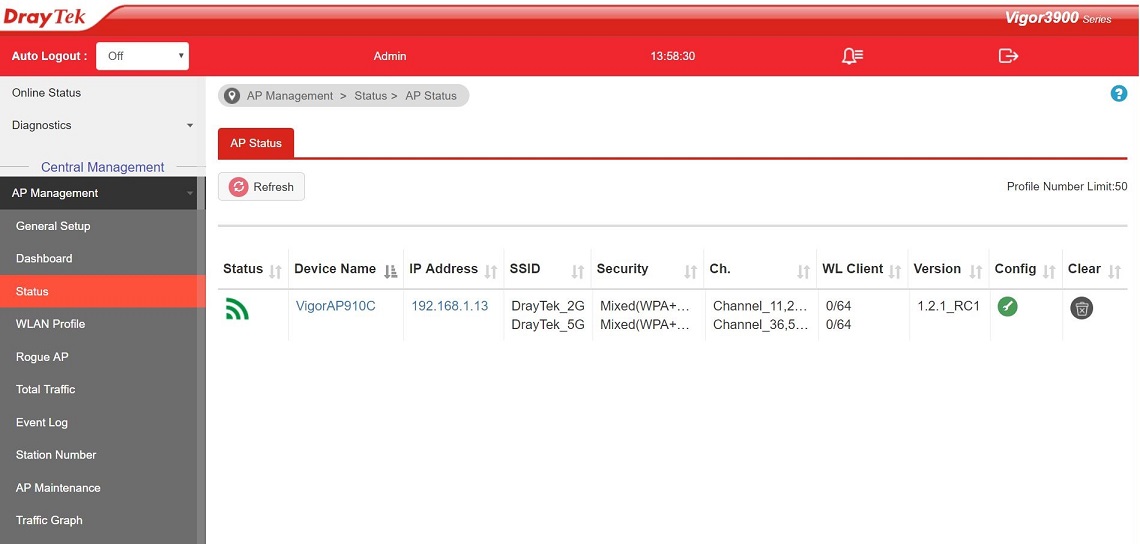
5. With the above configuration, when a VigorAP connects to the router's LAN network, it will get the WLAN configuration from the router automatically. It might take about a minute. After that, you may check the configuration of VigorAP from Central Management >> AP >> Status.
Note that Auto-Provisioning may not work if:
- The VigorAP is NOT using the default Admin password.
- The VigorAP has DISABLED AP Management and Auto Provision.
Trouble-shooting
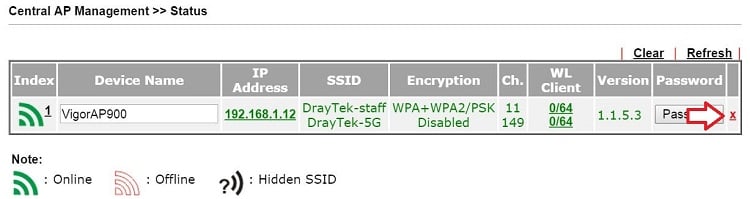
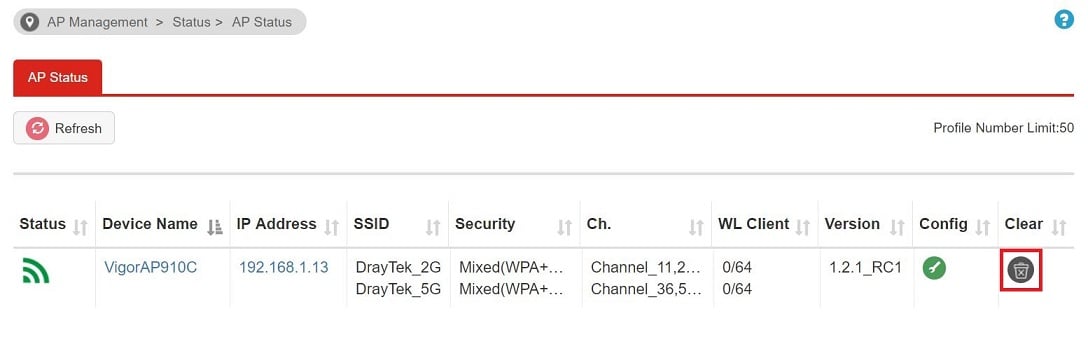
When a VigorAP is shown in Status page but did not get provision from the router, please click "X" at the right side of the device to remove it, and let VIgorAP try to register to the router again.
1. On the router, go to Central Management >> AP, there will be a new window pop out. Go to AP Management >> WLAN Profile, select Default profile then click Edit / Add.

2. Set up the WLAN profile, make sure the Auto Provision option is checked, then click Next.
3. Edit the settings of each SSID on the 2.4GHz band, and click Next.
4. Edit the settings of each SSID on the 5GHz WLAN, and click Finish.

5. With the above configuration, when a VigorAP connects to the router's LAN network, it will get the WLAN configuration from the router automatically. It might take about a minute. After that, you may check the configuration of VigorAP from AP Management >> Status.
Note that Auto-Provisioning may not work if:
- The VigorAP is NOT using the default Admin password.
- The VigorAP has DISABLED AP Management and Auto Provision.
Trouble-shooting
When a VigorAP is shown in Status page but did not get provision from the router, please click "Clear" at the right side of the device to remove it, and let VIgorAP try to register to the router again.
Published On:2017-07-25
ShareWas this helpful?