
EasyVPN from Linux to Vigor Router by EasyVPN Client Tool for Linux
Vigor Router supports various VPN protocols, including IPsec, WireGuard, and OpenVPN. With so many protocols and configuration options, general users may encounter difficulties in choosing the right one, face challenges during setup, or fail to establish a VPN connection due to environmental factors. To reduce these issues, Vigor Router has developed a new EasyVPN feature.
With EasyVPN, users no longer need to generate WireGuard keys, import OpenVPN configuration files, or upload certificates. Instead, VPN can be successfully established by simply entering the username and password or getting the OTP code by email.
Additionally, if a VPN connection cannot be established for any reason, the EasyVPN Client will automatically switch to the next available protocol and retry the connection.
Supported model and firmware version:
- Vigor2136: firmware 5.3.1 version and above
- EasyVPN Client tool for Linux: 1.0.0 version and above
Vigor Router Setup
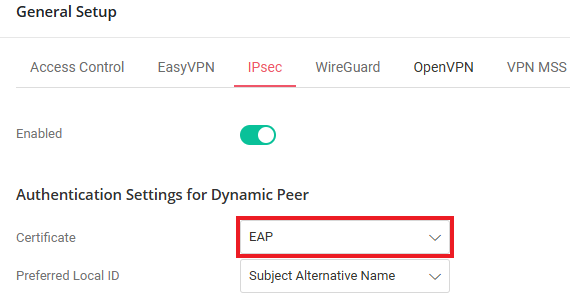
- Enable VPN services and configure the settings as follows:
-
IPsec: Select the Certificate for the IPsec Dial-In connection.
-
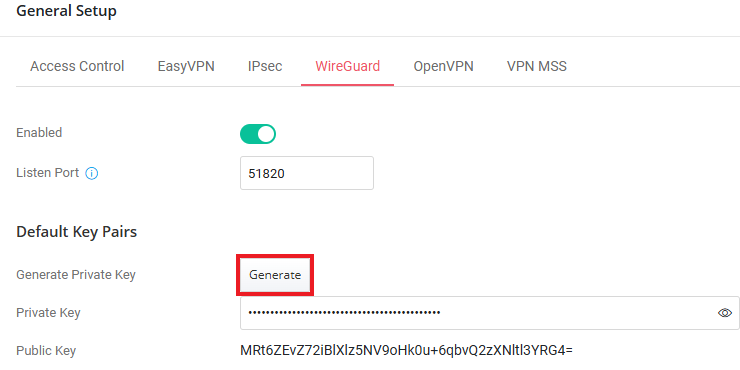
WireGuard: Generate the Default Key Pairs for the WireGuard Dial-In connection.
-
OpenVPN: Generate and select the Router Generate Certificates for OpenVPN Dial-In connection.

- Navigate to VPN / Teleworker VPN page, click Add to create a Teleworker VPN User Profile as follows:
-
Enter Username and Password.

-
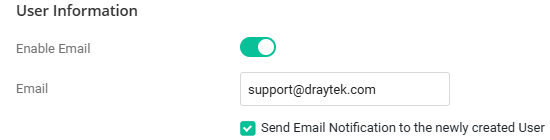
In the User Information section, switch on the “Enable Email” option and enter the user’s email address. This will allow users to receive OTP by email for authentication.
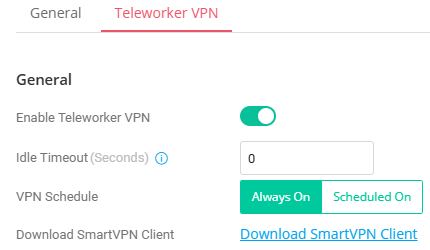
- In the Teleworker VPN tab,
- Switch on Enable Teleworker VPN.
- Set Idle Timeout as 0.
-
Select the VPN Schedule as "Always On"
-
Under Allowed VPN Protocols, enable IPsec, OpenVPN and WireGuard. It is recommended to deselect IKEv1/v2 since EasyVPN could not use this option to dial in while using a dynamic IP address.

-
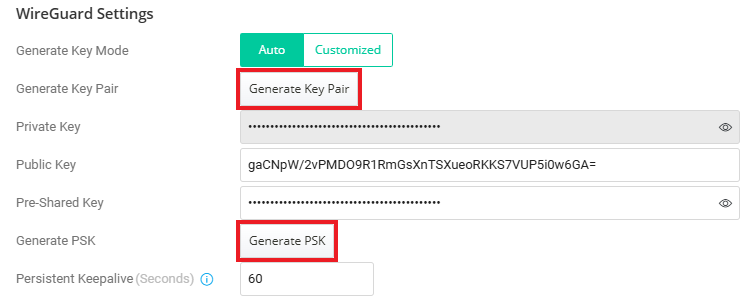
Click Generate Key Pair and Generate PSK to create the WireGuard settings for the user.
-
In Local IP Assignment, it is required to assign a static IP for WireGuard Protocol. Select “Static IP”, choose a LAN subnet and assign an IP address in the profile.
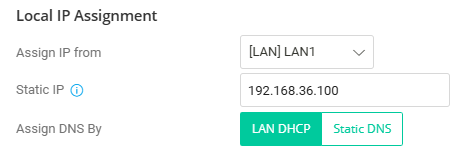
- Please note that the Static IP option will not be available if WireGuard is selected in the current firmware version. To assign a fixed IP to the VPN user, deselect WireGuard and choose Static IP instead.
- Click Apply to save the profile.
-
Enable EasyVPN service.
Navigate to VPN / General Setup / EasyVPN page and Enable the EasyVPN service. - The Listen Port mode allows users to configure the ports that the EasyVPN service listens to.
-
Follow HTTPS WAN Access Port: This option uses the same port as the HTTPS Management port for the EasyVPN service. Note that HTTPS Management from the WAN must be enabled to allow the EasyVPN client to communicate with the EasyVPN server.

-
Customize: This option allows users to manually configure the port for the EasyVPN service.

-
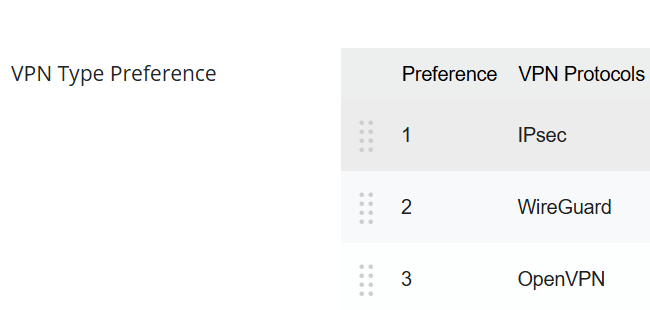
The VPN Type Preference feature allows users to customize the priority of Dial-In VPN connections. By default, the sequence is arranged based on VPN performance: IPsec > WireGuard VPN > OpenVPN. To adjust the order, simply drag and rearrange the items in the provided interface.
-
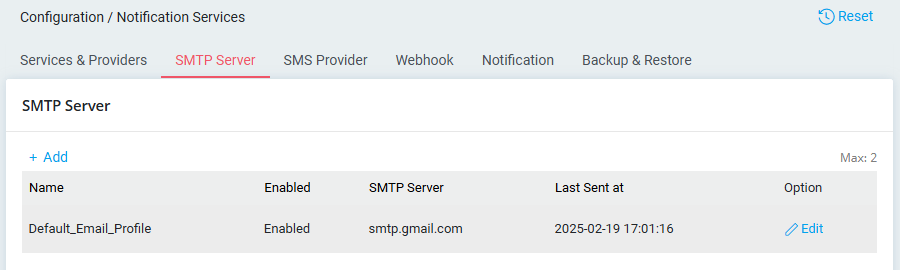
To use Email OTP as the authentication method, create an SMTP server profile on the router by navigating to Configuration > Notification Services > SMTP Server. Refer to the SMTP setup article here for more details.
EasyVPN Client tool for Linux Setup
- Download and extract the EasyVPN Client Tool for Linux. In this document, we will demonstrate the steps on Ubuntu 24.04 LTS.
-
EasyVPN Client Tool requires to install WireGuard / OpenVPN / Strongswan package first.
$sudo apt update && sudo apt install wireguard
$sudo apt update && sudo apt install openvpn
$sudo apt update && sudo apt install strongswan strongswan-starter libcharon-extra-plugins - Run EasyVPN Client Tool with the command sudo ./EasyVPN
- Authentication Type: Username Password
- Enter VPN server’s IP or Domain name.
- Enter Port number if custom port is configured.
-
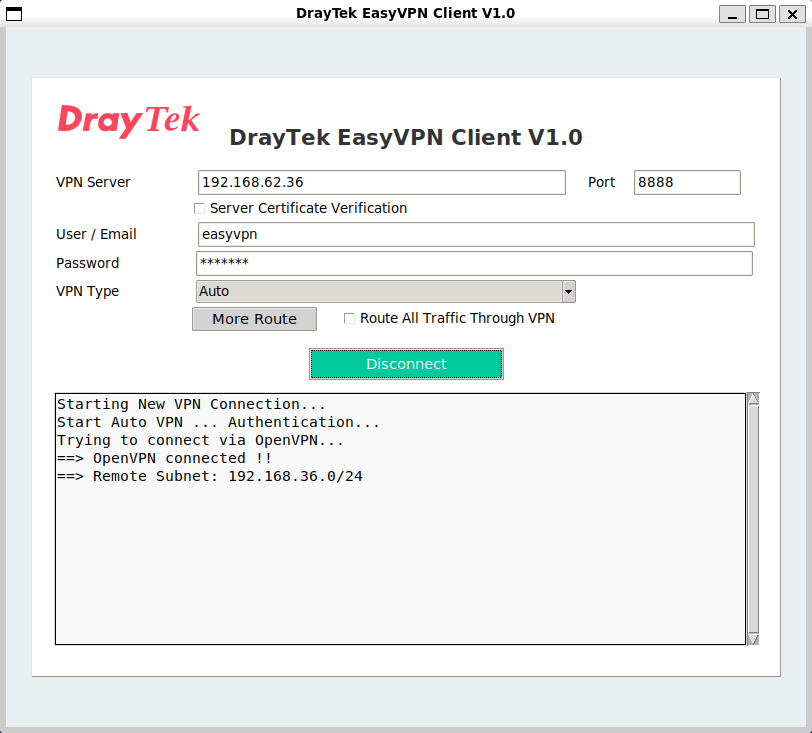
Enter the Username and the Password then click “Connect” to Dial VPN.

-
VPN is UP.
- Authentication Type: Email OTP
- Enter VPN server’s IP or Domain name.
- Enter Port number if custom port is configured.
-
Enter the client’s Email address to receive OTP, then click “Get Login Code” to Dial VPN.
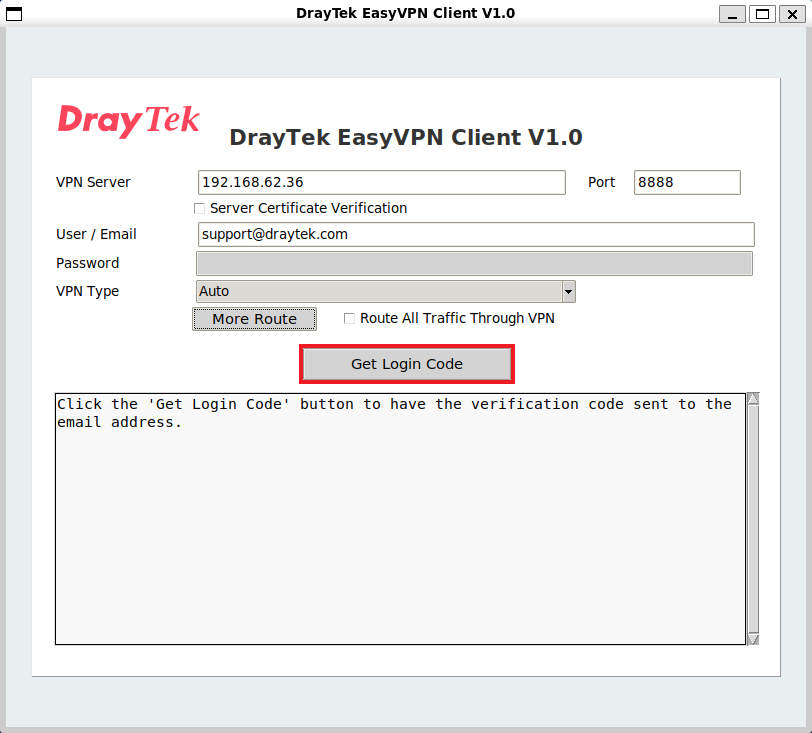
-
Enter the 6-digit OTP code, then click “OK”

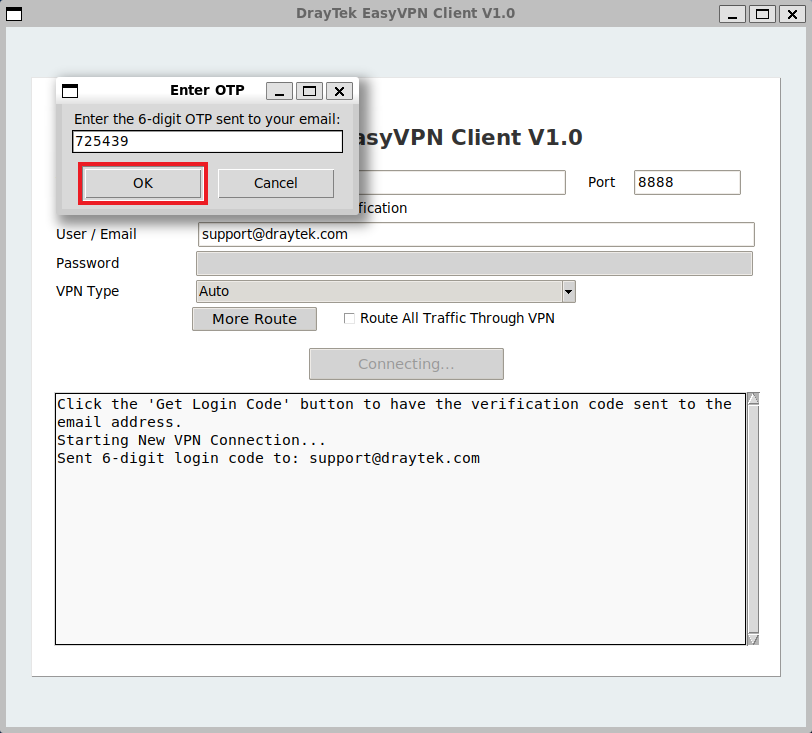
-
VPN is UP.
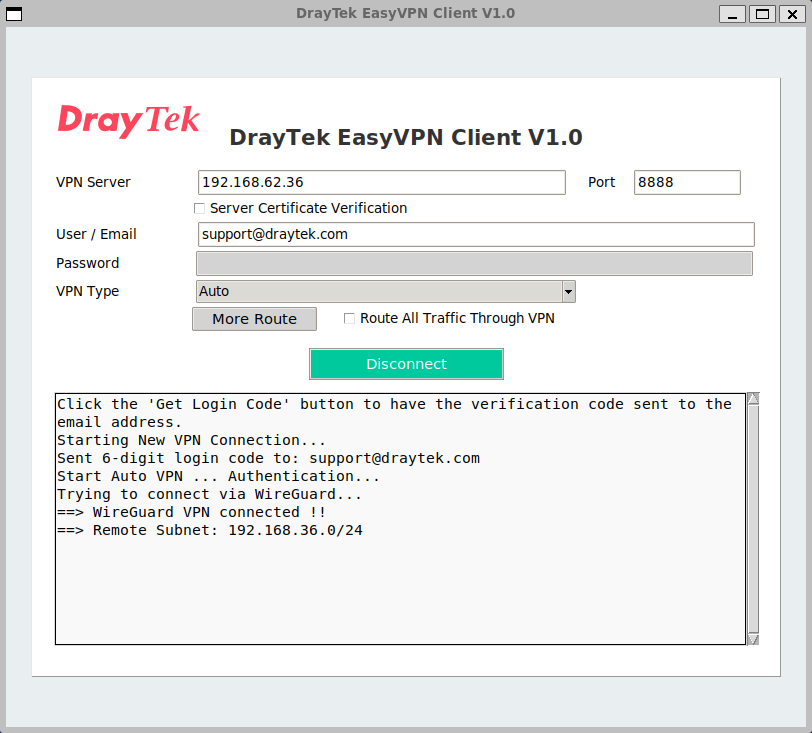
-
EasyVPN Client Tool can also support CLI mode.
We can establish the VPN connection via CLI command. - Authentication Type: Username Password
-
Use the
sudo ./EasyVPN --clicommand to establish EasyVPN via CLI mode. Replace server’s IP or Domain name, Username, Password and Port number with your VPN server’s information.
sudo ./EasyVPN --cli [-s SERVER] [-u USERNAME] [-p PASSWORD] [-P PORT]

VPN is UP.

- Authentication Type: Email OTP
-
Replace Username with your Email address and dial the VPN.
sudo ./EasyVPN --cli [-s SERVER] [-u USERNAME] [-P PORT]

Enter the 6-digit OTP code.


VPN is UP.

Published On:2025-03-24
ShareWas this helpful?