
OpenVPN between pfSense and Vigor Router
Vigor2927, Vigor2865, and other Vigor routers running firmware version 4.2.2 support OpenVPN with pfSense firewall. This article documents how to create an OpenVPN tunnel between a Vigor Router and a pfSense firewall.
pfSense OpenVPN server configuration
1. Go to System>Cert. Manager and add a CA
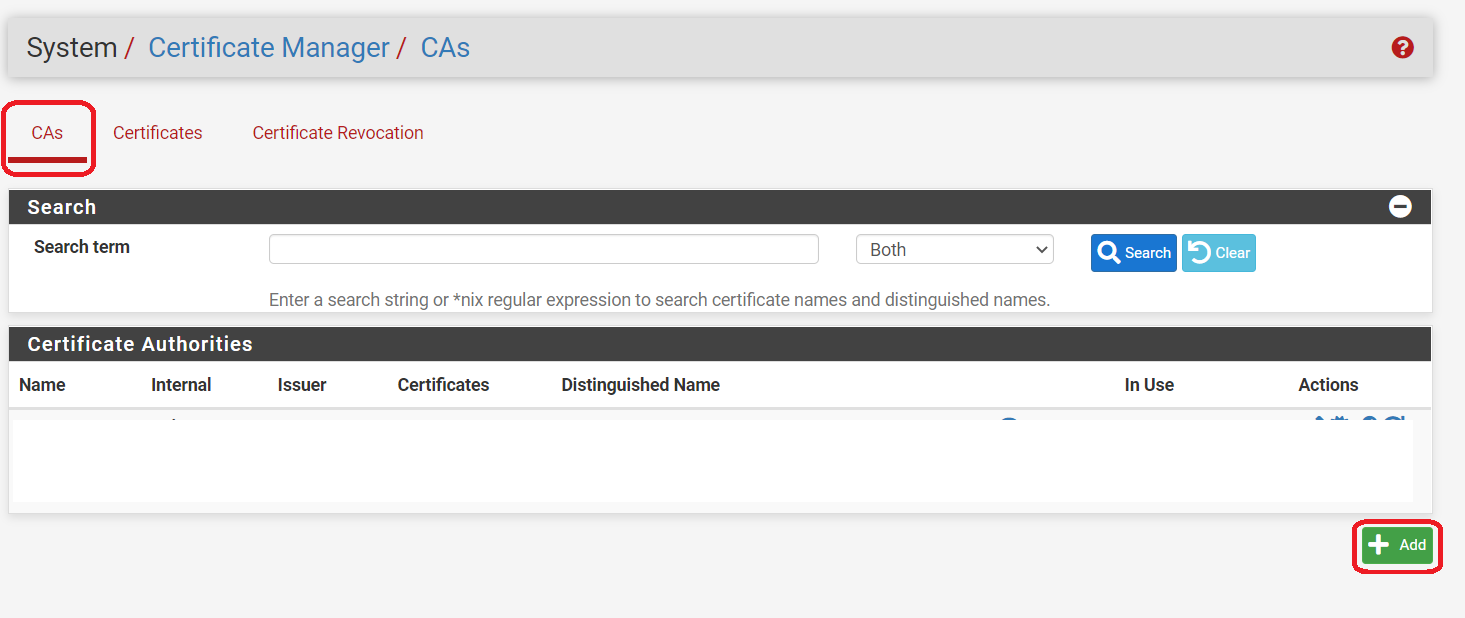
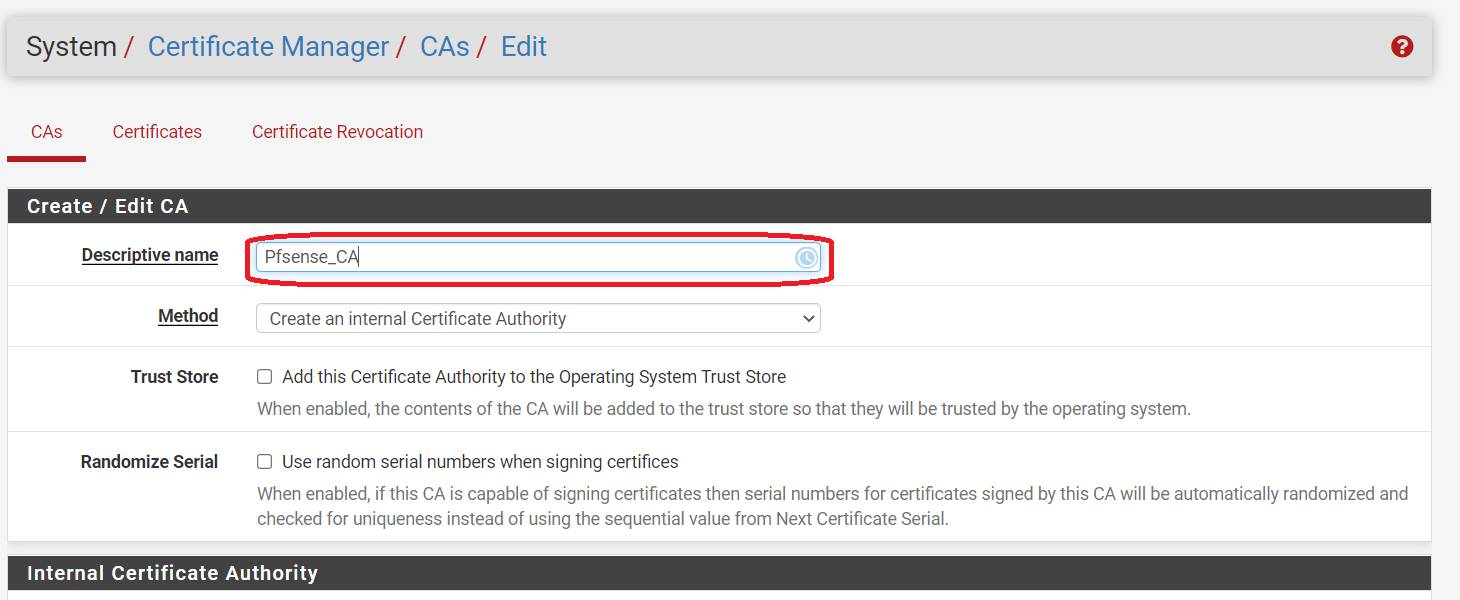
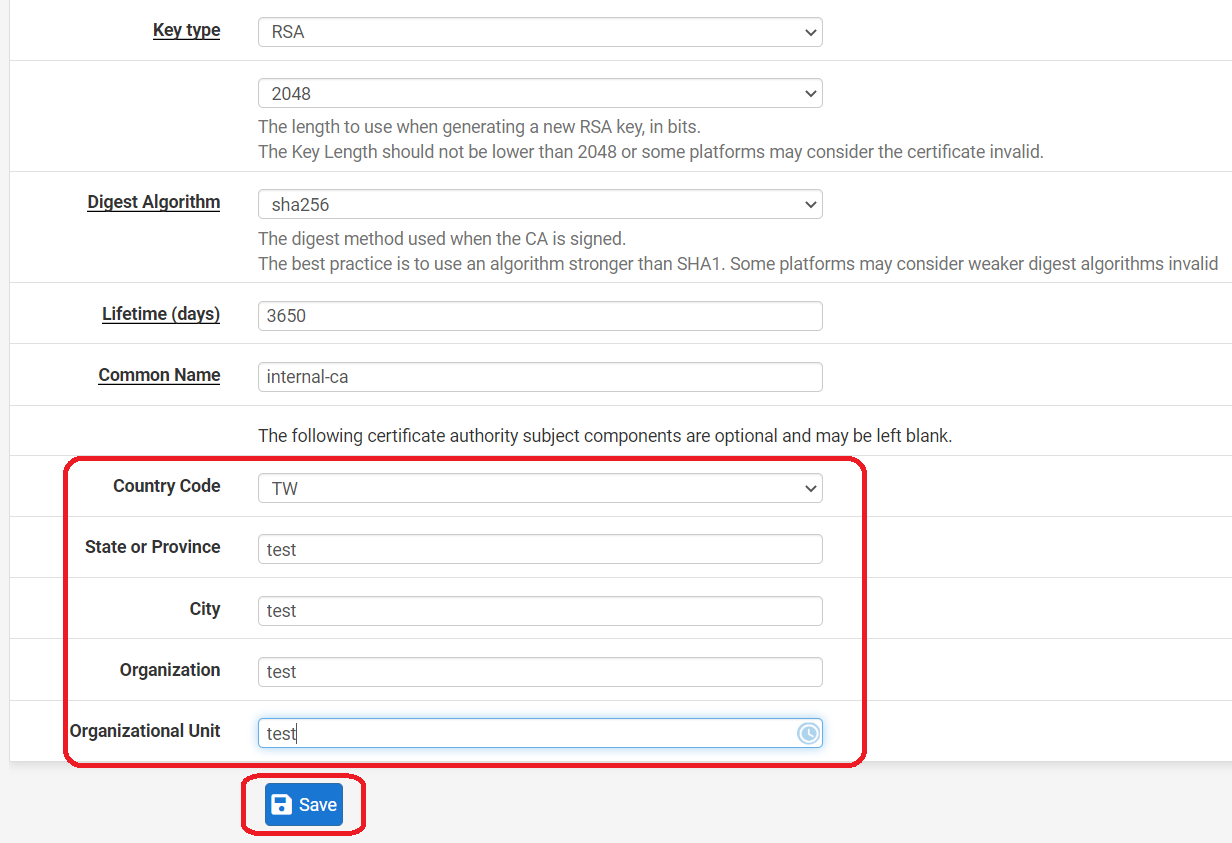
2. Give a Descriptive name, CA subject components and click Save to generate a CA
3. Go to Certificate and add a certificate
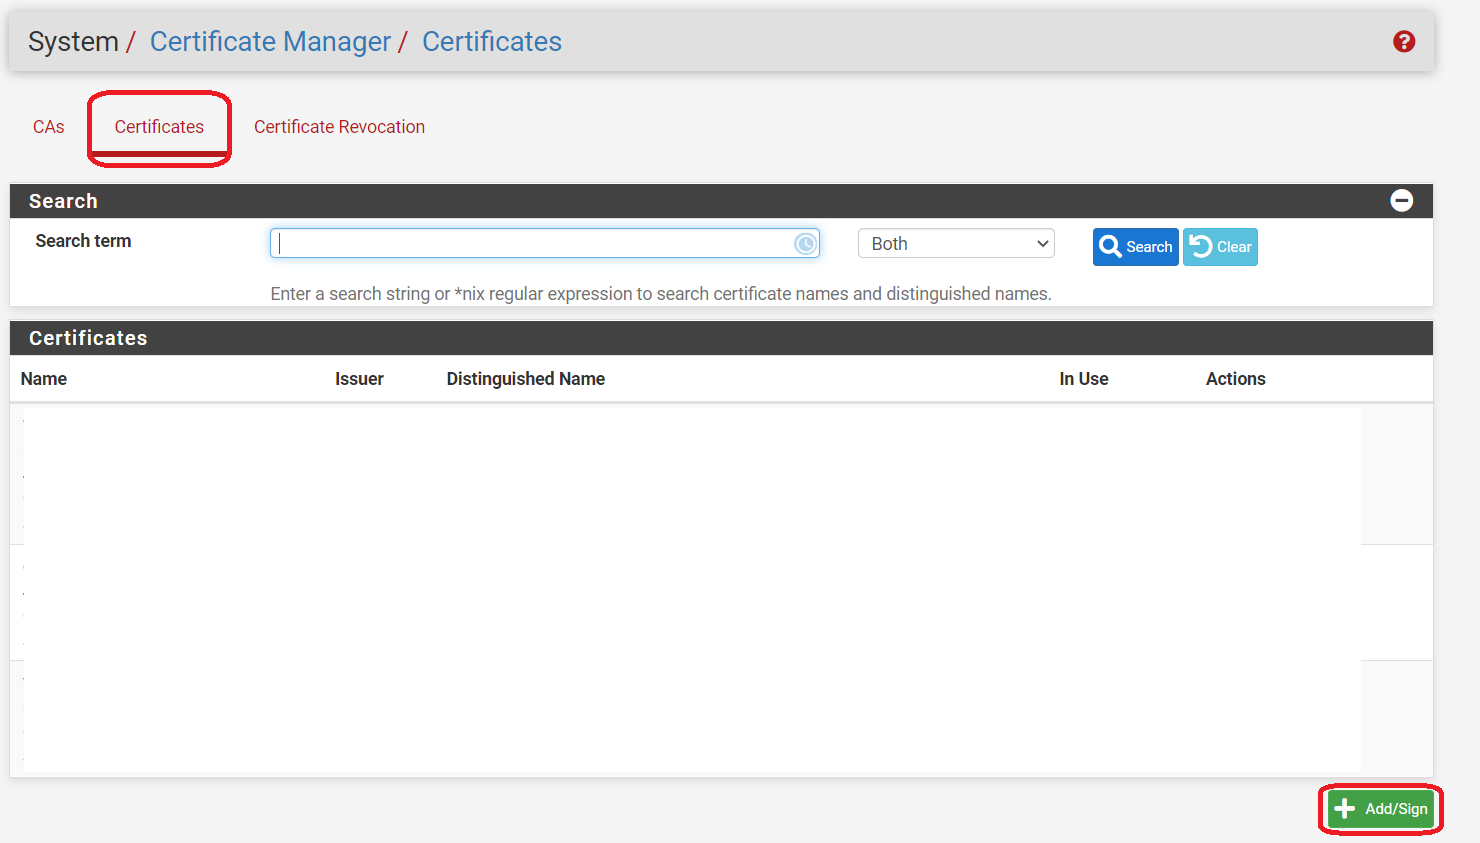
4. Give a Descriptive name and select the CA just created as Certificate authority, then save it to create a server certificate
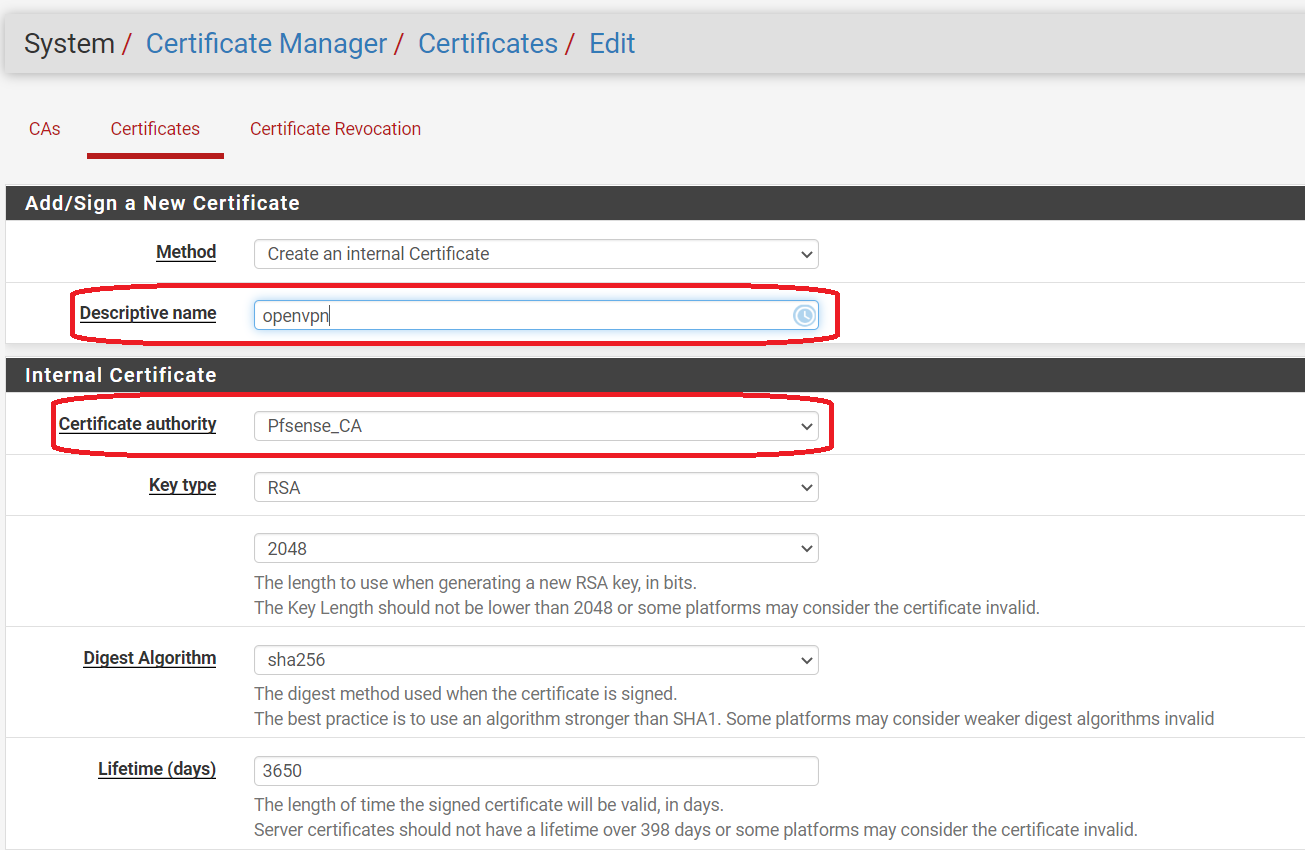
Use pfSense Internet IP or Domain as Common name and Alternative Names

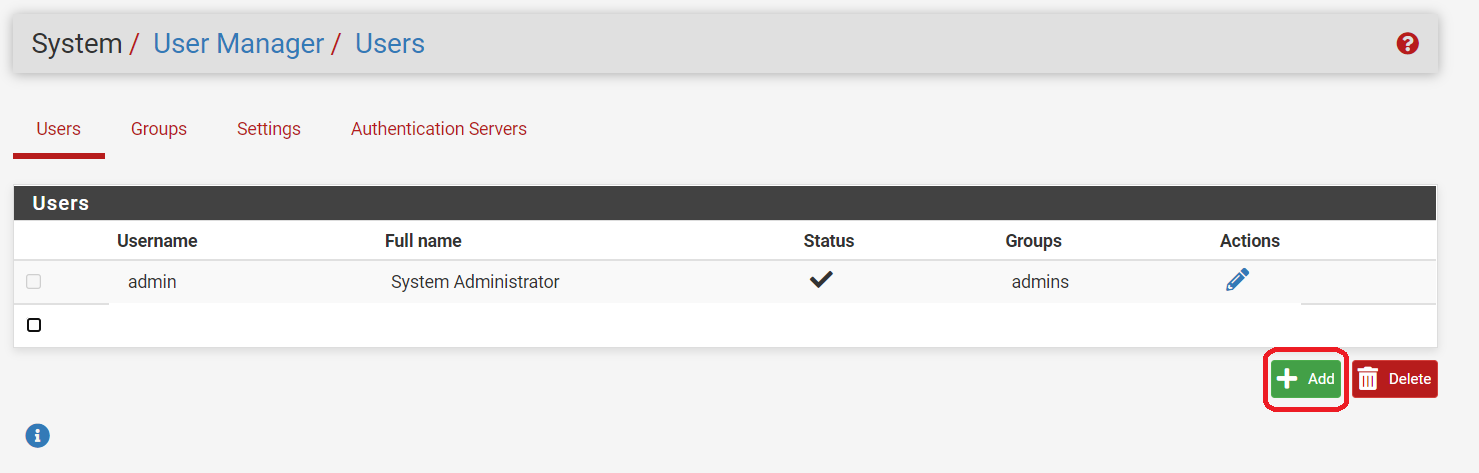
5. Go to System>User Manager and add an user
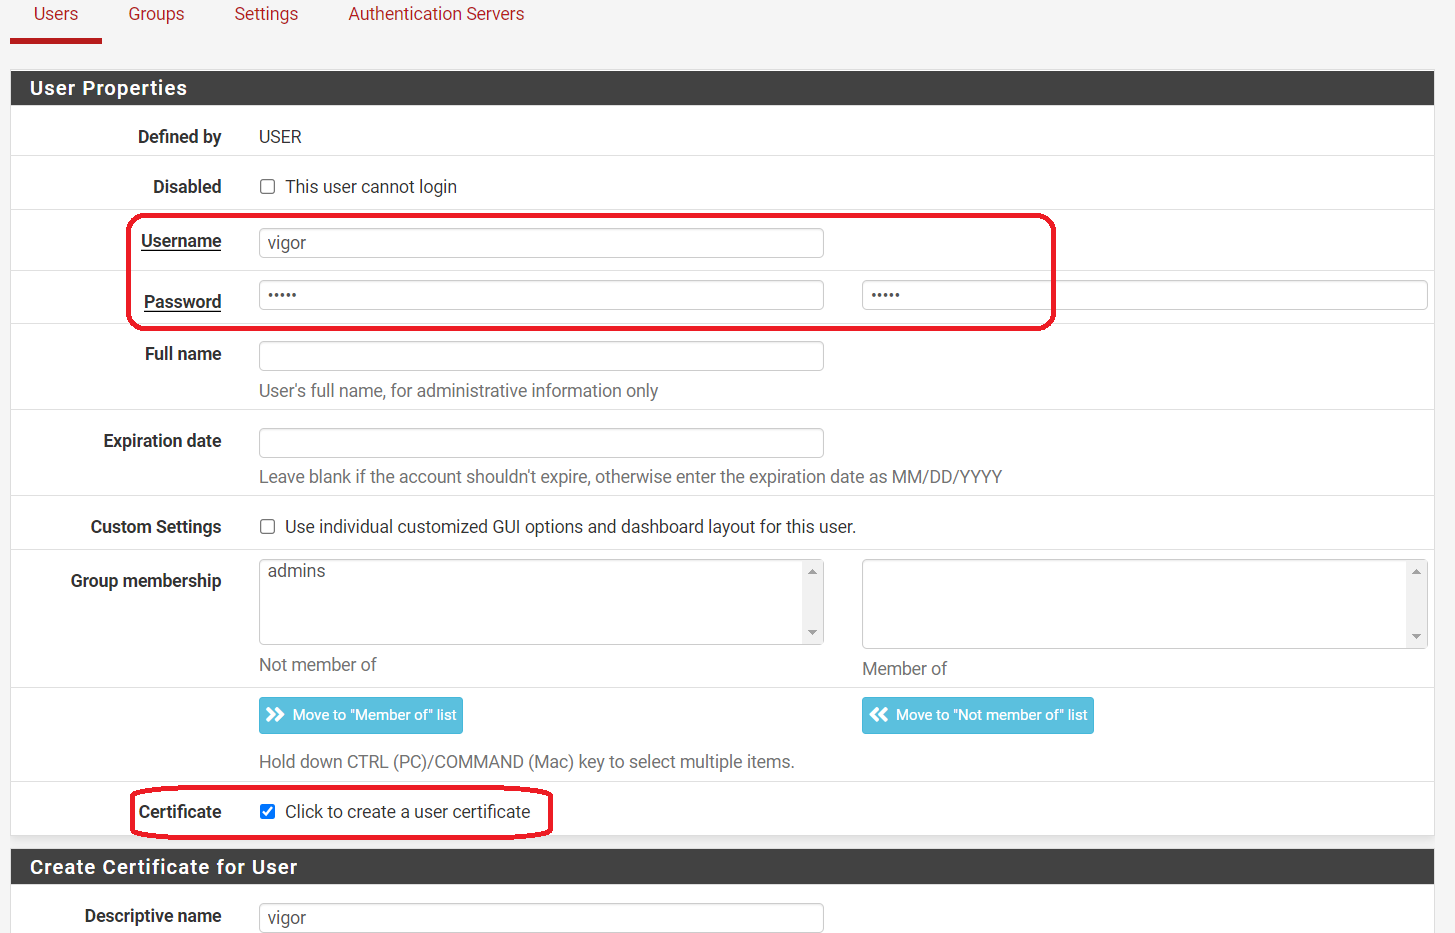
6. Enter Username, Password and create a user certificate
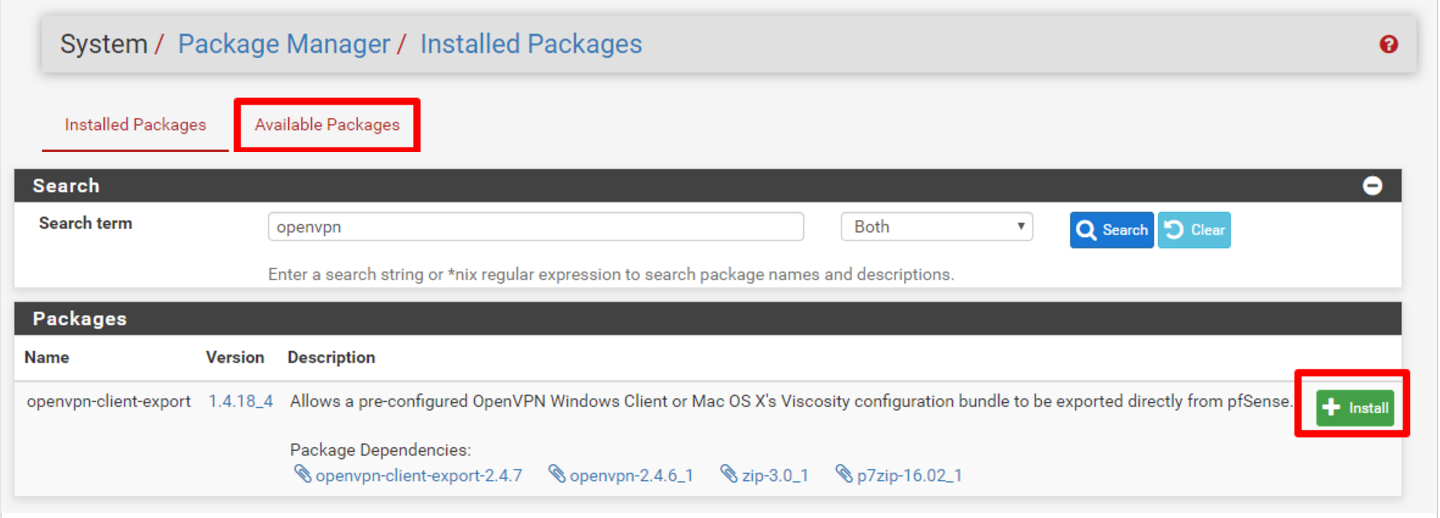
7. Go to System>Package Manager, search openvpn in available package and install openvpn-client-export
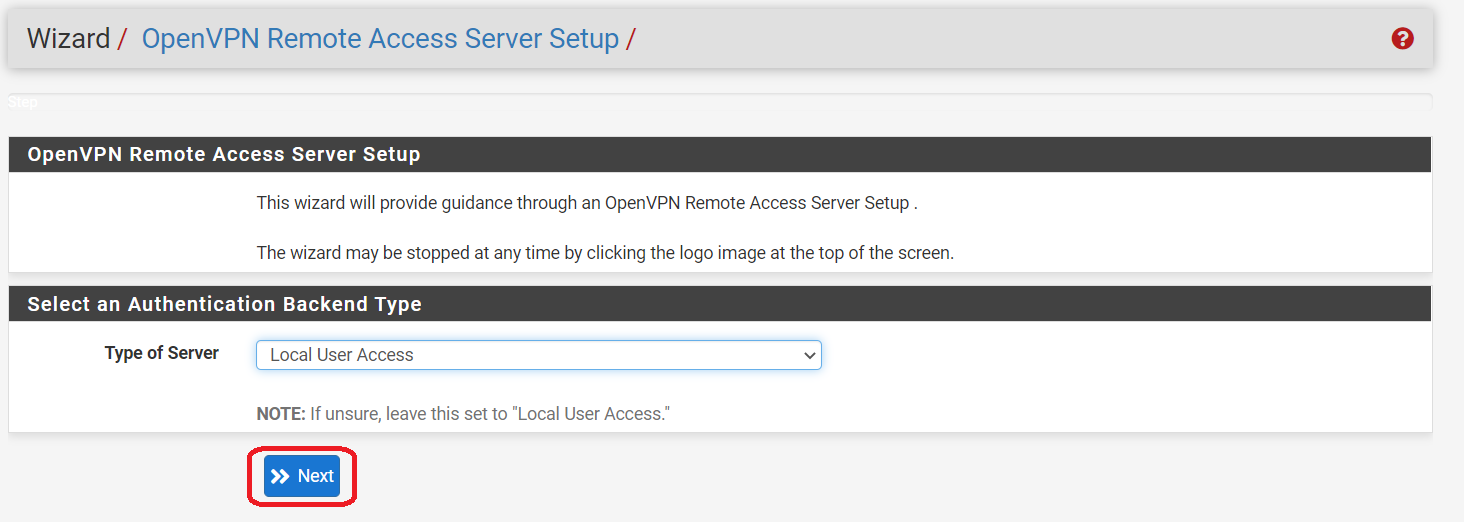
8. Go to VPN>OpenVPN and click Wizard

9. Select Local User Access as Type of Server and go next
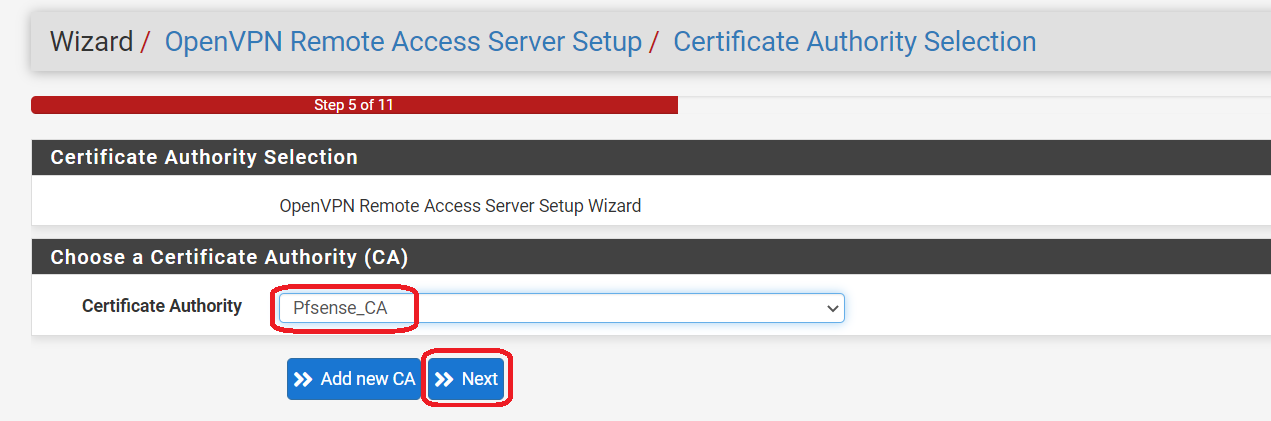
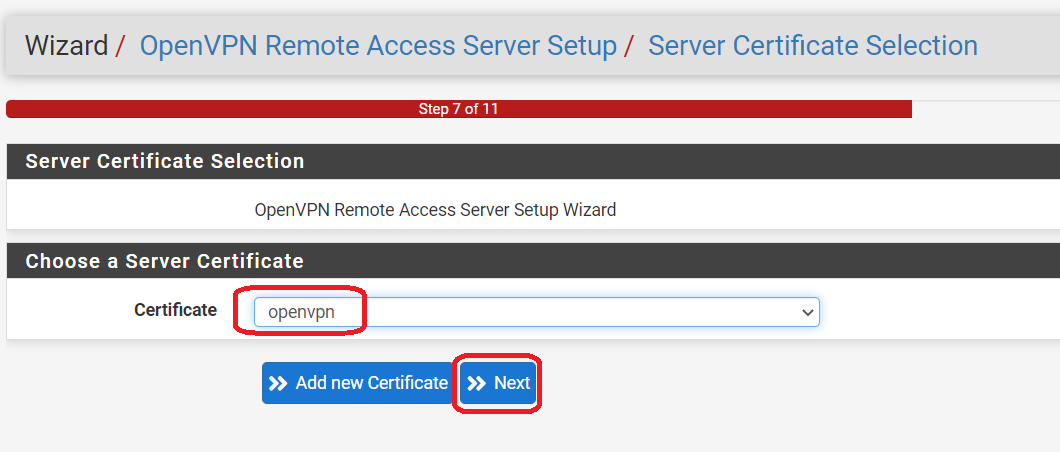
a.Select the CA and certificate created in step2 and 4
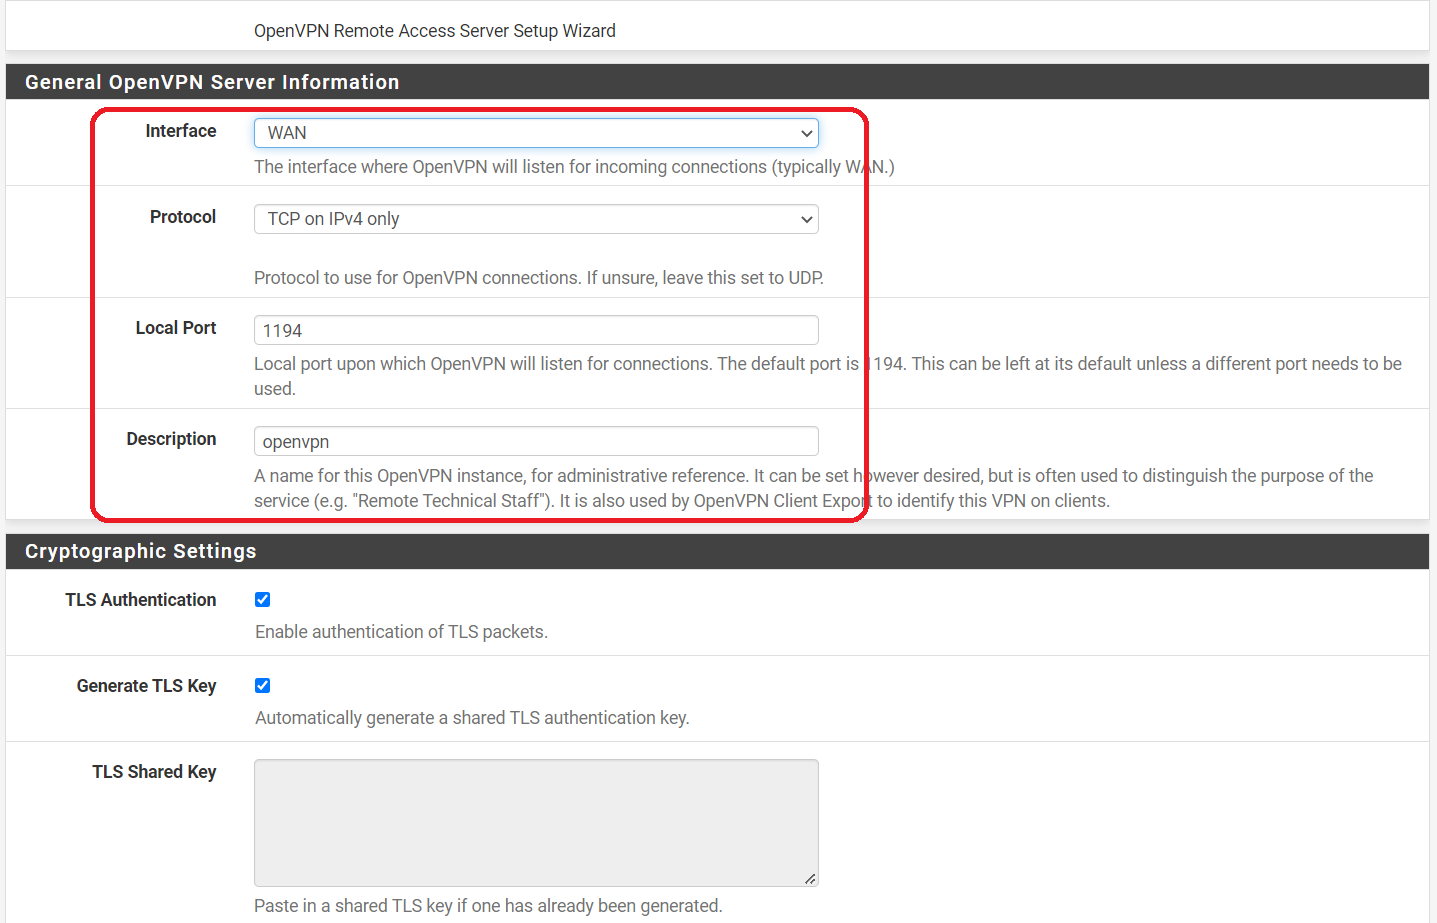
b.Select WAN as Interface, TCP/UDP(UDP recommended) and OpenVPN port
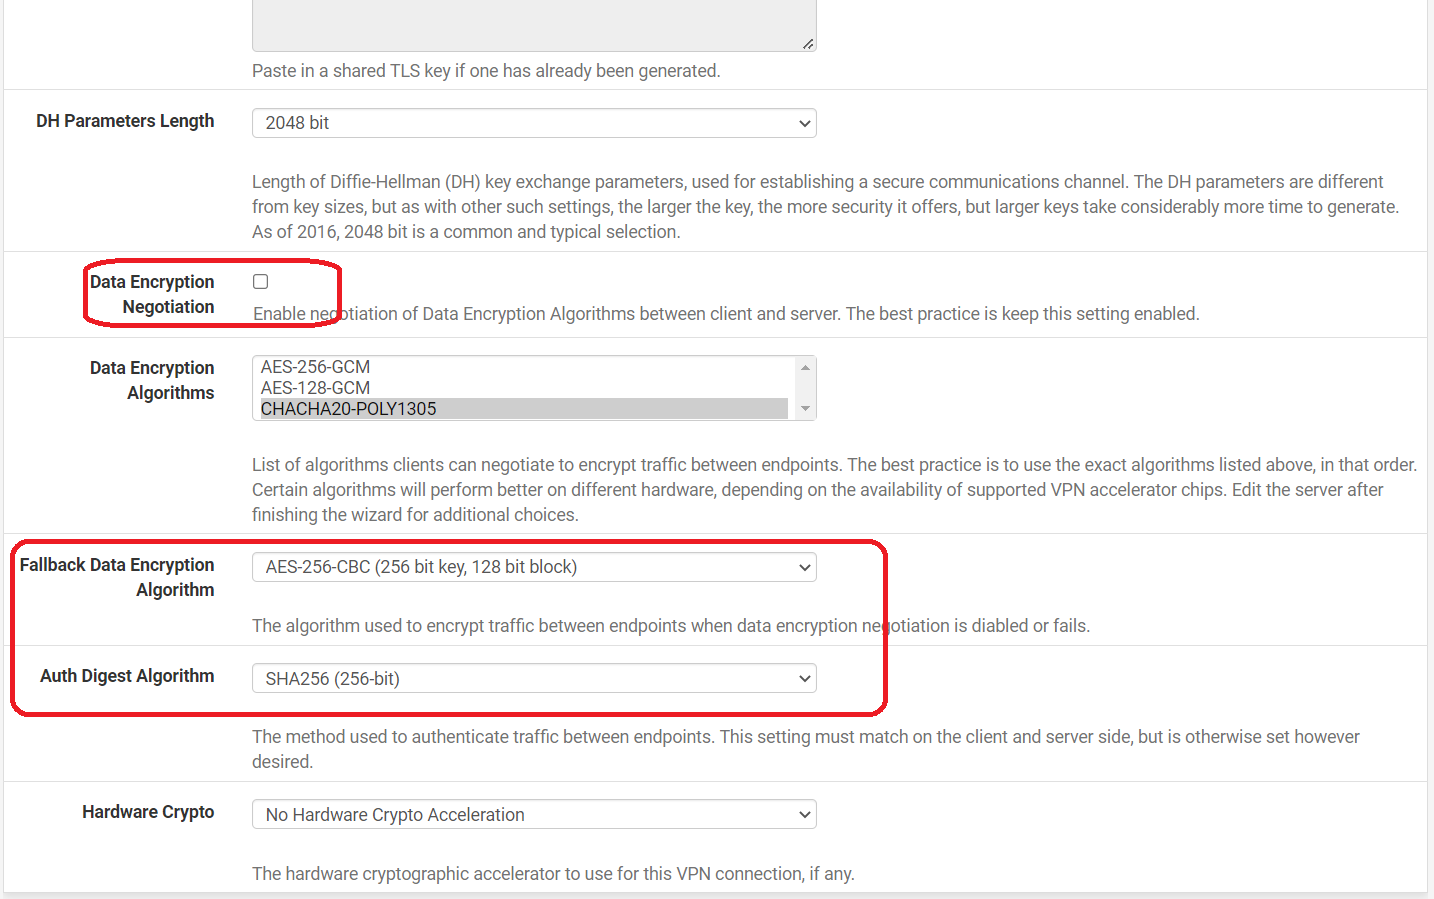
c. Disable Data Encryption Negotiation and use AES-256-CBC and SHA256
d. Enter the pfSense local network for Vigor to access in Tunnel Network and Local Network

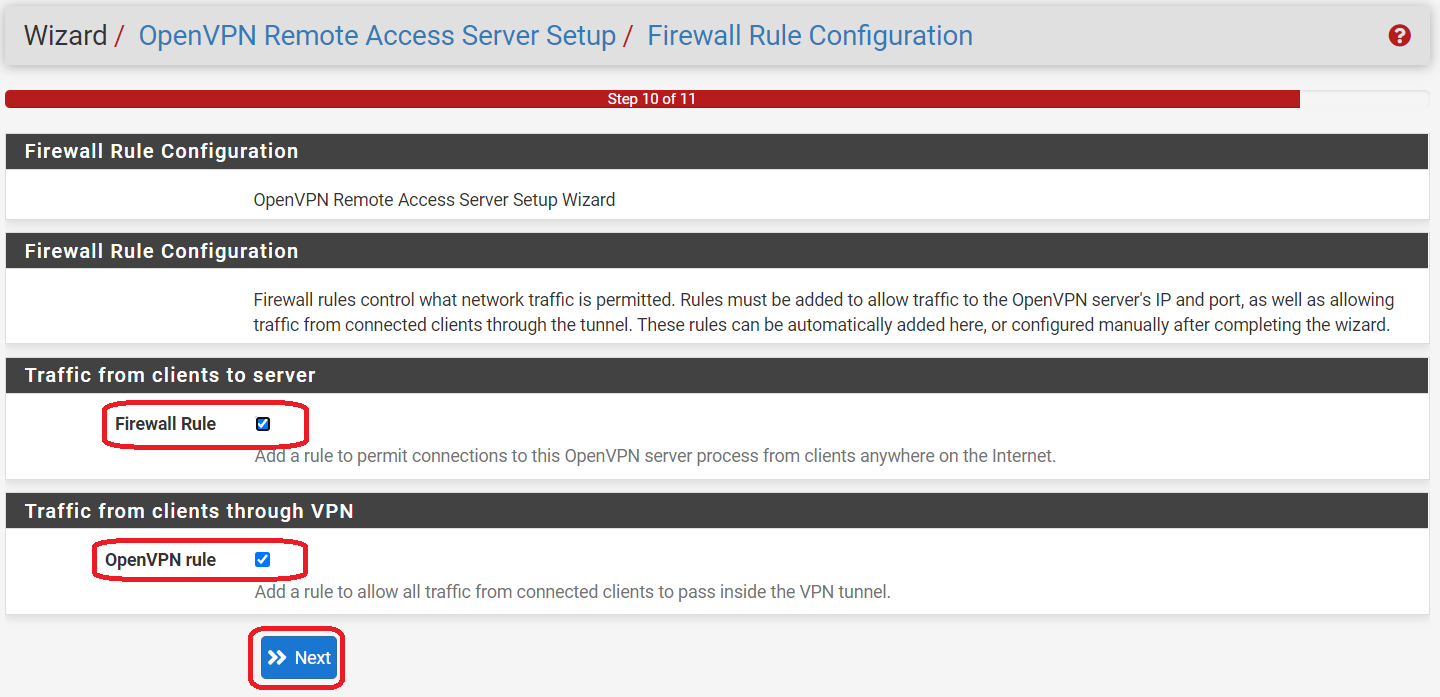
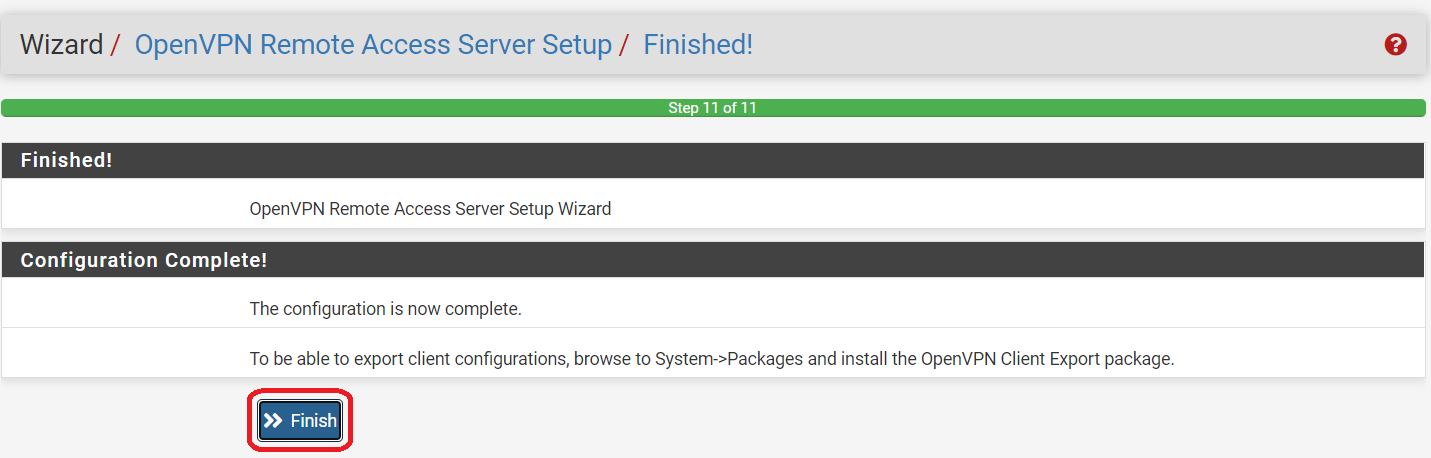
e. Add a Firewall Rule and OpenVPN Rule, then Finish the wizard
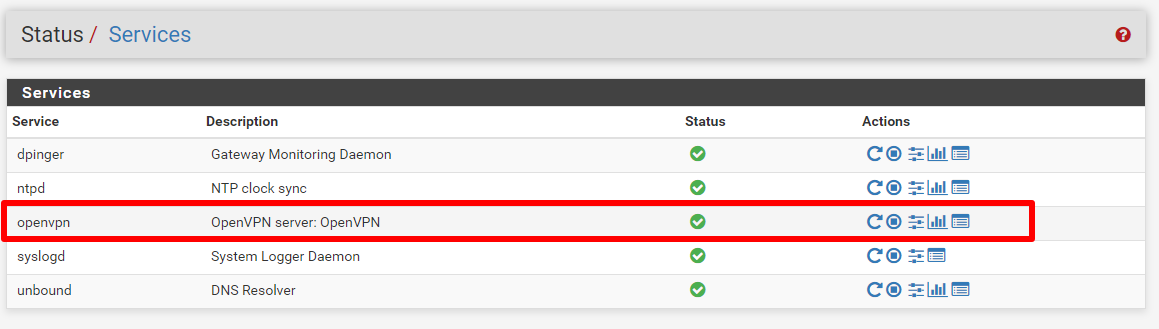
10. Go to Status>Services to make sure OpenVPN is running
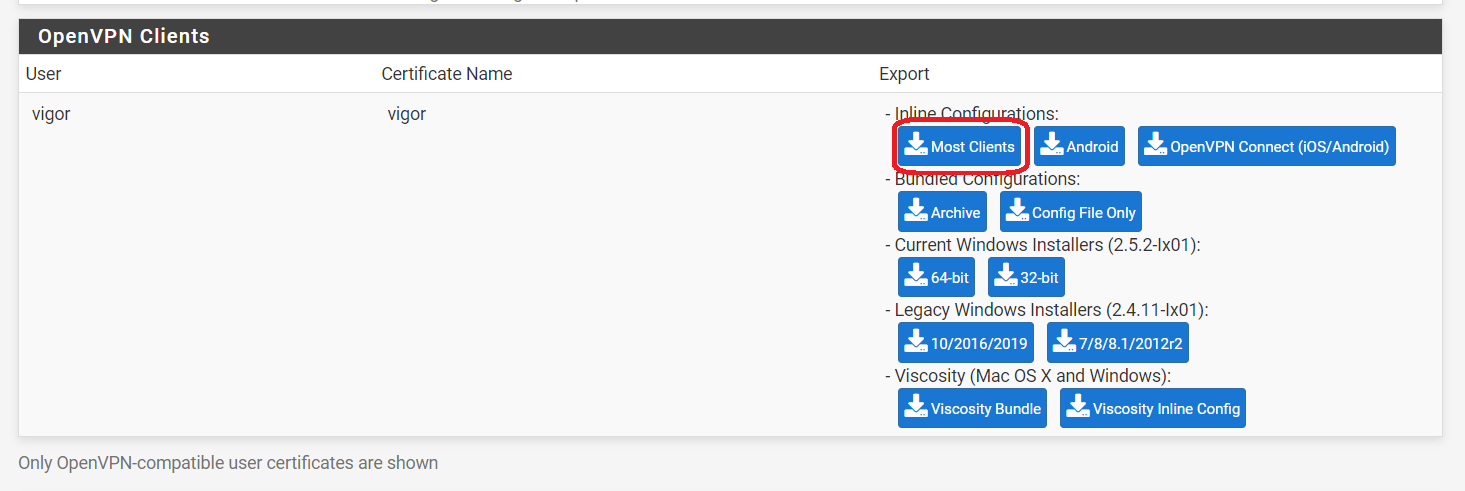
11. Go to VPN>OpenVPN>Client Export, find the user created in step6, and export the client config by Inline Configuration>Most Clients

Vigor Router Configuration
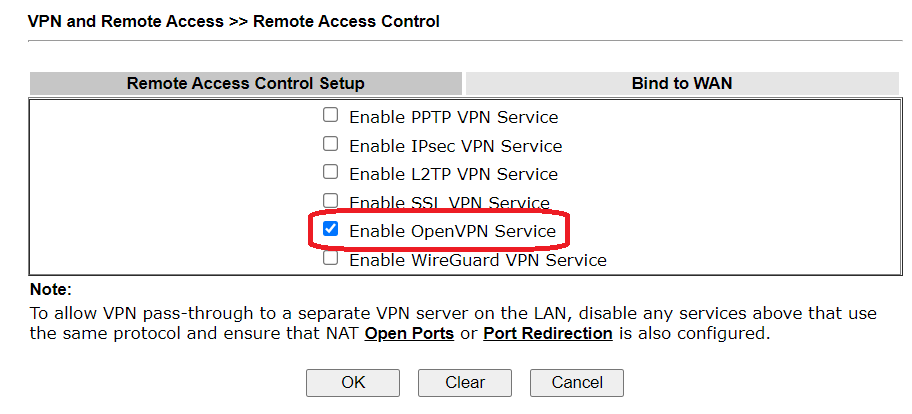
1. Go to VPN and Remote Access>Remote Access Control, enable OpenVPN service
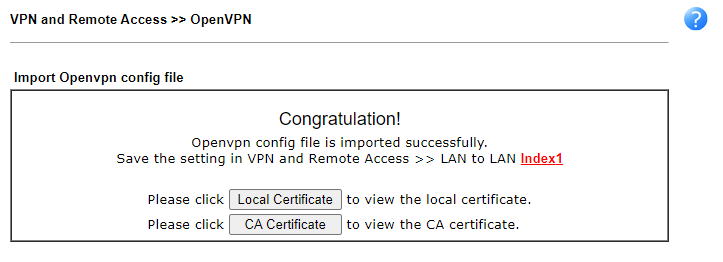
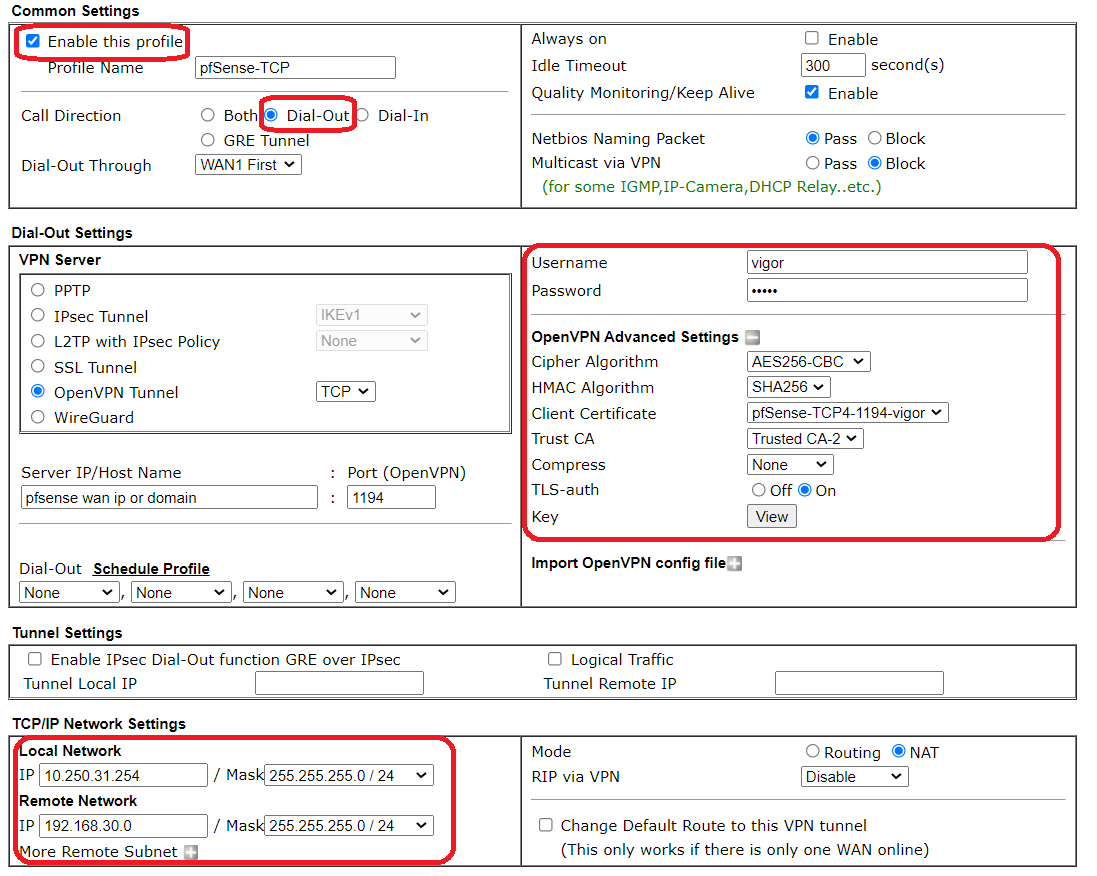
2. Go to VPN and Remote Access>LAN to LAN, click a profile and select OpenVPN to import the client config
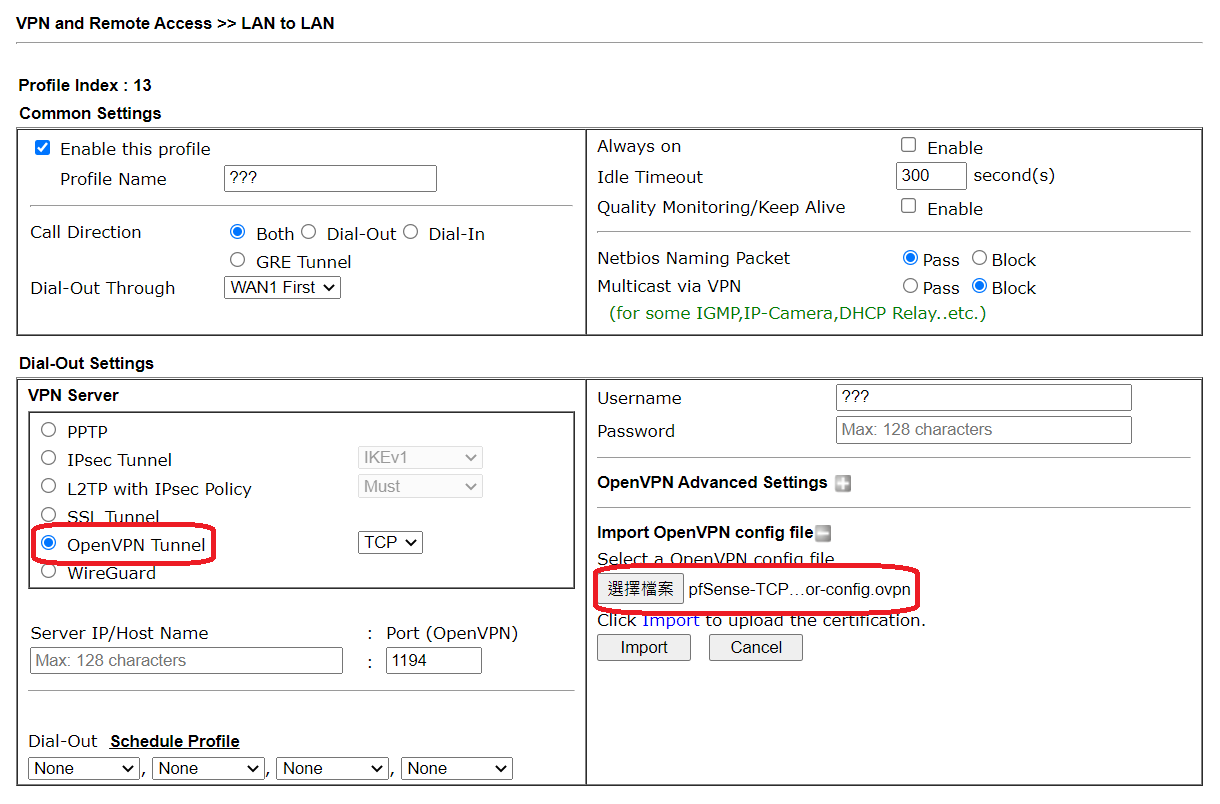
3. Enable the profile, select Dial-Out, Enter Username and Password and Enter pfSense Local Network as Remote Network
4. Go to VPN and Remote Access>Connection Management, and click Dial. OpenVPN will be up in few seconds

Published On:2022-06-22
ShareWas this helpful?