
Authenticate SSL VPN Client by Windows 2008 R2 RADIUS Server
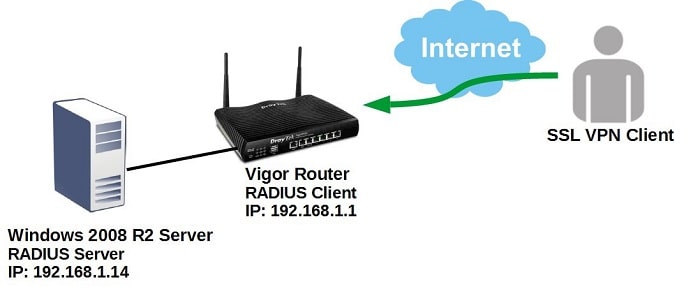
This document demonstrates how to configure Vigor Router to use a Windows 2008 R2 Server as RADIUS server and authenticate SSL VPN clients.
Vigor Router Setup
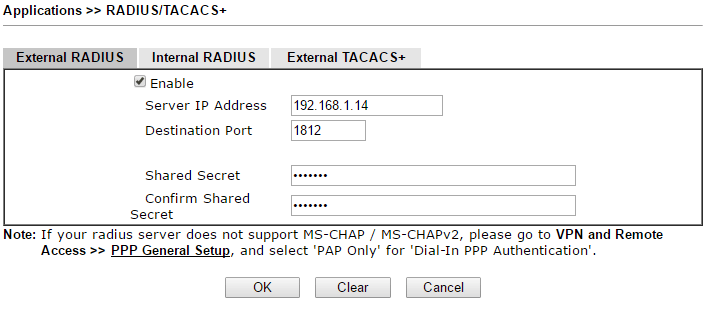
1. To allow Vigor Router to authenticate remote VPN clients with an external RADIUS server, we need to identify the RADIUS server. Go to Applications >> RADIUS/TACACS+:
- Check Enable
- Enter the IP address of the Windows Server in Server IP Address.
- Enter the Shared Secret and confirm. Note that we need to use the same Shared Secret value in Radius configuration on Windows 2008 R2 server.
- Click OK to save the settings.
Note: Vigor Router uses UTF-8 encoding, while Windows RADIUS server uses big5. Please prevent any special characters in Shared Secret with Windows RADIUS server.
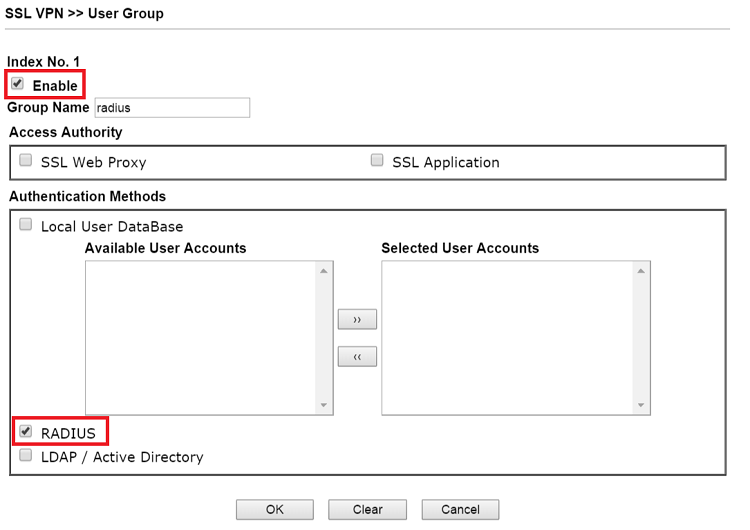
2. Create an SSL User Group which allows authentication by RADIUS server: Go to SSL VPN >> User Group, click on an index number to edit the profile:
- Check Enable
- Enter Group Name
- Check "RADIUS" for Authentication Method.
- Click OK to save the settings.
Windows 2008 R2 Server Setup
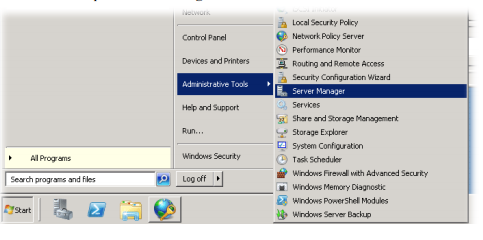
1. Log in to the Windows 2008 R2 server and go to Server Manager. Create a user account and password by clicking Local Users and Groups >> Users.
2. Add Vigor Router to RADIUS Client: Go to Network Policy Server >> RADIUS Client and Servers, right-click RADIUS Clients, and then click New RADIUS Client:
- Check Enable this RADIUS Client
- Enter Friendly name
- For Address, enter the IP Address of Vigor Roter.
- Enter Shared Secret as the same in Vigor Router's RADIUS Setup.
- Click OK to save

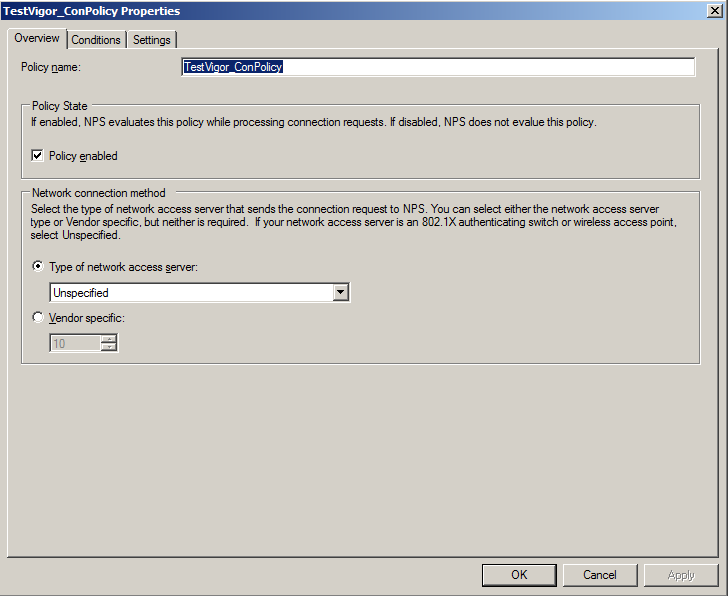
3. Configure Connection Request Policies. If you have default policy "Use Windows authentication for all users" configured under connection request policies, then you can skip this step. Else it is required to set a connection request policy. Go to Network Policy Server >> Policies, right-click Connection Request Policies, and then click New Connection Request Policies:
- Enter a Policy name in the Overview tab.
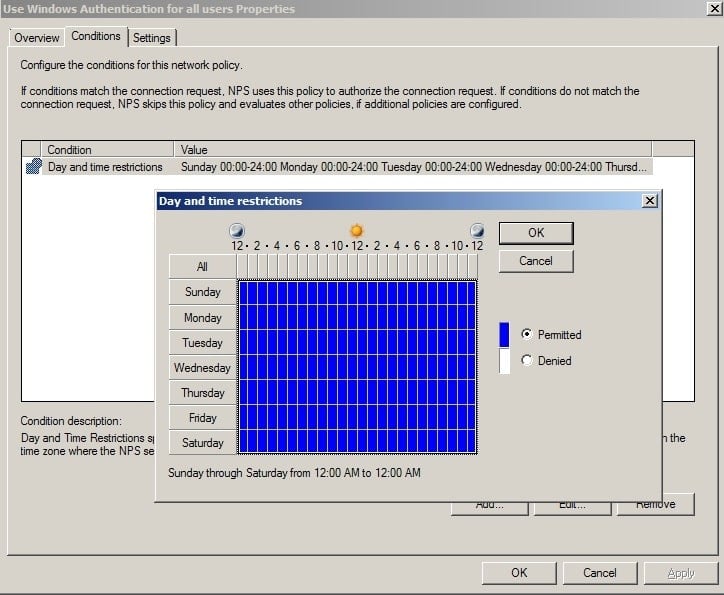
- Select the Day and Time restrictions under the Conditions tab.
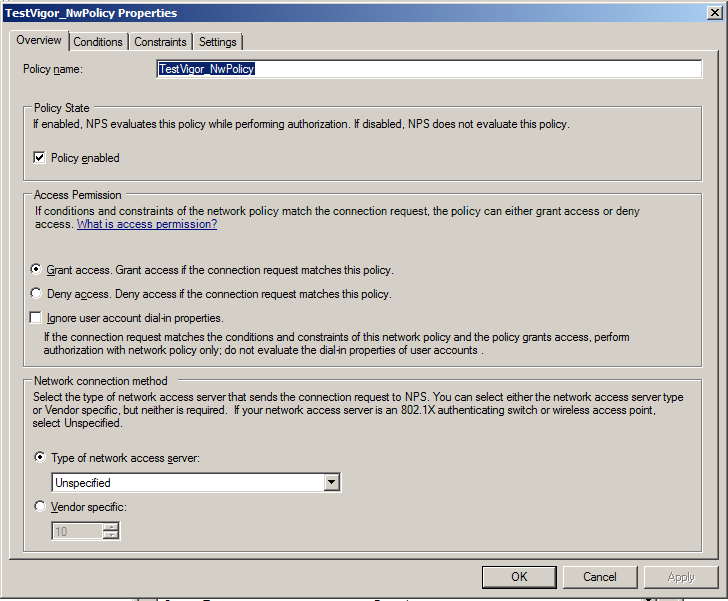
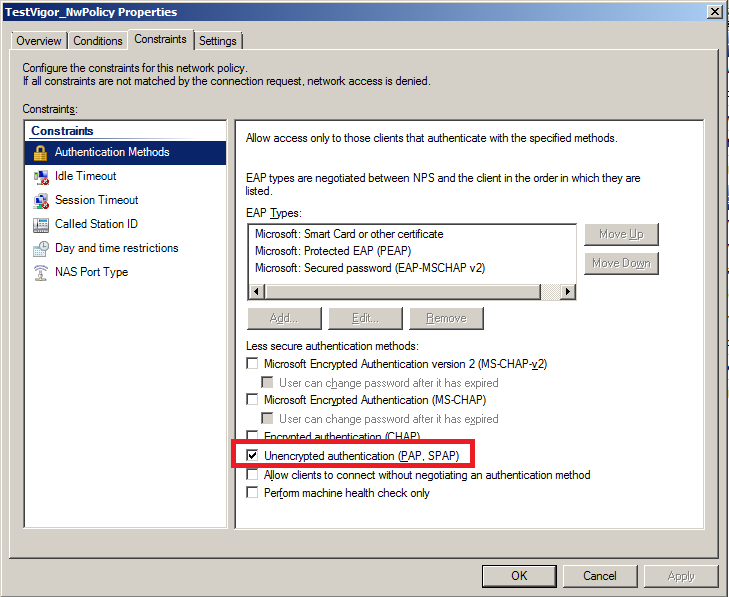
4. Configure Network Policies: Go to Network Policy Server >> Policies, right-click Network Policies and then click New Network Policies.
- In the Overview tab, enter policy name and other details.
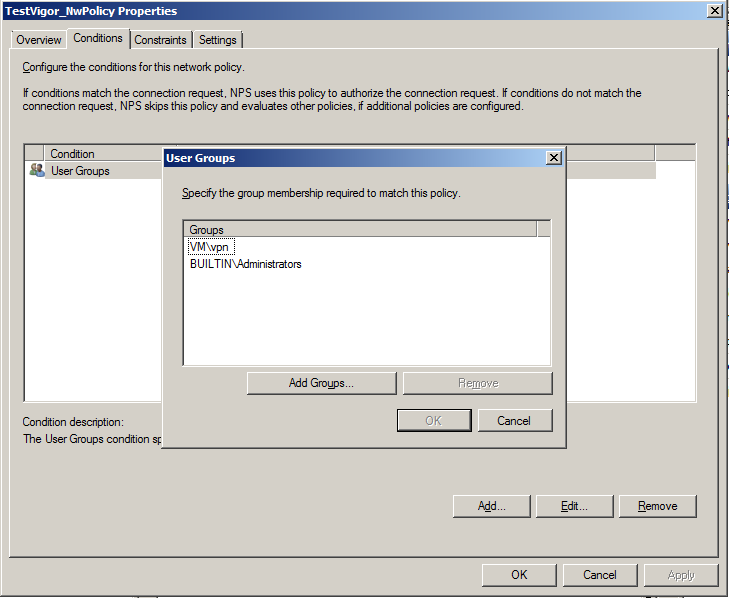
- In the Conditions tab, select the user groups to whom you would like to give access for SSL VPN.
- In the Constraints tab. Set Authentication Methods as Unencrypted authentication.
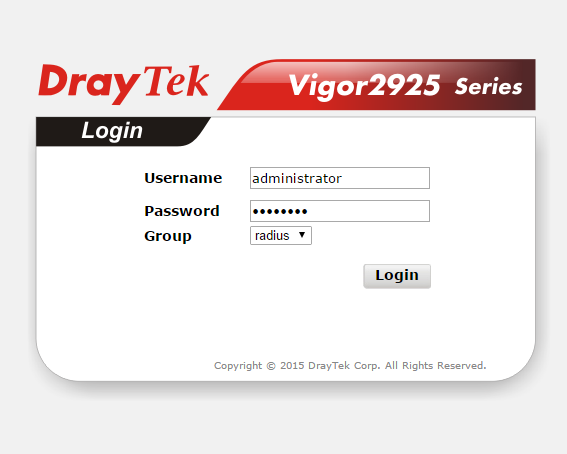
Establishing the SSL VPN Connection
For SSL VPN Client, open web browser and enter https://<public IP>:<port number for SSL VPN> in address tab. For example, http://111.111.111.111:443. And you can log in to SSL VPN with the user profile in Windows 2008 R2 server.
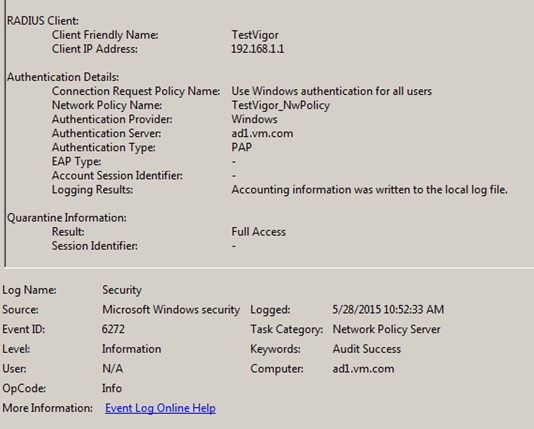
We can check the Success Logs on Windows server from Event Viewer.
From the logs captured by Wireshark, we will see packets like this between Vigor Router and the Windows Server.

Published On:2015-06-18
Was this helpful?