
L2TP over IPsec from Windows 10 to Vigor Router
This document introduces how to set up Vigor Router as a VPN server for L2TP over IPsec, as well as how to use Windows 10 built-in VPN feature to establish a VPN to Vigor Router and access the Vigor Router's LAN network.
Setup on Vigor Router
1. Make sure the router is connected to the Internet. Keep in mind the router's WAN IP or domain name.
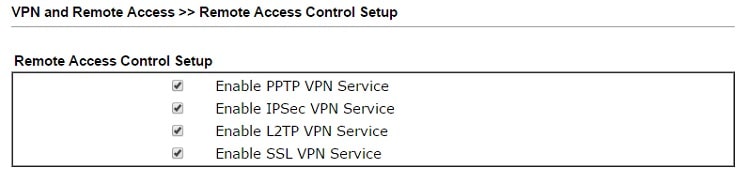
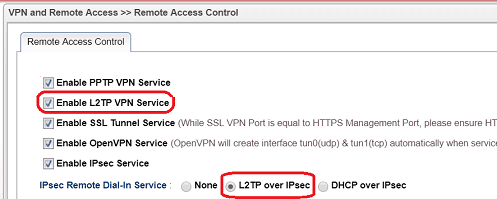
2. Go to VPN and Remote Access >> Remote Access Control Setup to make sure "Enable IPsec VPN Service" and "Enable L2TP VPN Service" are checked.
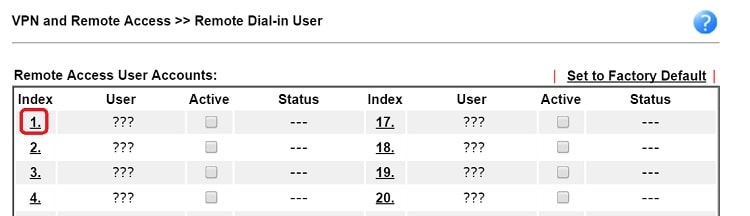
3. Create a remote dial-in user profile: Go to VPN and Remote Access >> Remote Dial-in User, click on an available index to edit the profile.
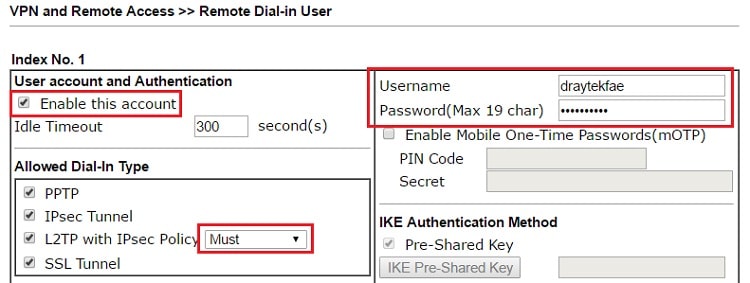
4. Edit the profile as follows:
- Check Enable this profile
- For Allowed Dial-In Type, check L2TP and set IPsec Policy to "Must"
- Give it a username and password
- Click OK to save.
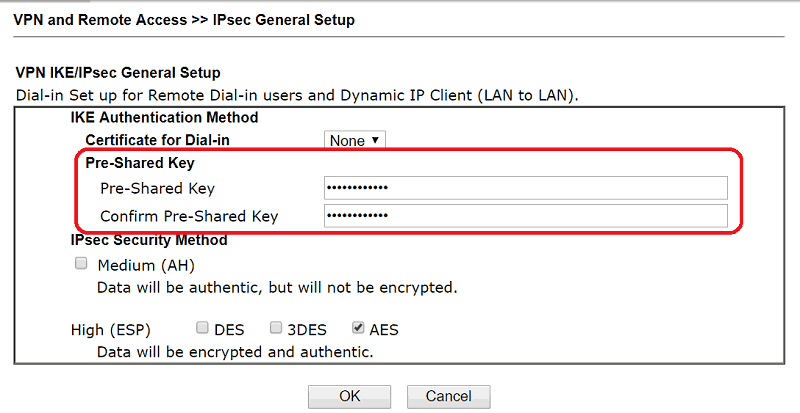
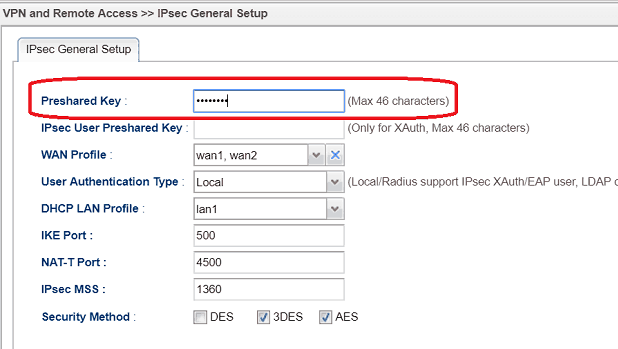
5. Go to VPN and Remote Access >> IPsec General Setup, enter a Pre-Shared key and confirm it again. Then click OK to save.
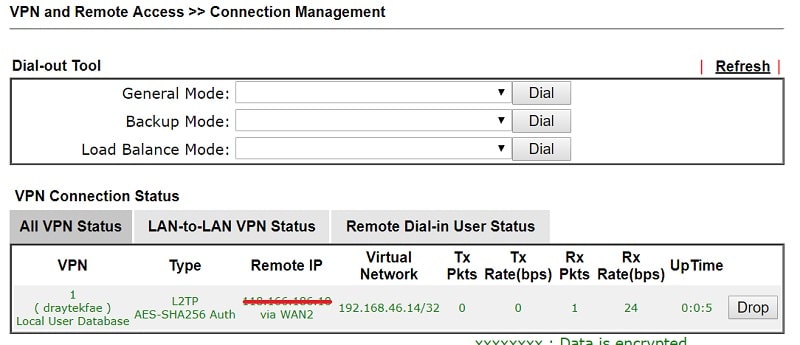
Now, the router is ready for remote dial-in clients. Network Administrator may check the online users from VPN and Remote Access >> Connection Management page.
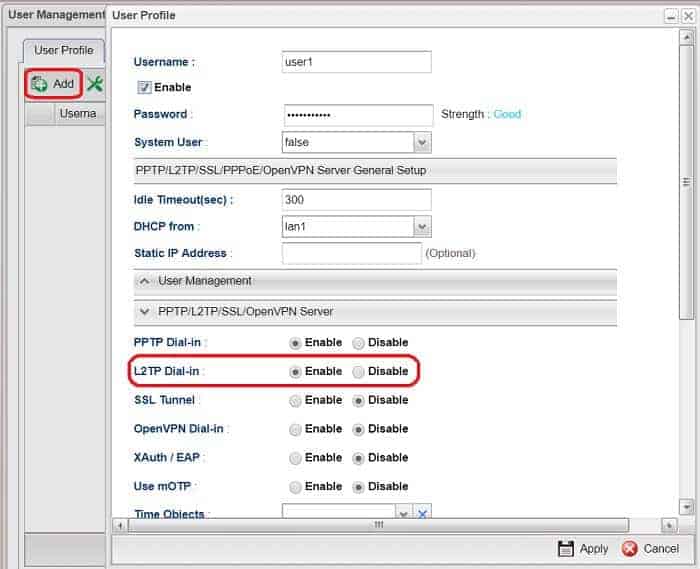
1. Navigate to User Management >> User Profile, click Add to add a new profile, and configure as followings:
- Check Enable
- Type Username and Password
- Select "Enable" for L2TP Dial-In
- Then click Apply to save the User profile.
2. Go to VPN >>Remote Access Control and check Enable L2TP VPN Service
3. Go to VPN >> IPsec General Setup and enter Preshared Key.
Connecting from Smart VPN Client
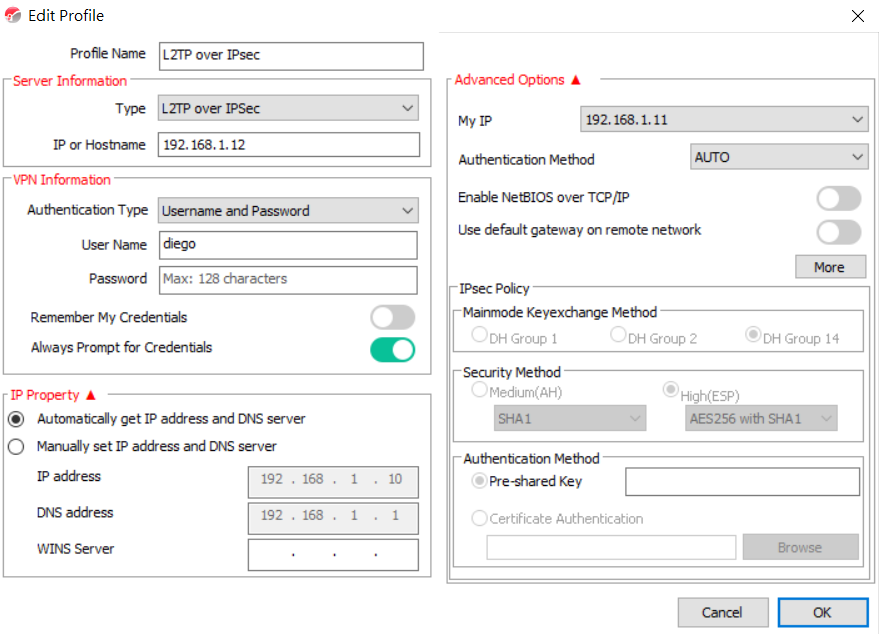
- Run Smart VPN client and Add a profile:
- Give a Profile Name
- Select L2TP over IPsec for Type
- Enter the IP or Domain Name of the VPN Server
- Enter User Name and Password
- Click OK
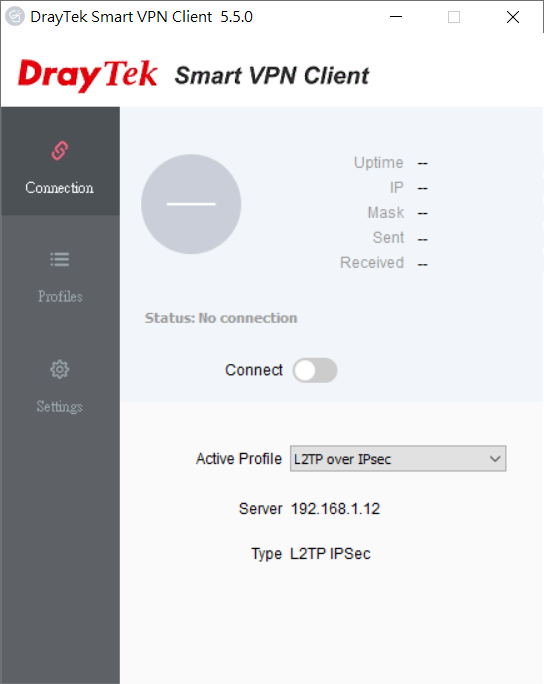
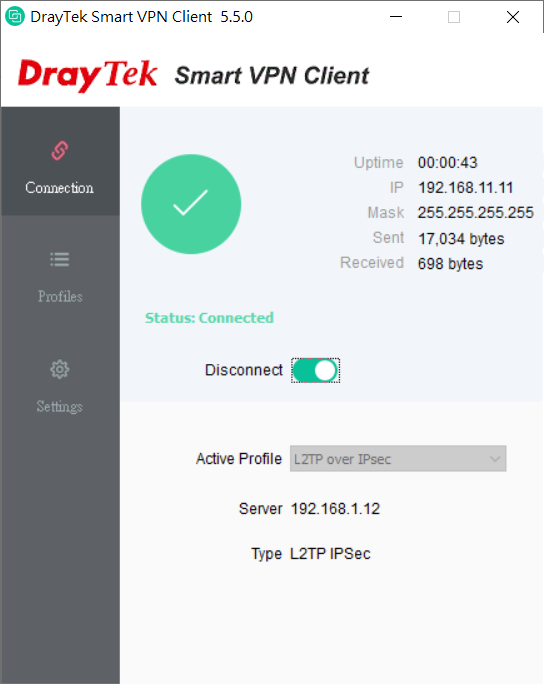
- Switch on Connect and then we can check VPN status when it's connected.
Establishing VPN from Windows 10
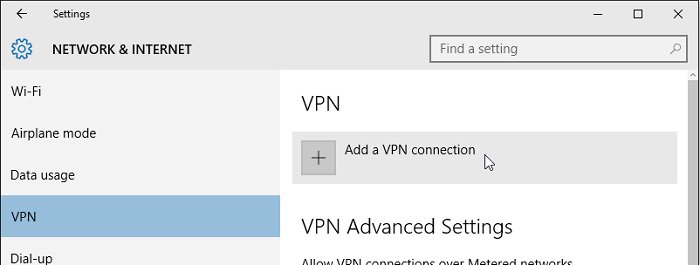
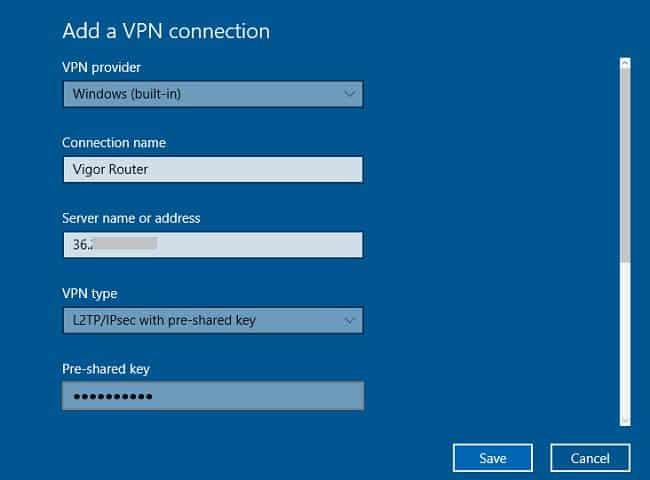
1. On Windows PC, go to Settings >> Network & Internet >> VPN, click Add a VPN Connection.
2. Enter the router's WAN IP or domain name in Server name or address, select VPN type as “L2TP/IPsec with pre-shared key”, and enter the Pre-shared key we set in router' IPsec General Setup.
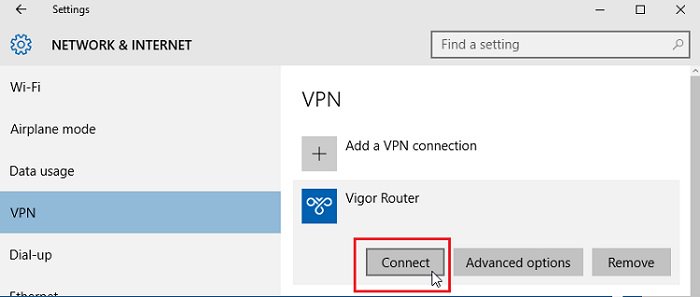
3. To establish the VPN, click on the VPN connection, and click Connect.
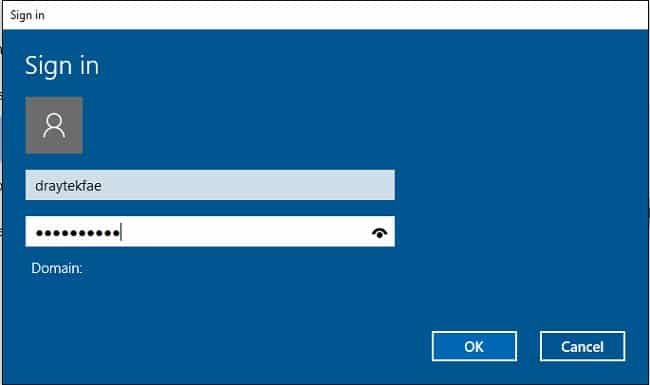
4. It will pop up a sign-in window, enter the username and password set in router's VPN user profile.
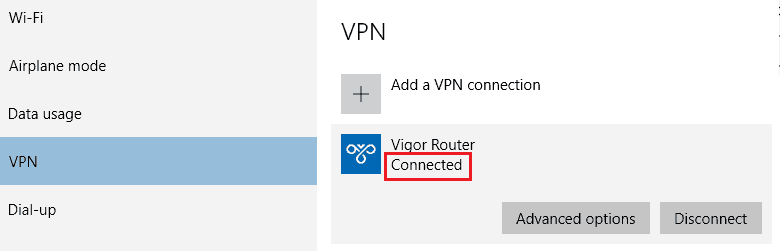
5. If the credentials are correct, VPN will be connected.
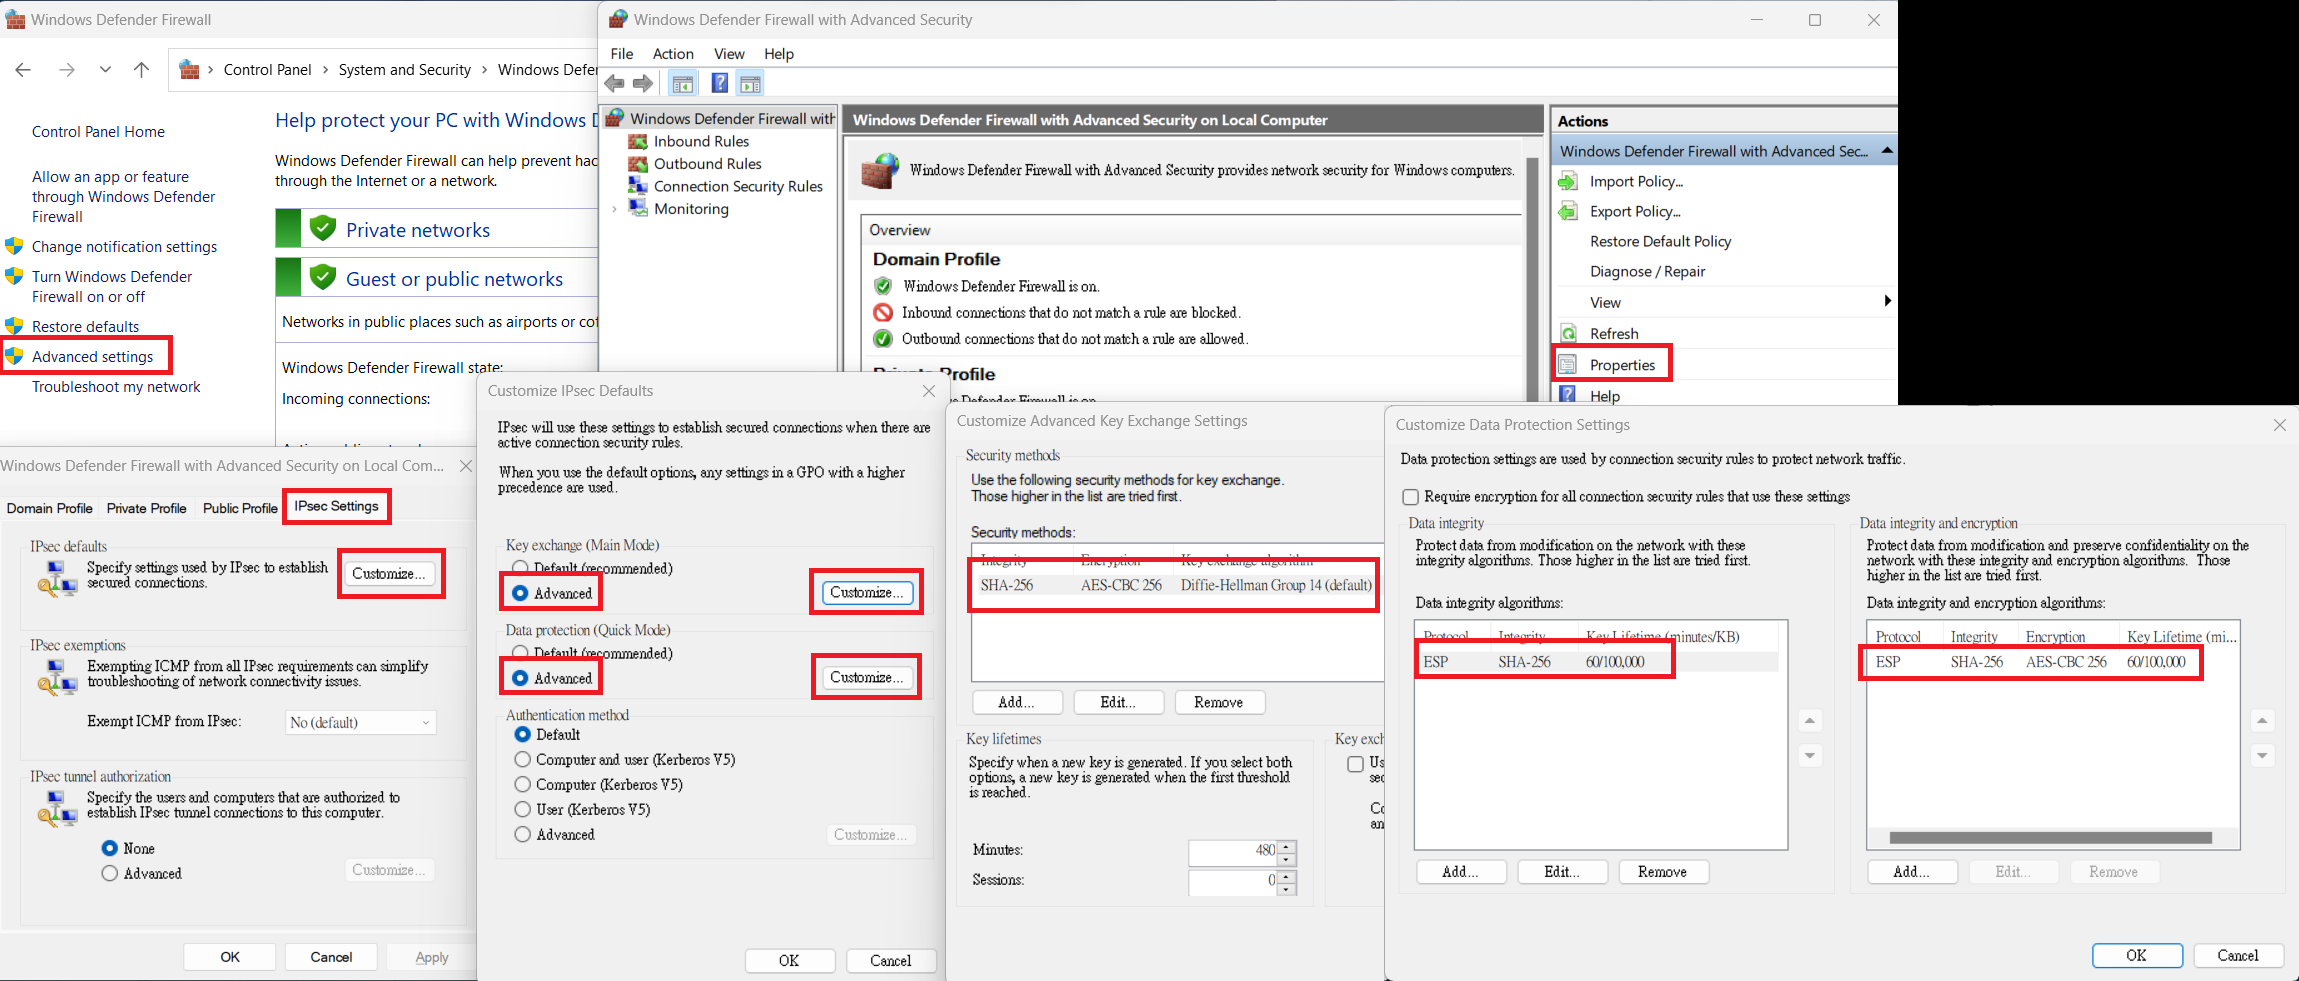
Note: It's recommended to change default IPsec Key Exchange algorithms and Data Protection for higher security.
It can be configured in Windows firewall with advanced security --> (right panel) Properties --> IPsec Settings --> Customize IPsec defaults --> Key Exchange (Advanced)/Data Protection (Advanced)
Trouble-Shooting
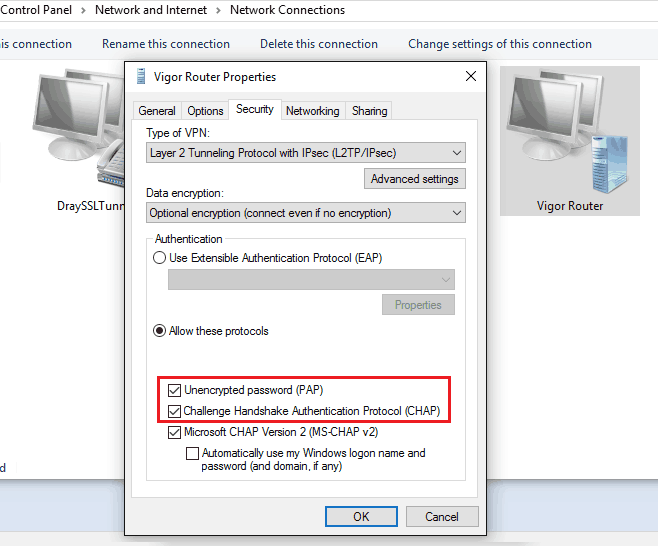
If VPN cannot establish, you may enable more protocols for authentication for a try. Go to Control Panel > Network and Internet > Network Connections, right-click on the connection of VPN to Vigor, and Properties. In Security Tab, enable both "PAP" and "CHAP" for Authentication, then click OK to apply.
Published On: May 12, 2016
Was this helpful?